|
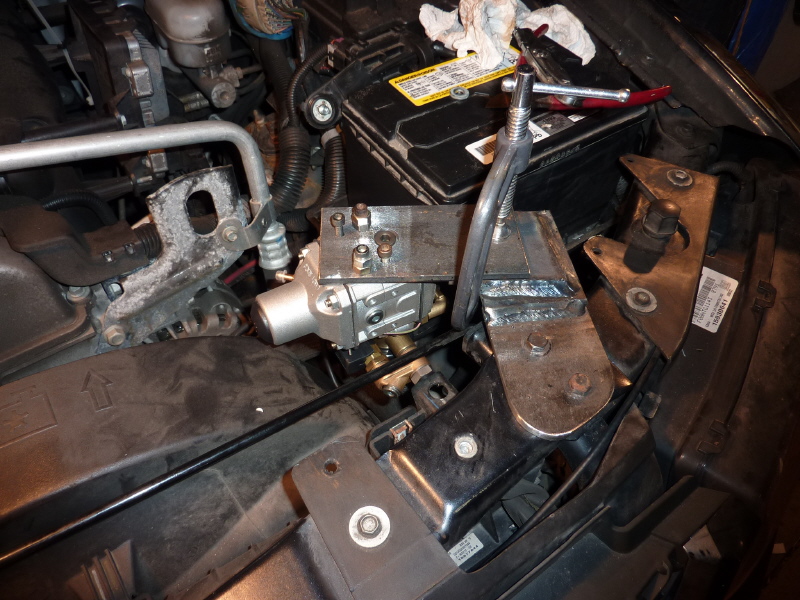
There is not much room under the hood to mount any of the CNG components. I decided to concentrate on the regulator first as it has 7 different connections made up of wire, hoses and stainless steel tube. This makes the mount location important in respects to access to all the different connections. I choose a location next to the battery. The battery tray and tie down had to be modified to allow the battery to move toward the fender, giving me 1" extra clearance. |
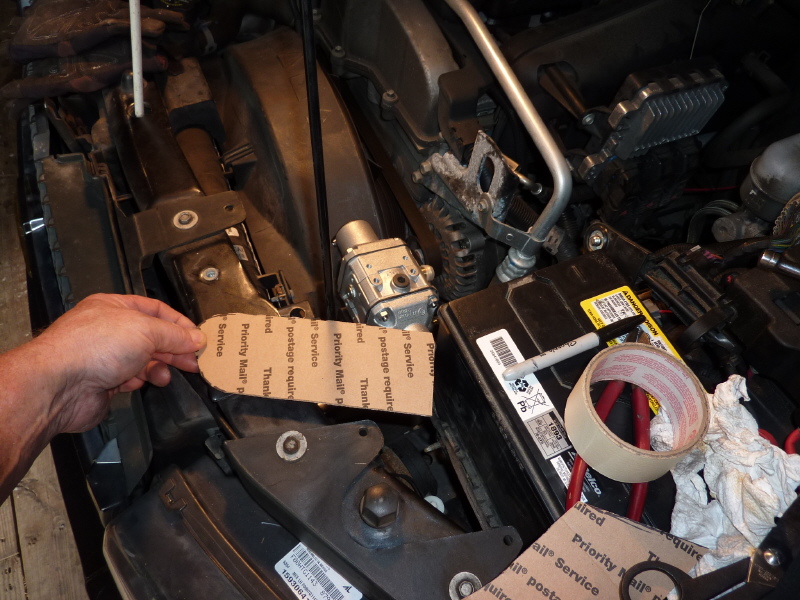
With that, I began the process of making the regulator mounting bracket. All my brackets start out as cardboard templates. Above is the first template of a multi-part bracket. |
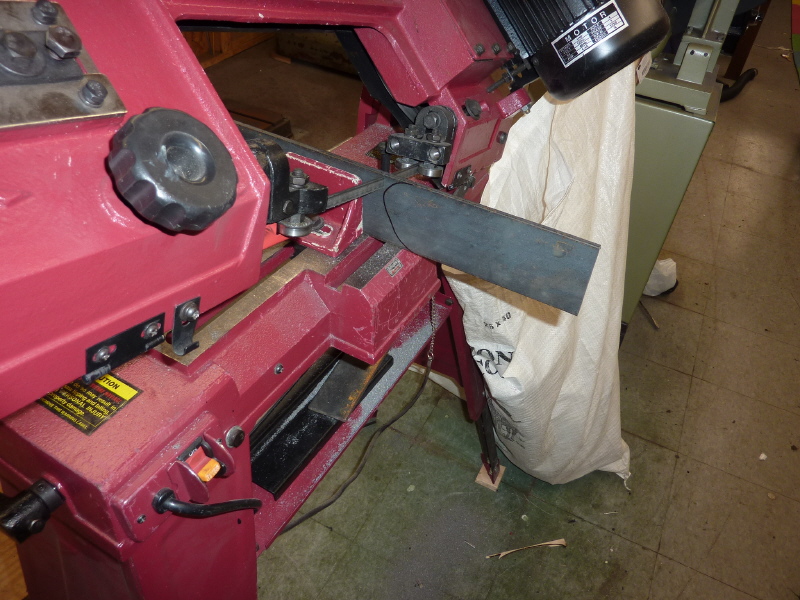
Here the template is transferred to 1/4" steel bar and clamped into my electric hacksaw for the first cut. |

I like to saw away as much metal as possible. This makes finish grinding easy and less time consuming. |

Here is the last trim cut before grinding. |
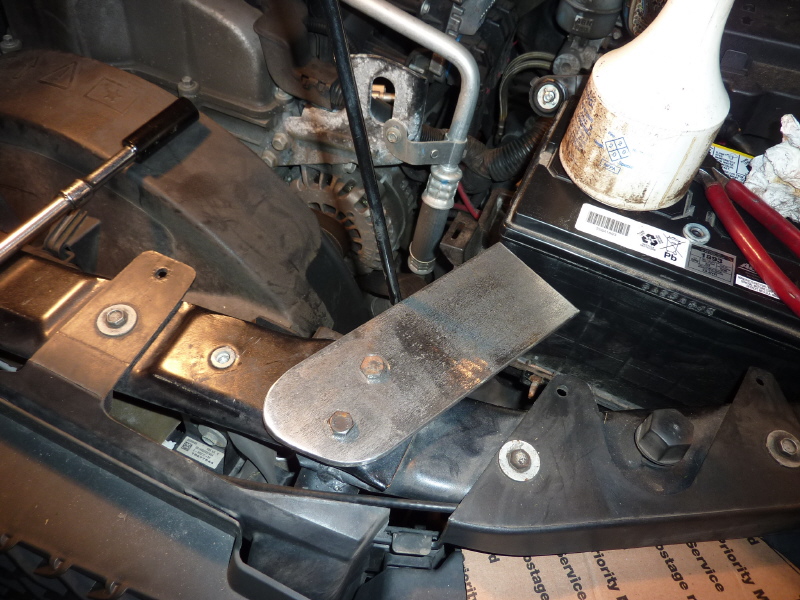
There are 2 bolts that hold the fender and radiator supports together. It makes the perfect bolting point for the bracket. The bolt holes were transferred to the bracket, drilled and mounted. |
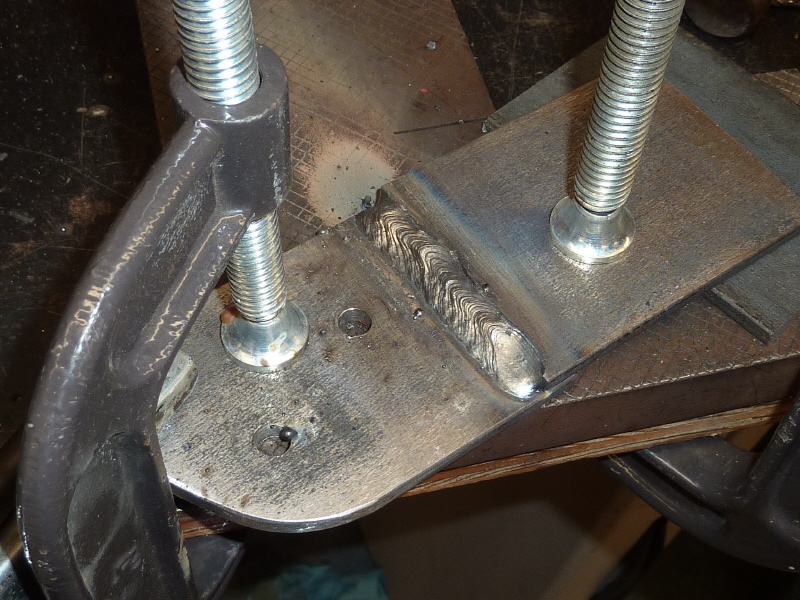
In order for this bracket to work, I needed to raise the regulator up 1" above the bolting point. I will do this by making the bracket in 4 steps. Each step will add 1/4" to the height. |
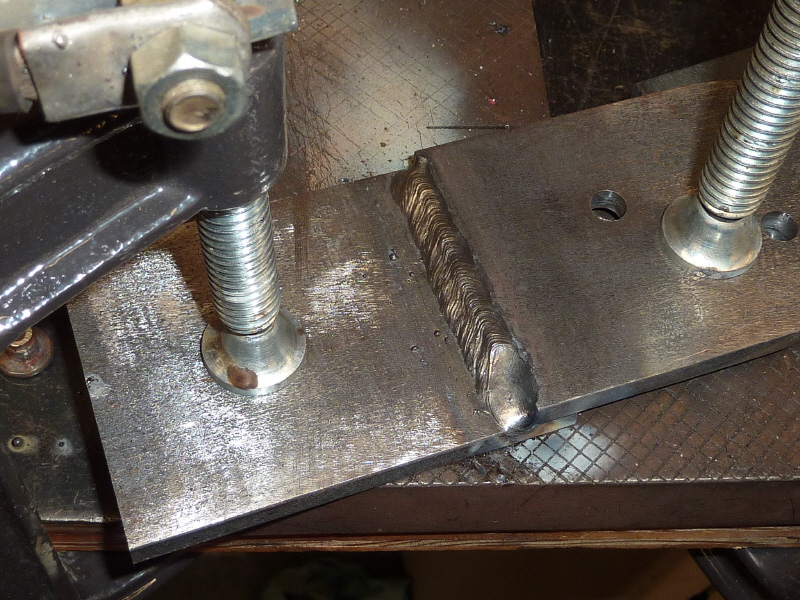
Here the first transitional piece is welded to the base bracket getting me to 1/2". |
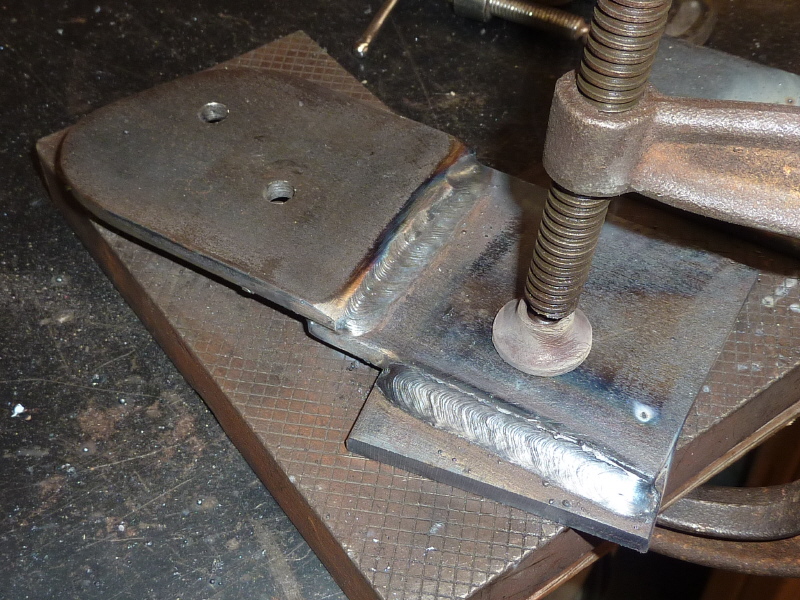
The second transitional piece changes the bracket direction. This allows the last piece to line up and allow the regulator to be centered between the battery, radiator shroud and mount. |
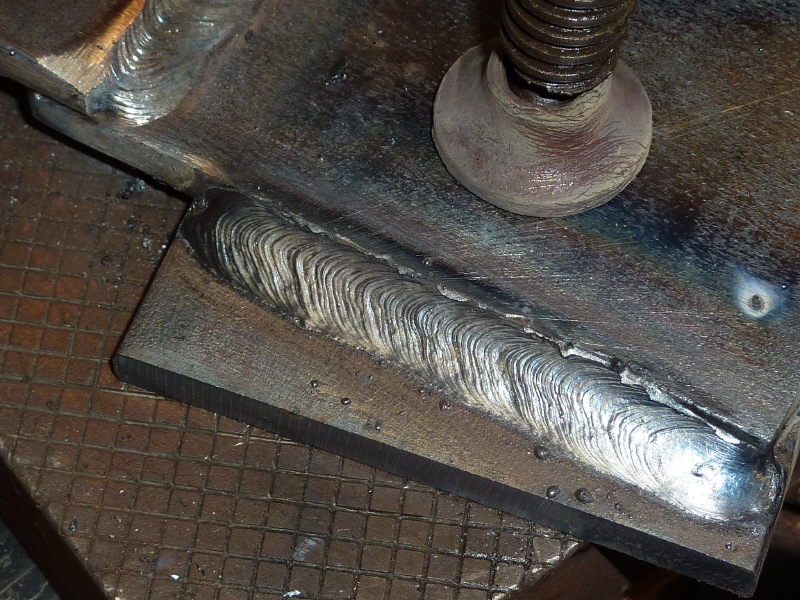
We are now at 3/4" height and the final piece of the puzzle begins. I need to make a template that rotates the regulator about 40° and will connect to the main mount piece. |
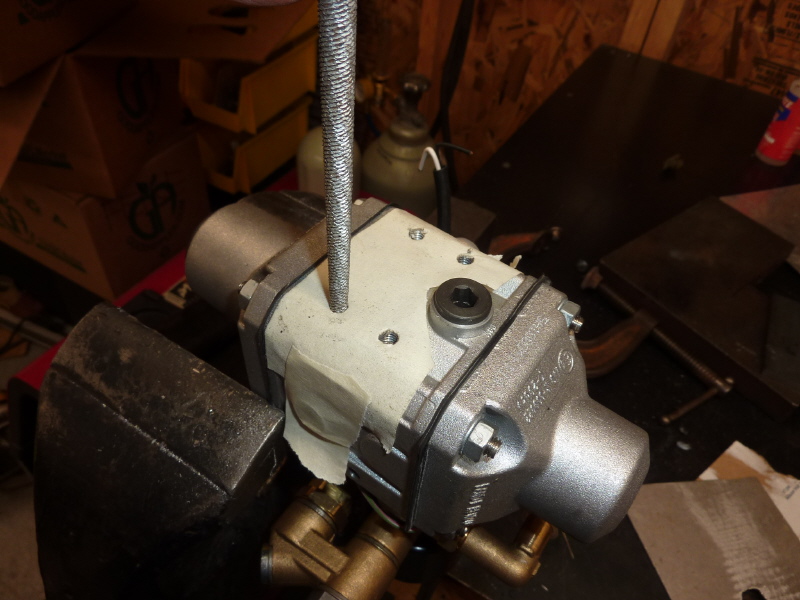
I am starting out by attaching masking tape (sticky side out) to the regulator and transferring the mount features to tape. |

Then using a hunk of aluminum plate, press down to transfer the tape to the plate. |
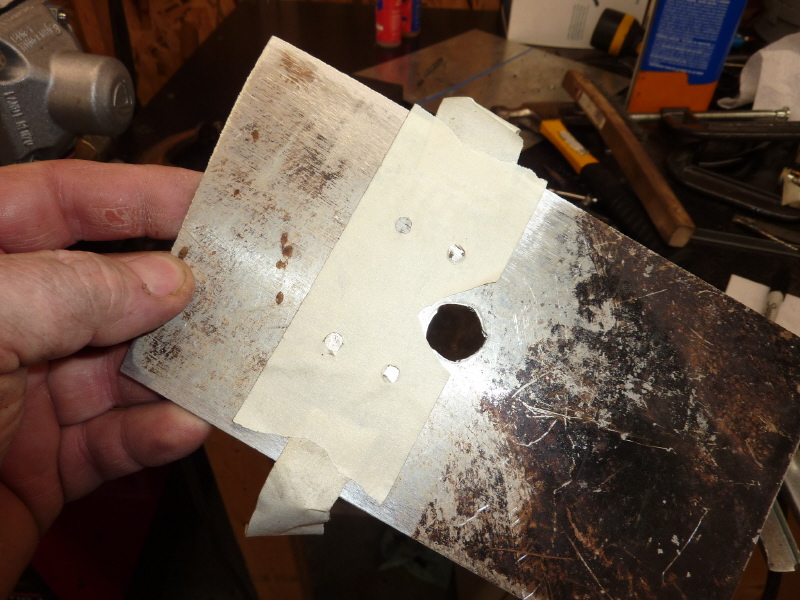
Here is a view of the stuck on tape. |
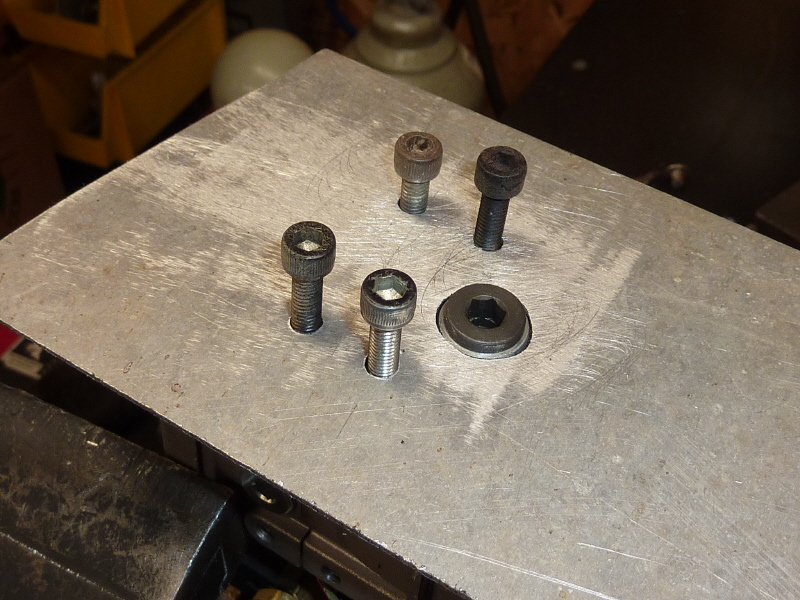
The mounting holes are drilled and the regulator is bolted to the aluminum plate. |
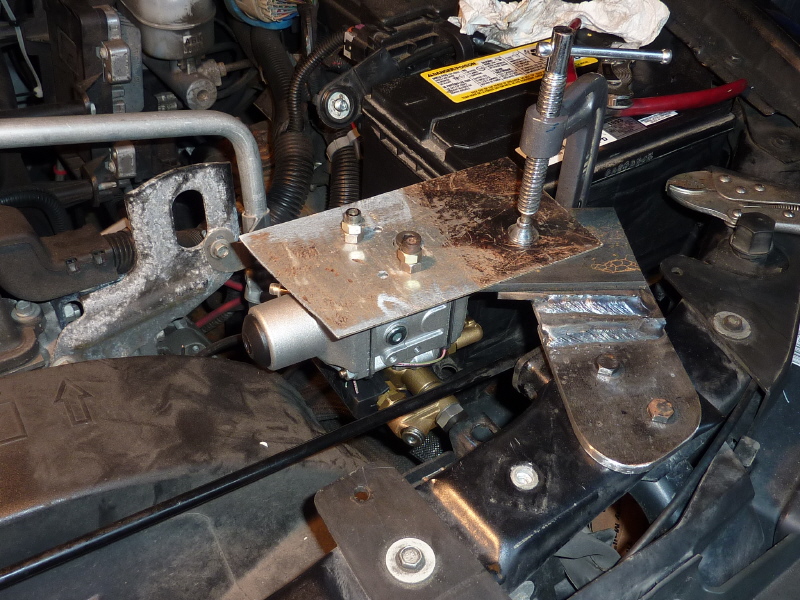
Now the regulator can be moved to is optimal position and clamped to the main bracket. |
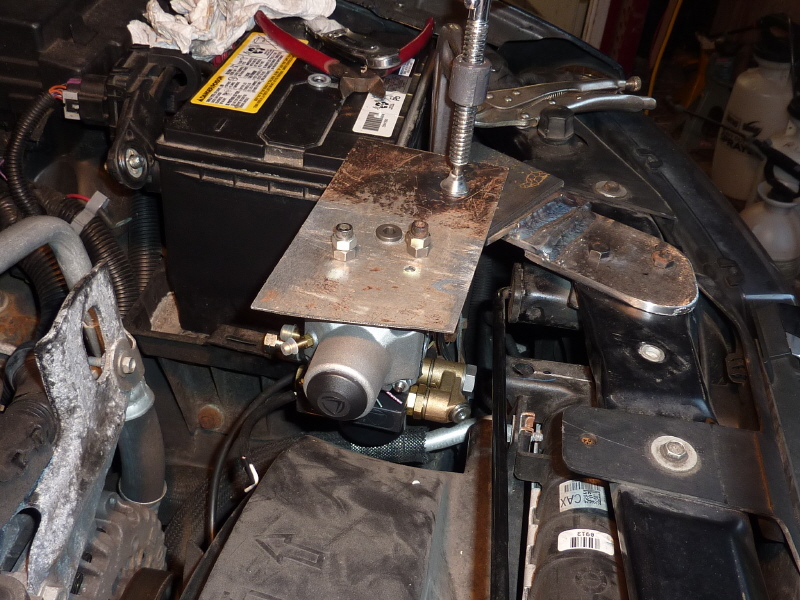
Here is another angle. It does look ugly, however notice that the top of the regulator has been raised to the same height as the top of the battery. |

The features from the aluminum plate are transferred to a piece of bar and drilled out. |
The regulator is mounted to the transition piece and the transition piece is clamped to the main bracket. The assembly is then removed from the trailblazer and final welding is done. |
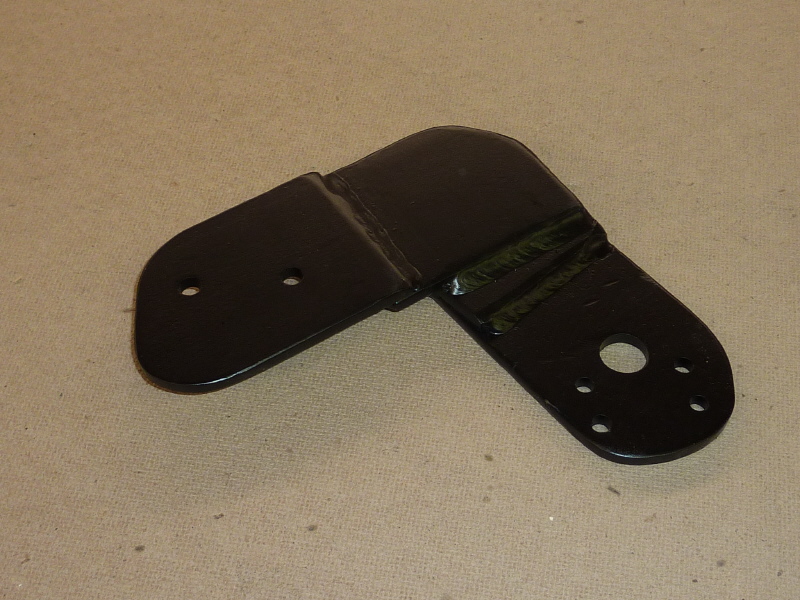
After some grinding, sanding and finish prep, three coats of rustoleum is painted on. |
This will probably be the toughest bracket I need to make, however it gives you an idea of what you can look forward to when inside the engine compartment. |