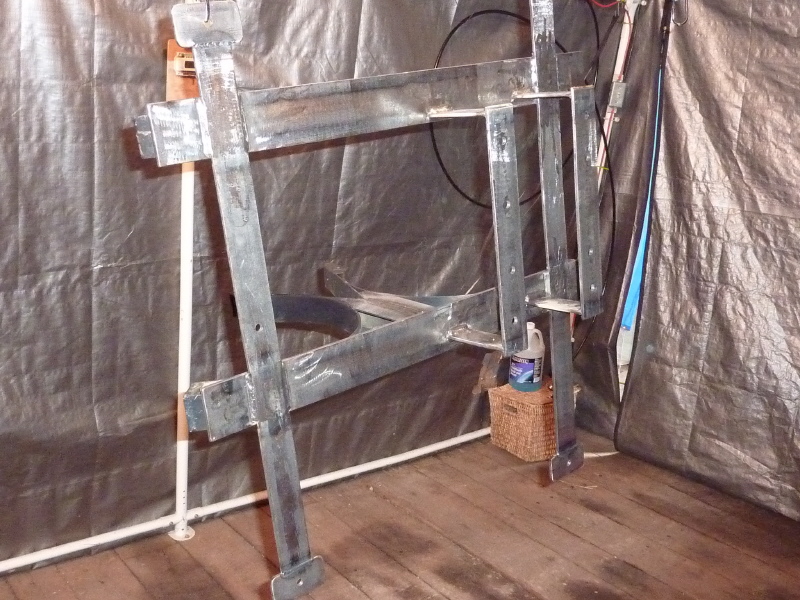
Now that the Main Tank Mount is done being fabricated, it is time to finish it. Prep grinding and sanding took some time. |
Here's another pic. A little Dupont Prep-Sol has the mount ready for painting. |
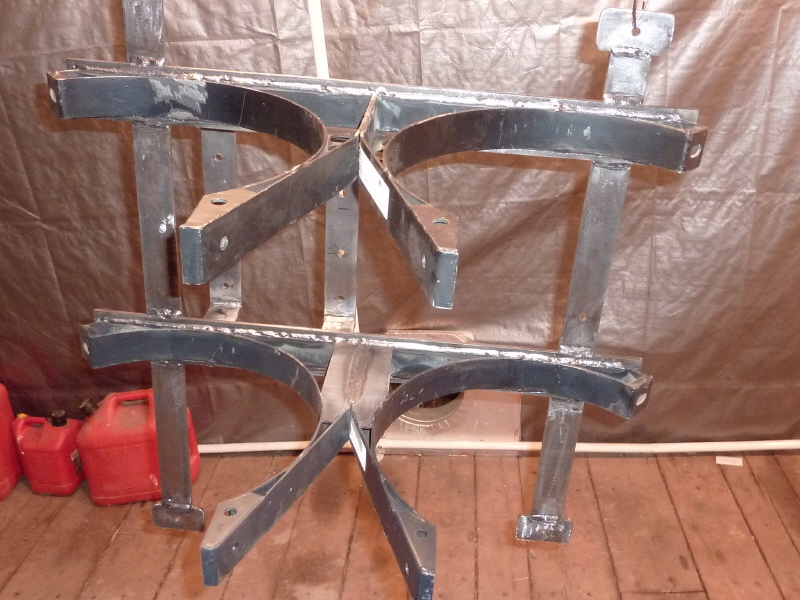
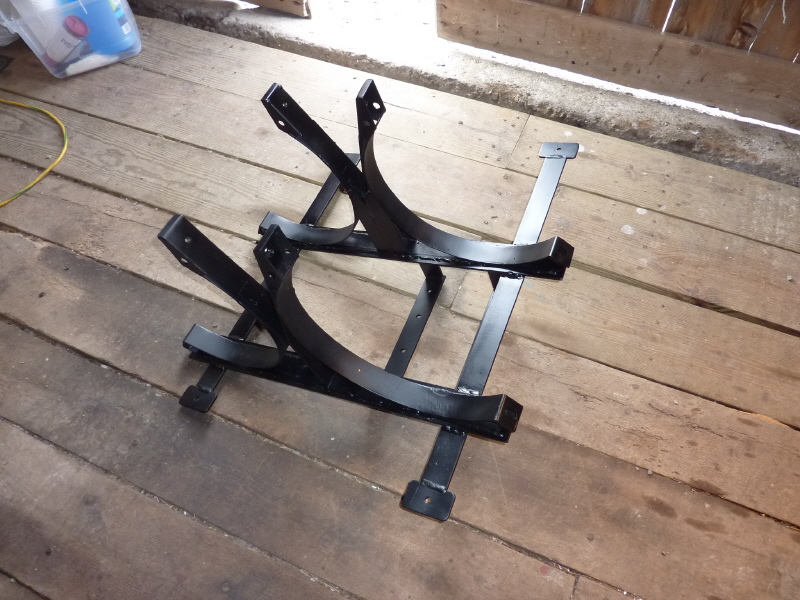
One last view before three coats of Satin Black Rustoleum is painted on. The over spray is ugly, it lands everywhere and on everything. |
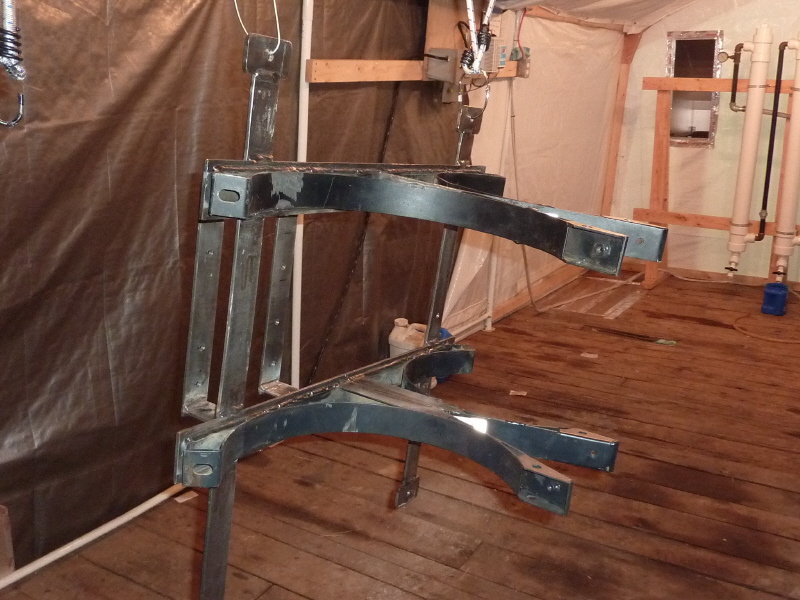
Here the mount is lying on the floor getting a visual inspection. |
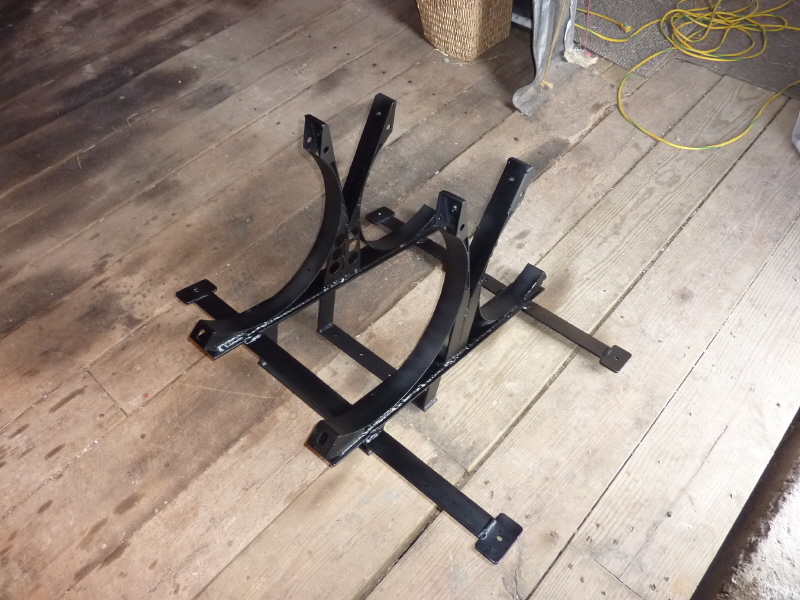
Another pic from a different angle. |
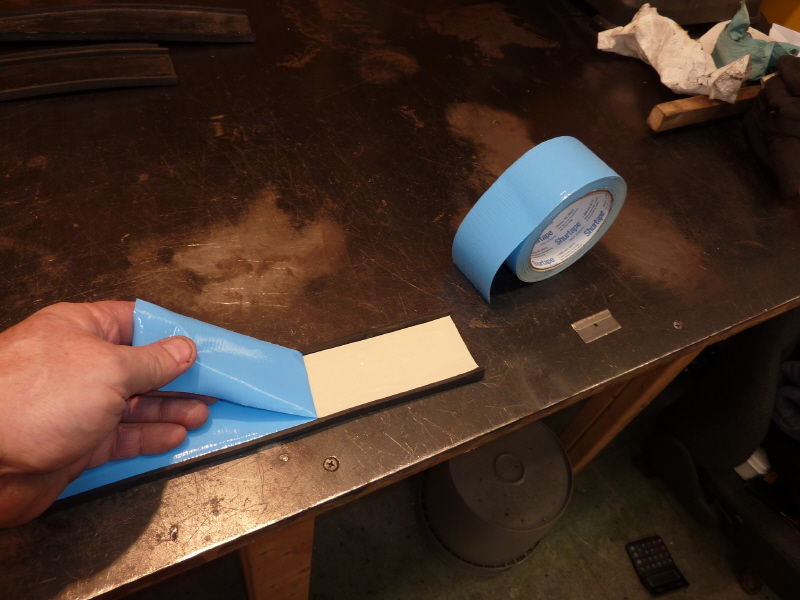
It is now time to add the rubber isolation stripes. These stripes keep the CNG tank from touching bracket metal. |

I am using double sided masking tape to hold the strips in place before the tanks are dropped in. |
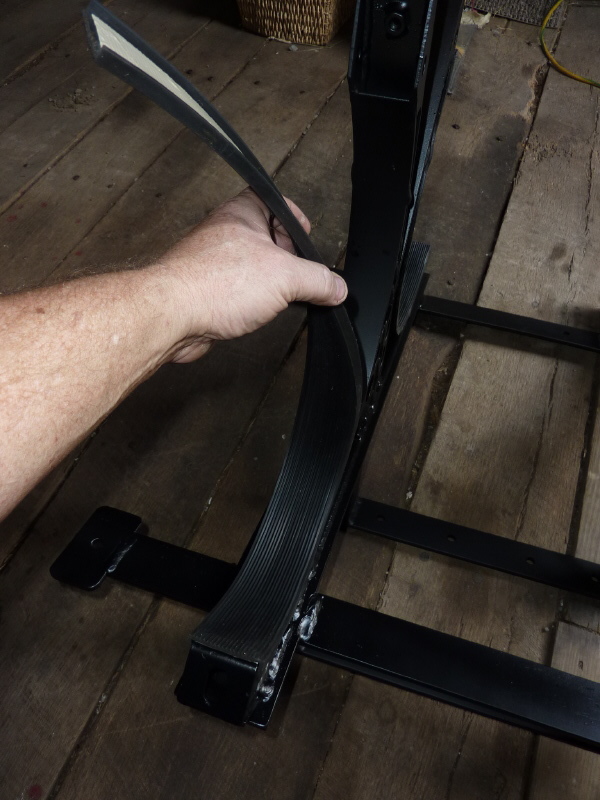
With a little tender loving care, the strips just fall into place. |
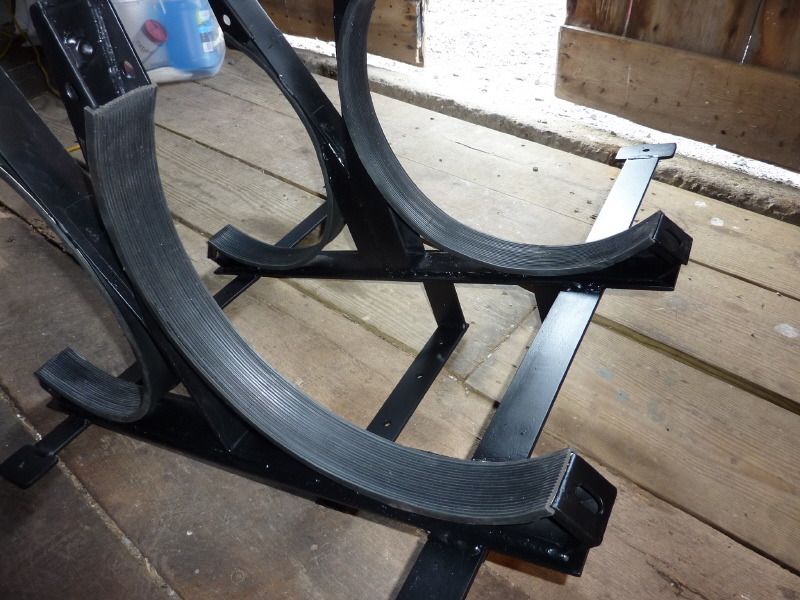
Here the left and right strips are in place for the front and rear tank straps. |
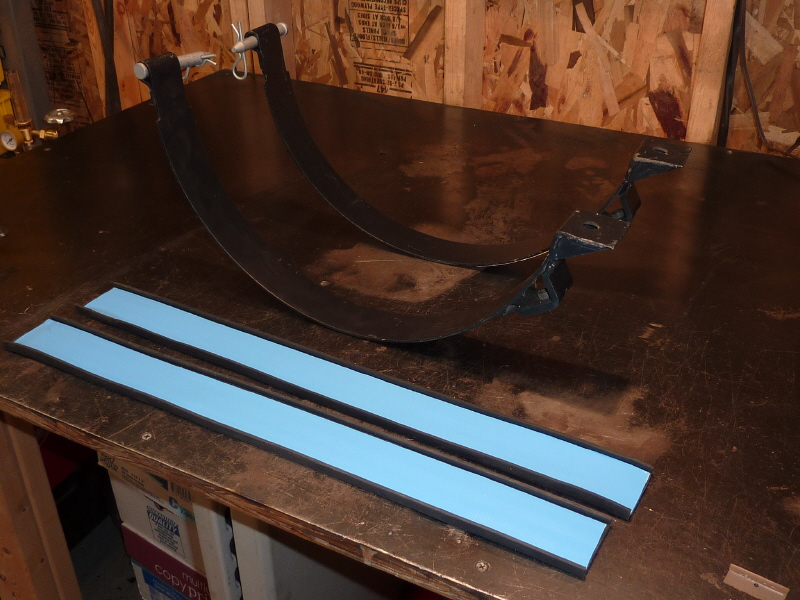
All that is left to do are the top strips. This pair is ready for assembly |

Once all the isolation strips are in place, it is time to install the main tank support. |
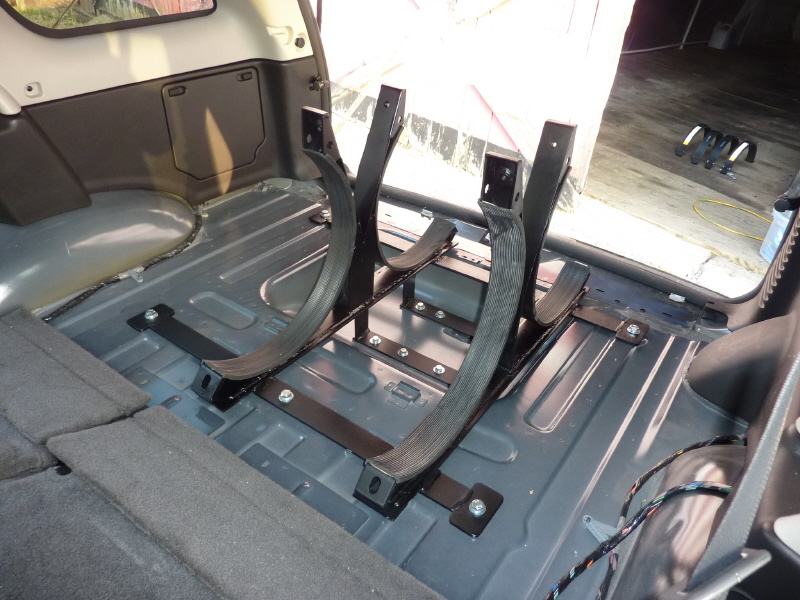
Here is a pic from the driver side passenger door. |

Looking down into the support mount you can see the two lower support bars with 8 bolts attached to their backing bars under the floor. |
I TIG welded the nuts onto the backing bars to aid in assembly and removal. One nice thing was that the mount fit perfectly. All the weld clamping paid off as the mount was not warped. |

Here the first tank is installed and strapped down. The HPL (High Pressuer Lockoff) is inserted to get the PRD (Pressure Relief Device) port pointing in the right direction. |
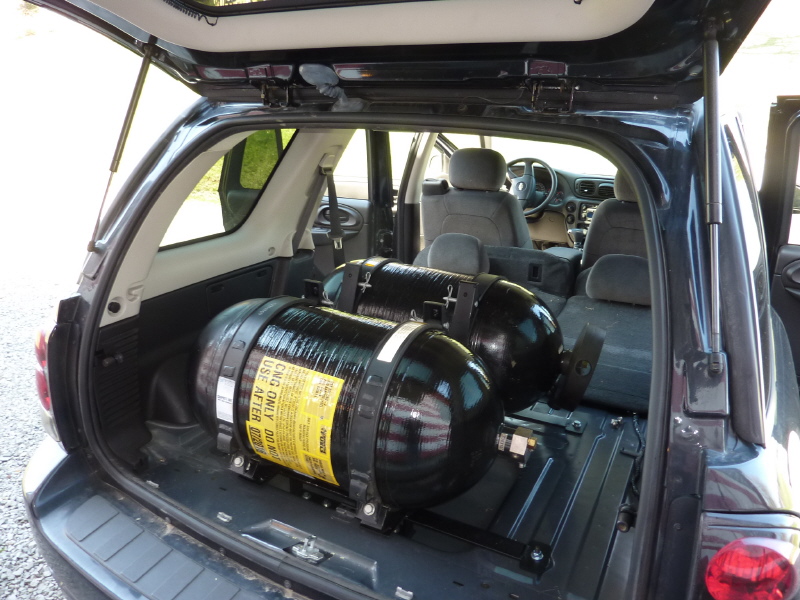
In goes the second tank. It was a little more diffucult as I had to go through the side door and could not roll the tank up a home made ramp into the back. |