The first order of business is sawing metal. After a visit to Jeannette Steel, I had all the bar & plate needed. Here I am sawing up a 1/4" thick 10' bar into pieces. |

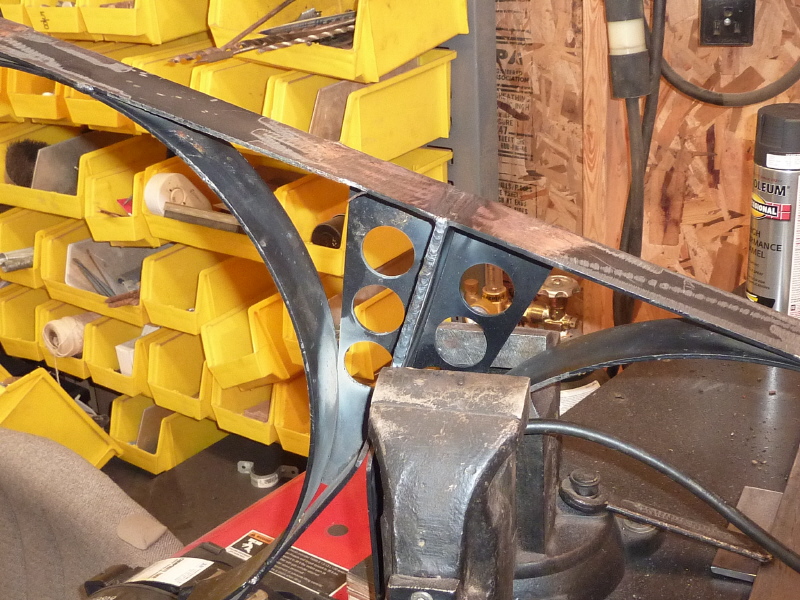
Here is a pic showing a pad being TIG welded onto the end of a lateral bar. |
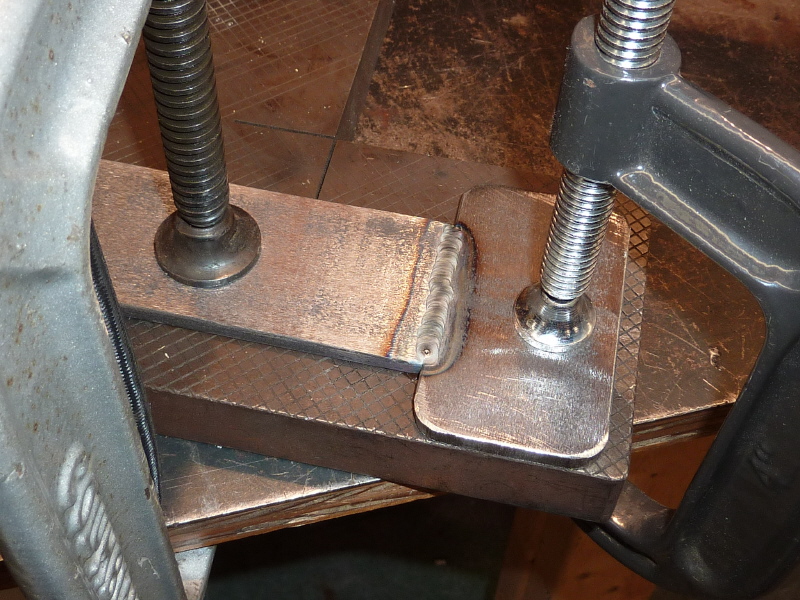
Here is another view showing a pad weld. Since the bar is thick, I needed to crank up the amperage which causes some swirl in the weld puddle. |
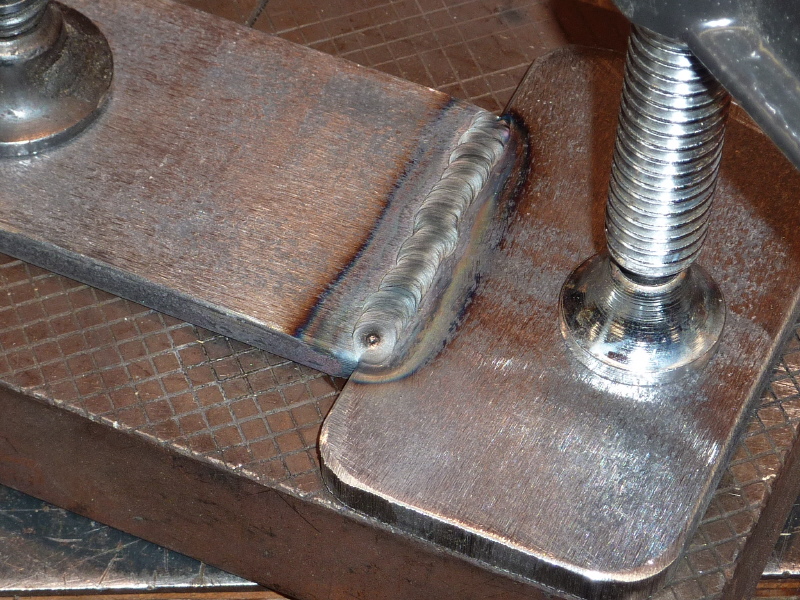
Another view of a pad. The puddle should look as smooth as glass. I normally stick weld 1/4" metal. What was I thinking. |

Here all the pads are welded and ready to be drilled for mounting. |
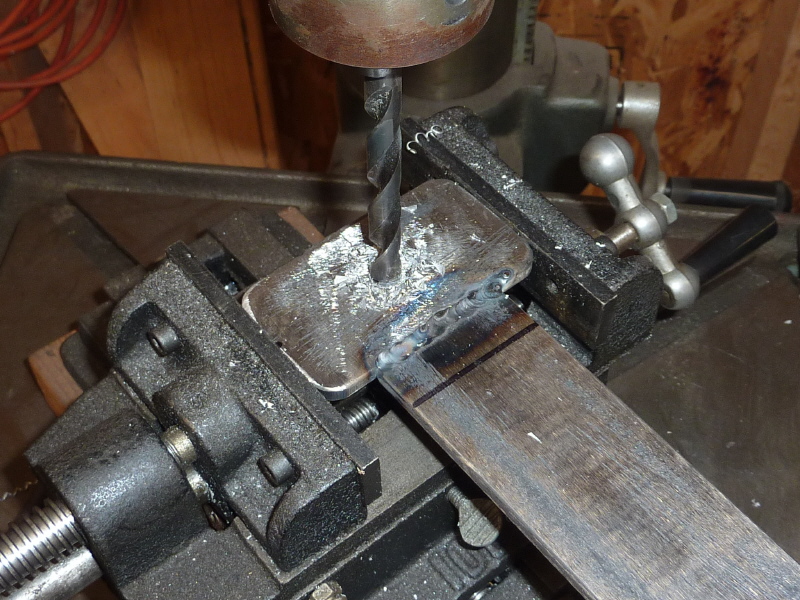
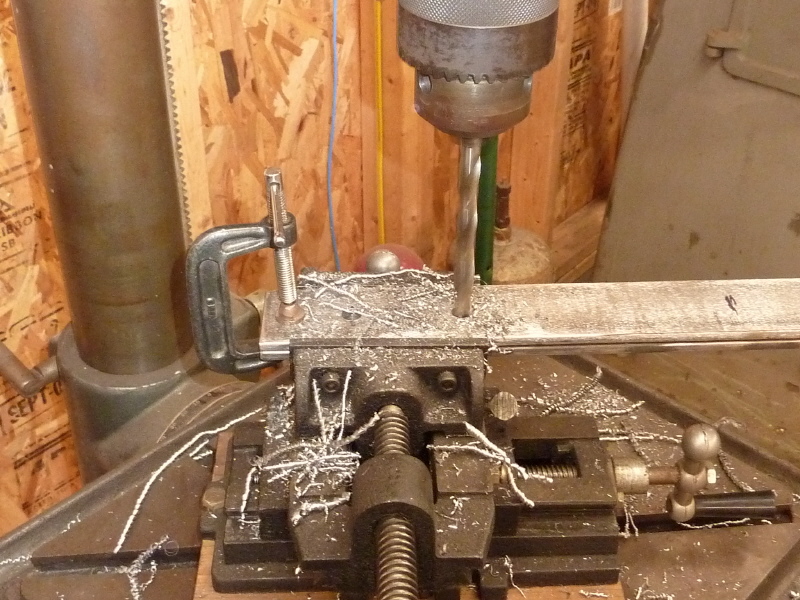
Each pad is drilled. I used a center punch to start. Then drilled it 1/8", then a 1/4 and finally 1/2". This is to prevent drill walk. |
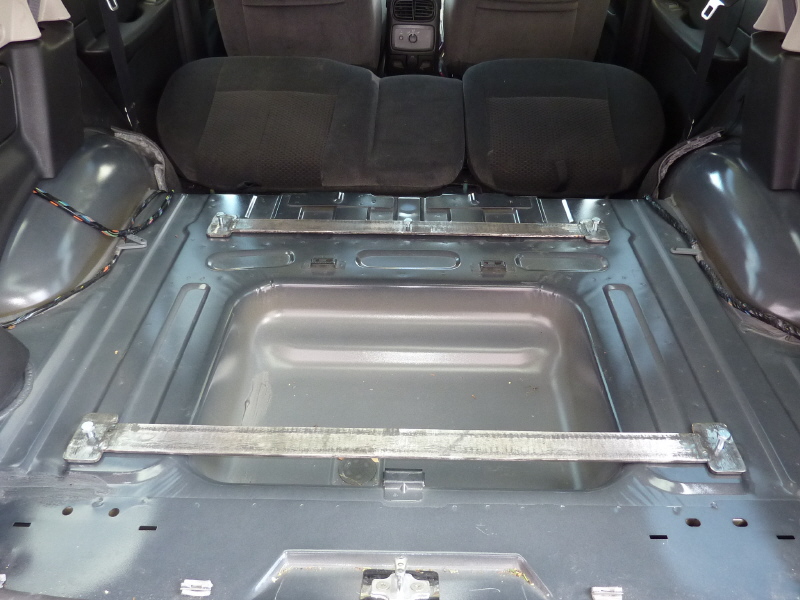
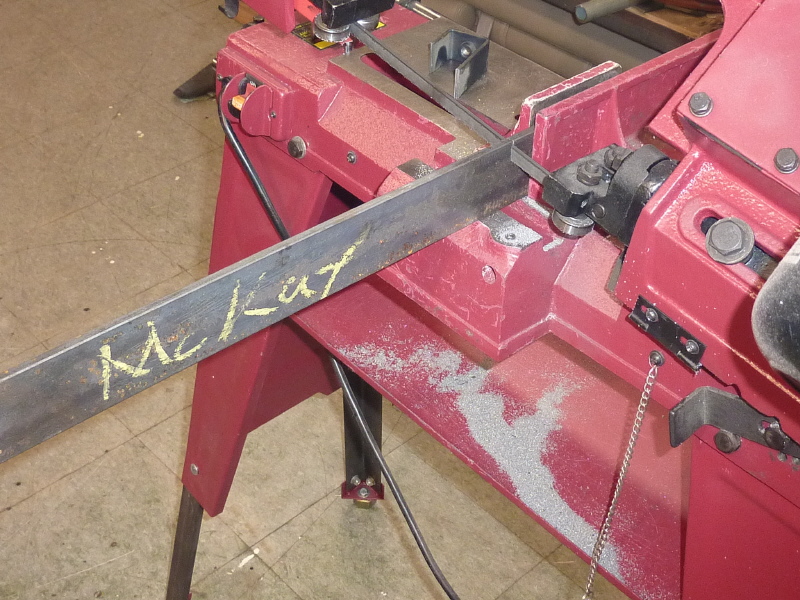
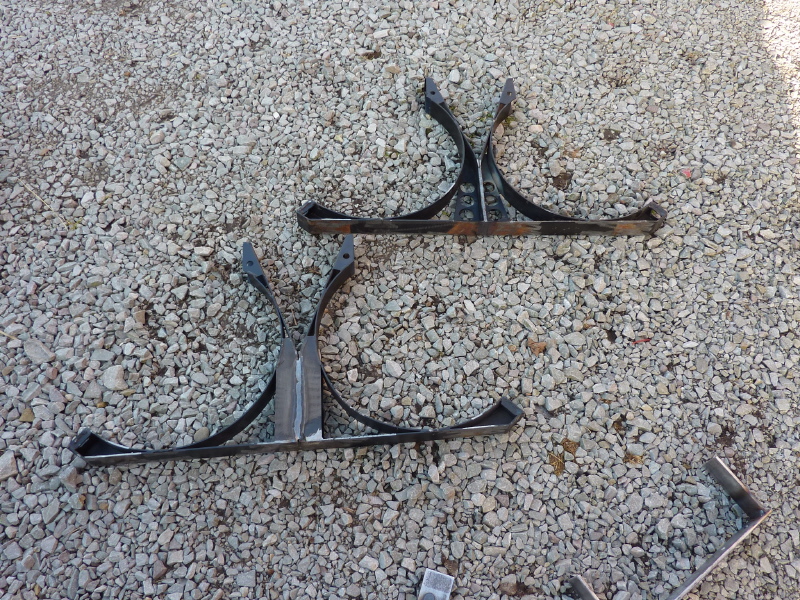
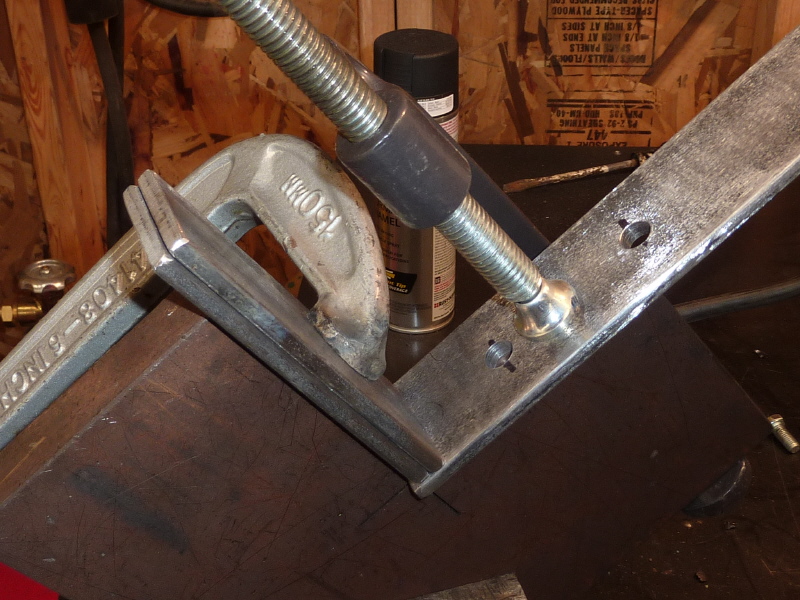
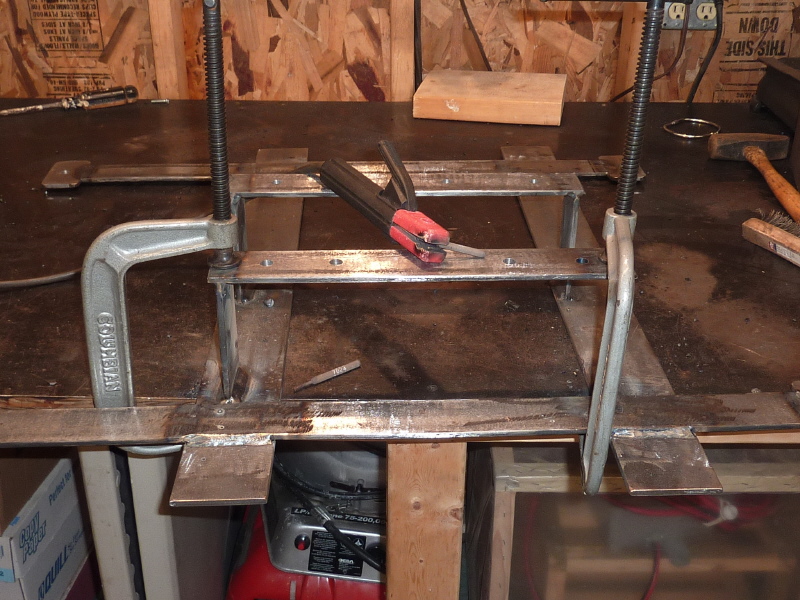
When finished, the lateral bars are fitted and the metric bolts inserted. Believe it or not everything lined up as it should. |
Here the longitudinal bars are fitted and the tank straps added to insure no unforeseen problems exist. |
The longitudinal bars are then clamped and readied for welding. I then clamped the assembly to my welding table so it will not warp and welded it up. |

I then set my attention to welding up the the tank straps. Here the bottom of the two straps are TIG welded. |
This is a view of the other two straps butted back to back and welded. I choose to stick weld the sides of the straps. I use 7024 welding rod for flat and horizontal surfaces. The thick (next) |
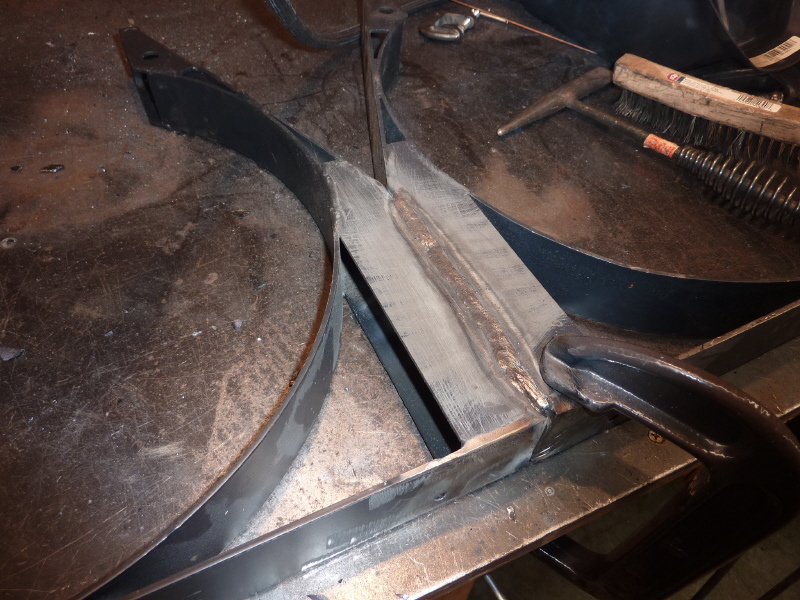
flux wall, of the rod, allows you to maintain the correct arc length and drag the rod smoothly and quickly. Also, 7024 rods are less likely to stick to the metal surface being welded. |
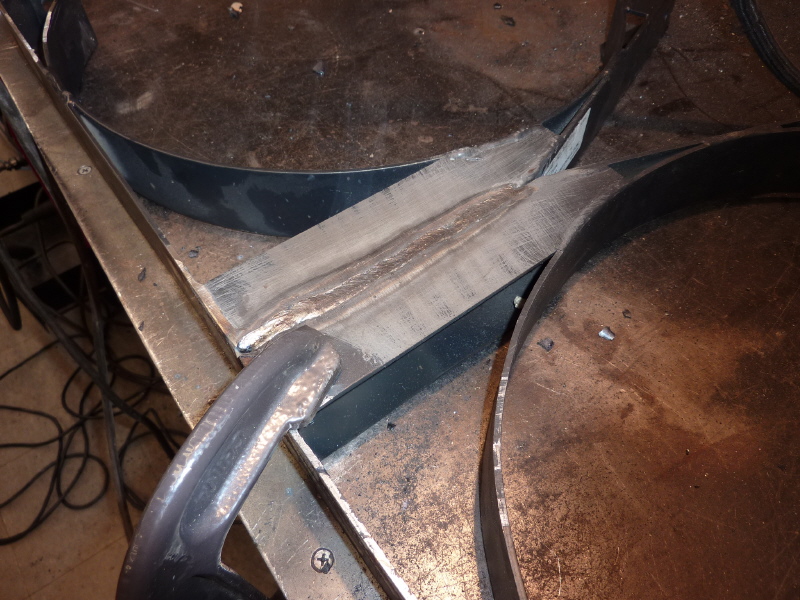
The weld required low amperage and a quick steady draw on the welding rod. I practiced on some pieces of the chopped up tank cradle before I went prime time. |
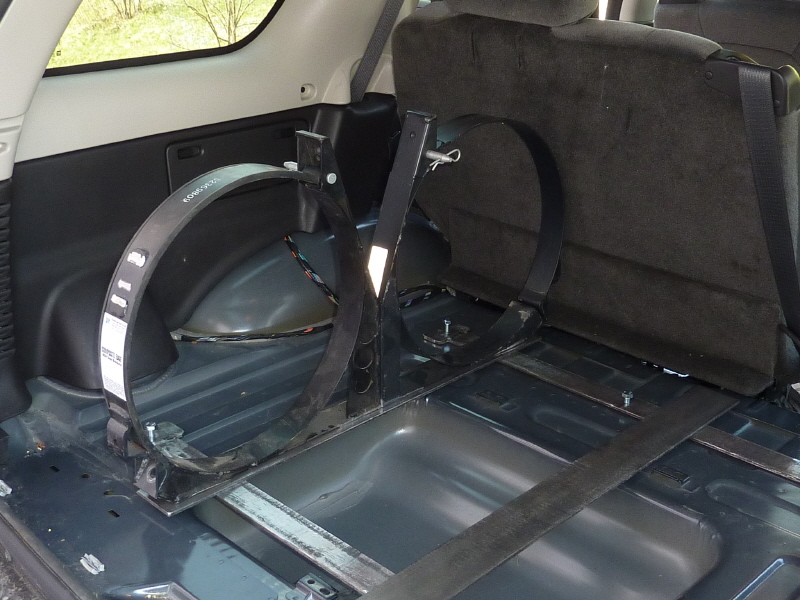
Here are the finished tank straps welded together as two sub-assemblies. |
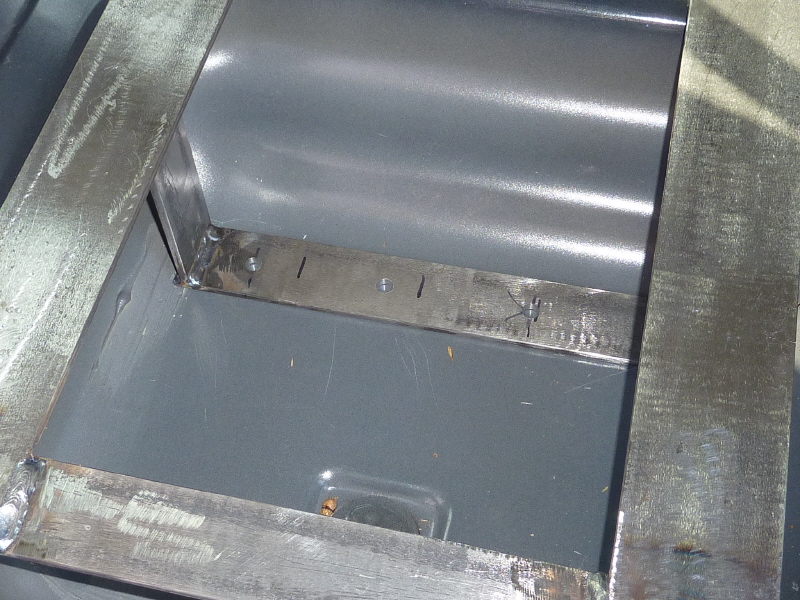
Here are a pair of bars clamped and drilled. They form one of the lower support bars. The two bars are sandwiched between the floor, inside and out. |
This is the clamp up and welding of a vertical bar. This bar connects the lower support to the longitudinal bars. |
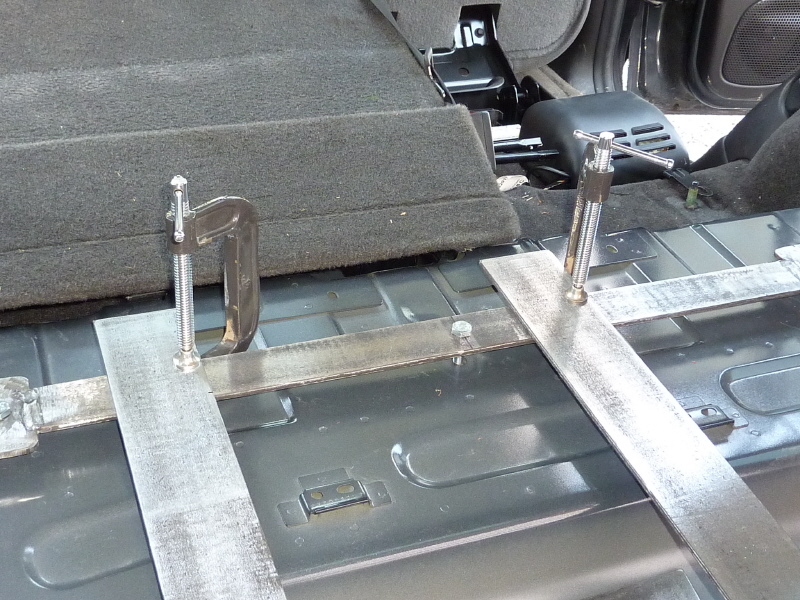
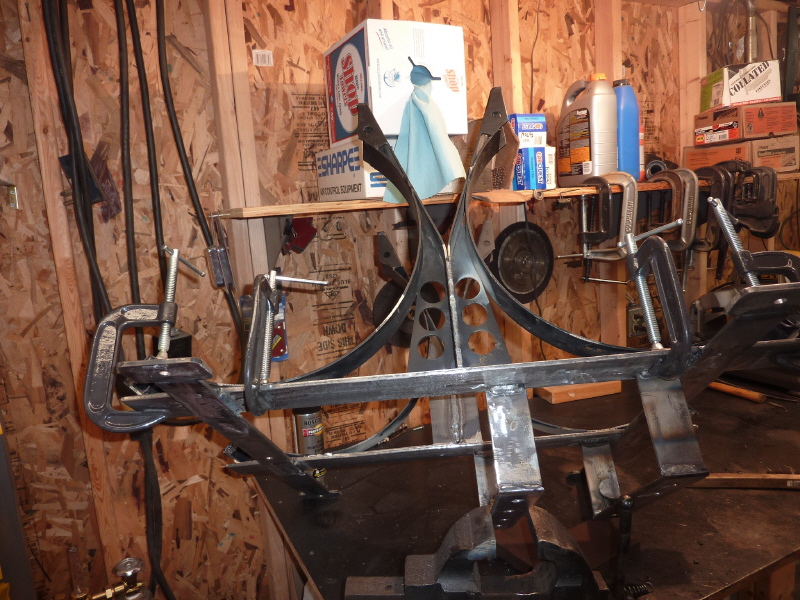
Once the lower support is welded, it is then fitted, clamped and readied for welding. |
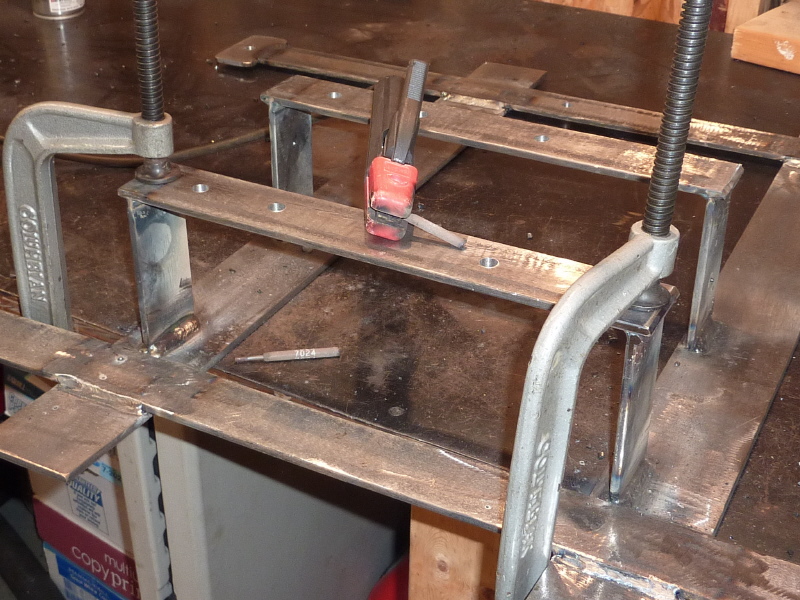
Here the entire assembly is clamped and all the subassemblies are welded. There was a ton of smoke in the shop and I had to vent it before I could continue. |
I kind a got out of control here. Trying to get maximum penetration on the weld, I cranked up the amperage. At least I know it will never break. |
Here is another pic of the entire assembly being welded up. |
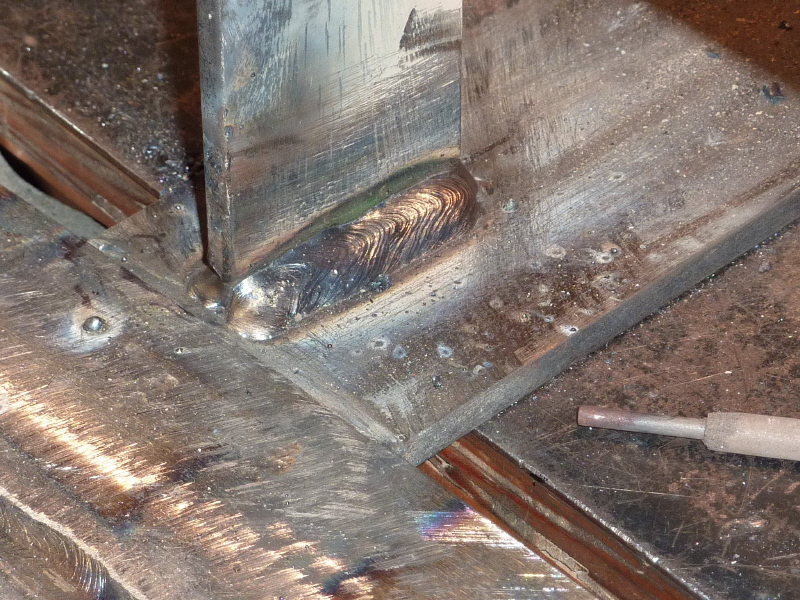
Here a tank strap is clamped to a longitudinal and welded. |
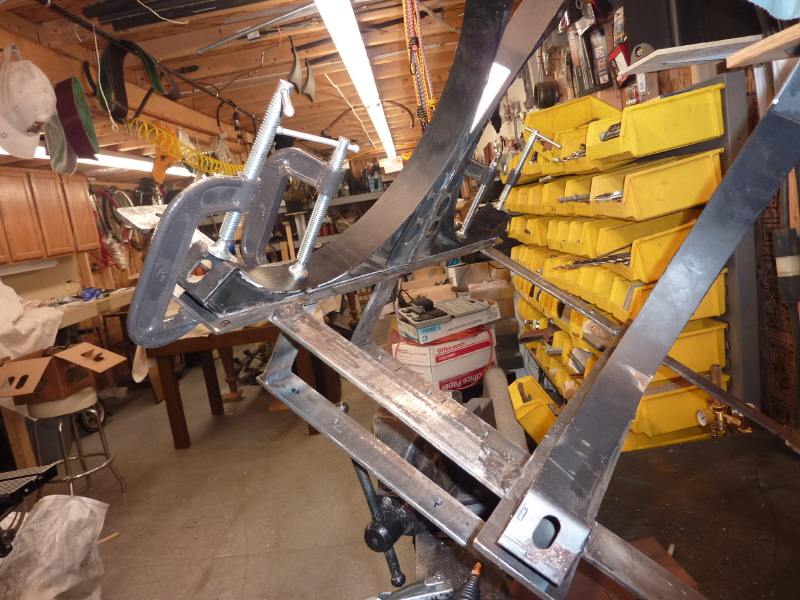
Here the other tank strap is clamped and welded. This finishes the welding. Some grinding and sanding will prepare it for painting.. |