|
I decided to start routing the CNG line at the fill nozzle, mounted on the rear frame. I used 316 Stainless Steel line, it will not rust or corrode. Unfortunately it is extremely hard and difficult to bend. It required a variety of forms to accomplish a smooth bend line. I also used a piece of 1/4" copper water line to make a template form. This worked out well as it limited the number of times I had to crawl under the Trailblazer and back out. |
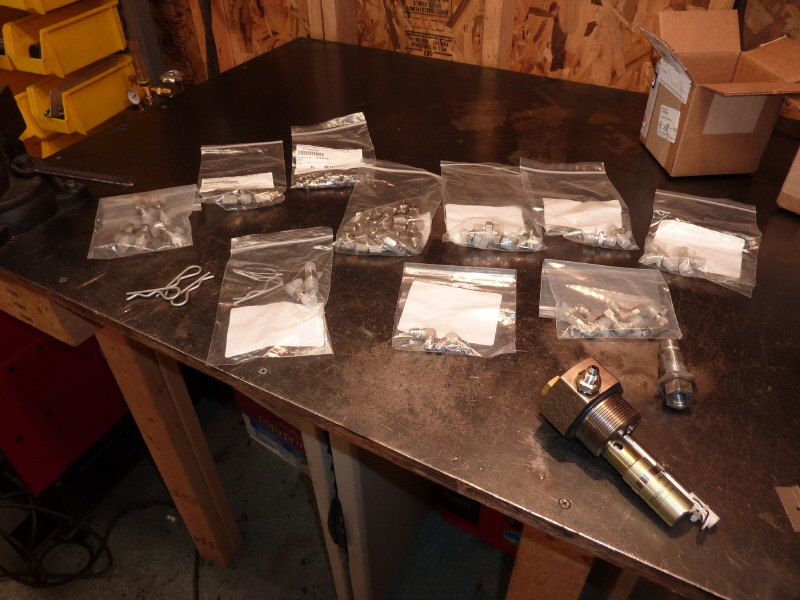
Here is all the bags of 316 Stainless Steel fittings I used to do the plumbing. All the line fittings are #4 JIC 37 ° flare. I used O-ring Boss fittings on the HPL (lower right) and 1/4" pipe thread adapters for the check valve. |
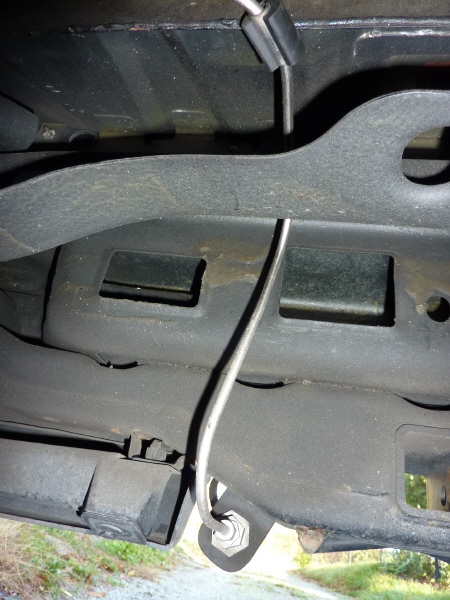
Here is the first leg of the CNG line. It runs from the fill nozzle to the check valve. I added a fancy rubber isolation damper around the line to keep it from rubbing on the body. There is another damper where the line rounds the top of the frame cross member. |
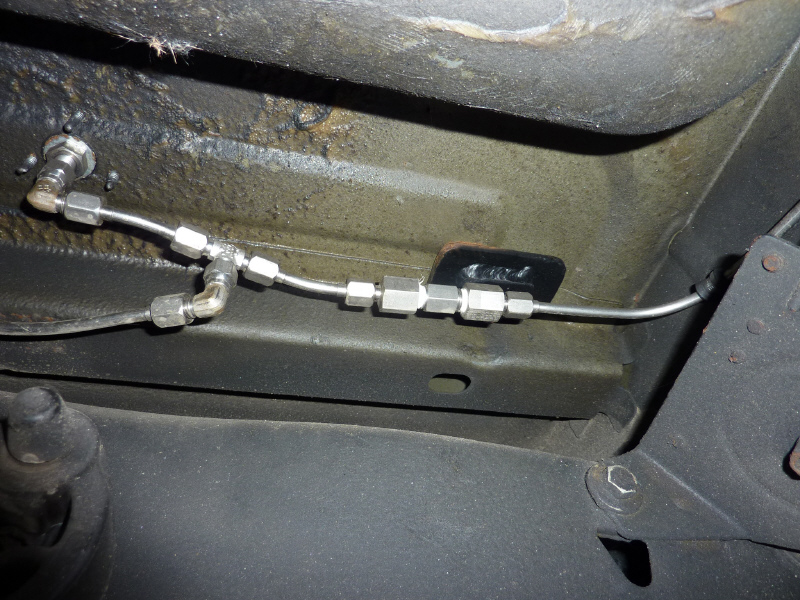
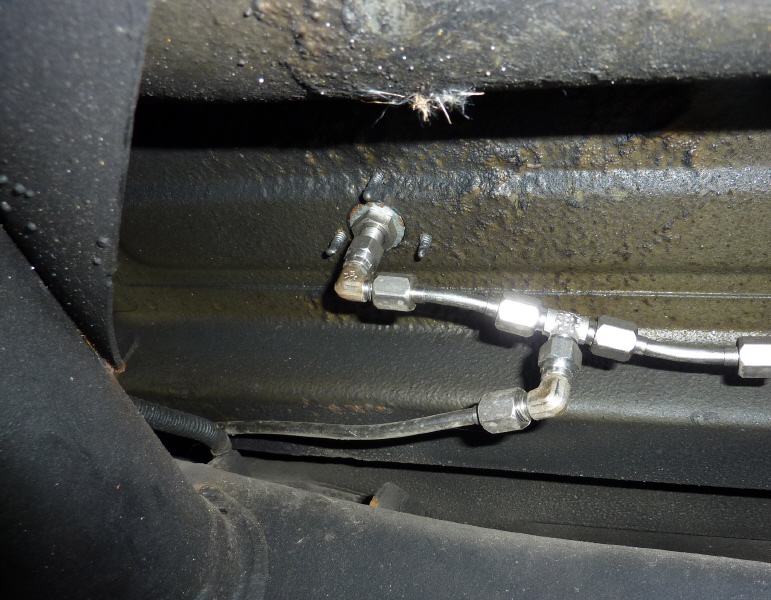
This is a a pic showing the plumbing of the check valve and inlet line to the CNG tanks. I used a bulkhead fitting to pass from under floor to above floor. The tee allows the CNG line to route to the engine compartment. |
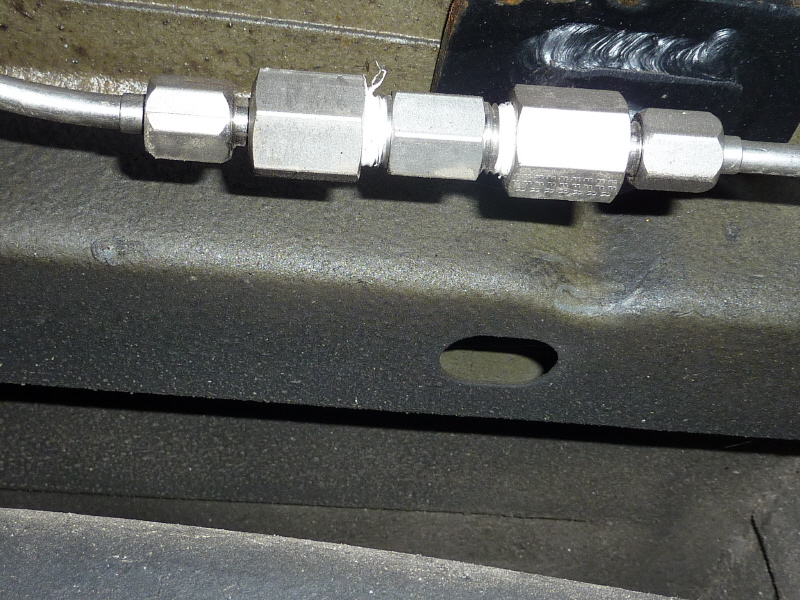
This is a close up of the check valve. I had to use an adapter on both sides of the check valve to plumb it into the main line. I had a check valve from a Cavalier, however it's connections were O-ring Face Seal and to adapt that would have been ugly. |
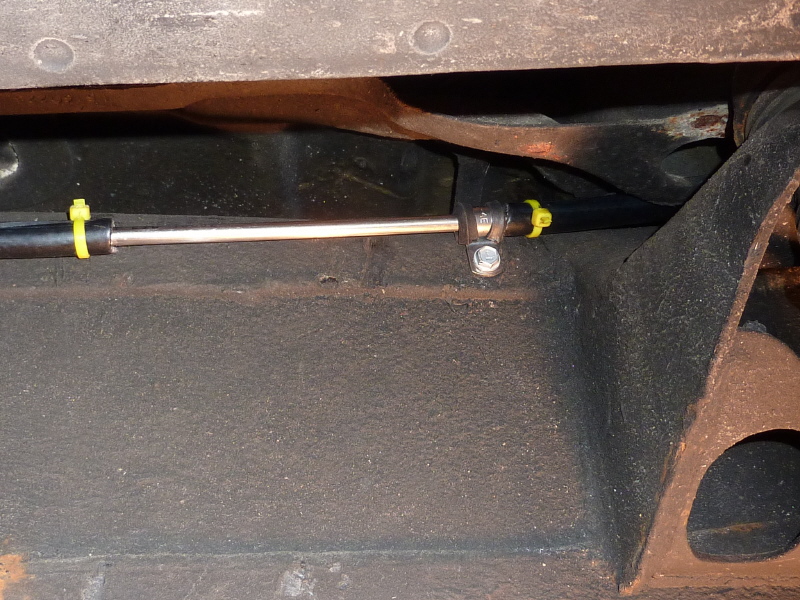
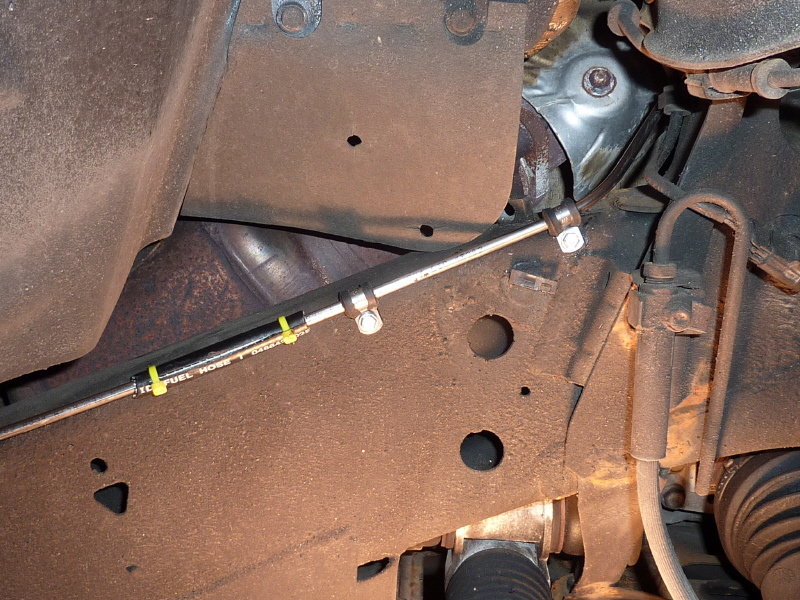
Here is another pic showing the main CNG line running along the frame rail. |

I used Stainless Steel Rubber-Cushioned loop clamps to hold the CNG line in place. I got them at a reasonable price from Jegs Performance Auto Parts. 2 packs is all you will need. |
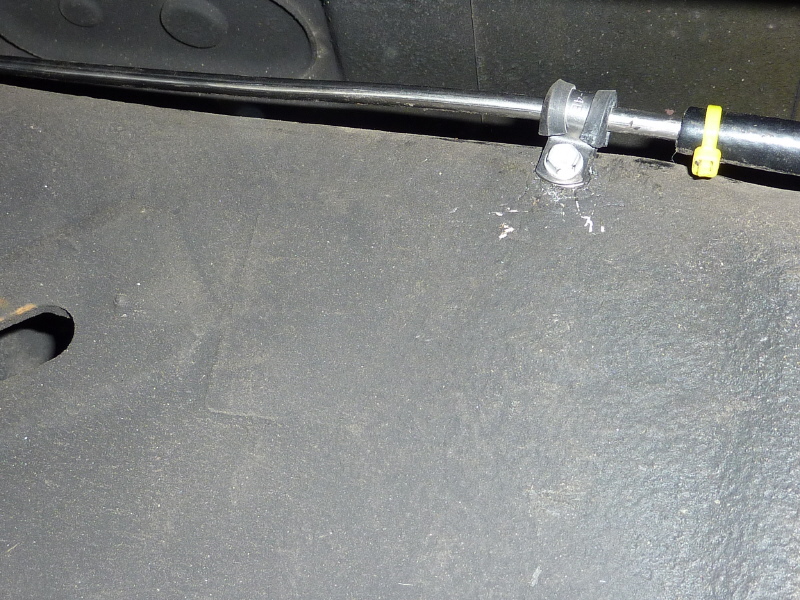
A better view of the clamp. I also used Stainless Steel self taping screws to hold the clamps to the frame rail. I needed to pre drill the hole as the drill end of the screws were not long enough to pass through the frame. |
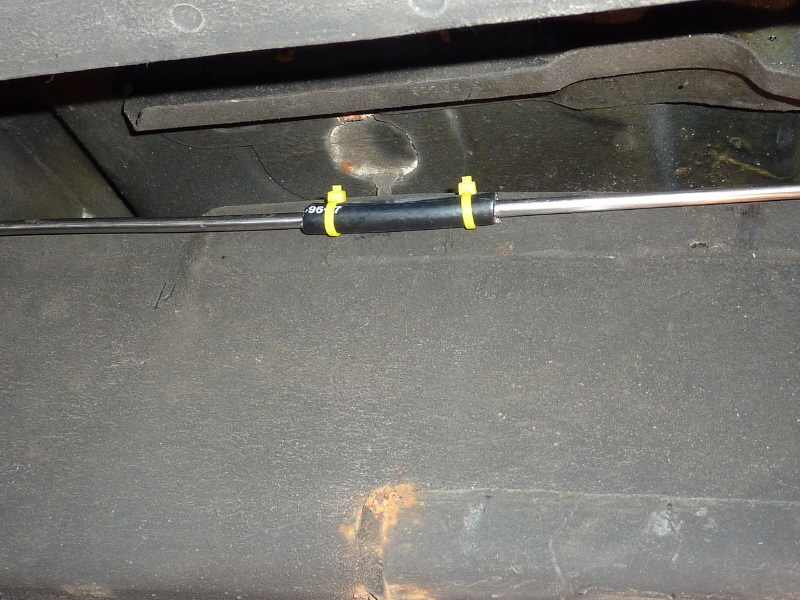
Every place the CNG line touched the frame I wrapped it in a 4" length of high pressure fuel line and zip tied it in place. The fuel line is extremely tough and makes a great insulator. |
Here is the last pic before the front frame standoff. From here it is up to the engine compartment. |
Another shot looking up a bit into the engine compartment. |
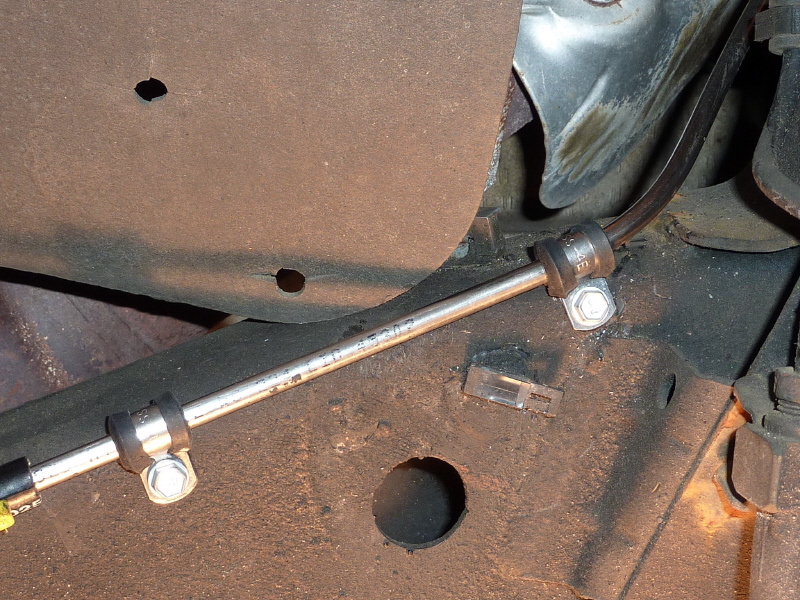
Here is a view showing an empty clamp that use to hold the ABS cable. I had to reroute it to clear the CNG line. |
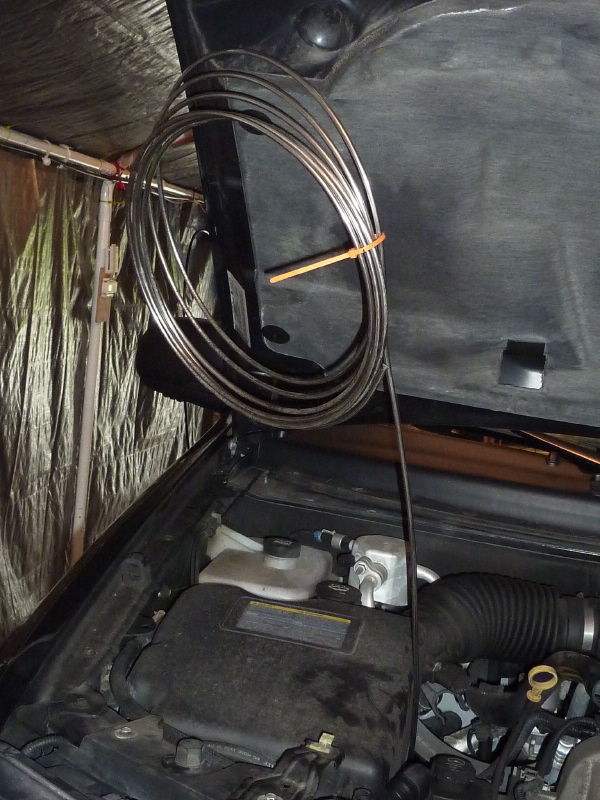
As you can see I finally made it to the engine compartment. |
It is too bad that 304 stainless will rust slightly. The 316 stainless tube added a bit if difficultly to the task. Especially at the engine compartment where some precision bends needed to be made. I am glad this task is nearly over. |