|
For the most part this page is not really needed. I posted it as reference so in case I needed to look back on something I did. There are a few techniques that are worth the read. |
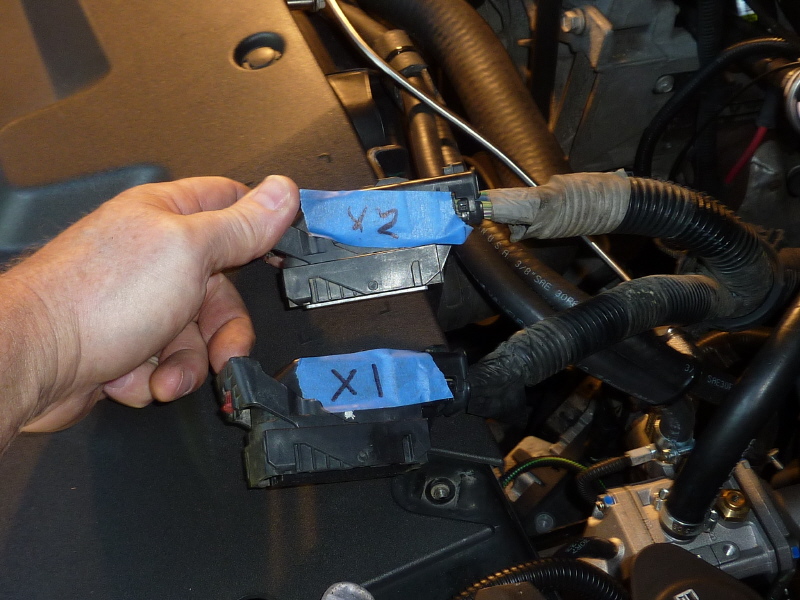
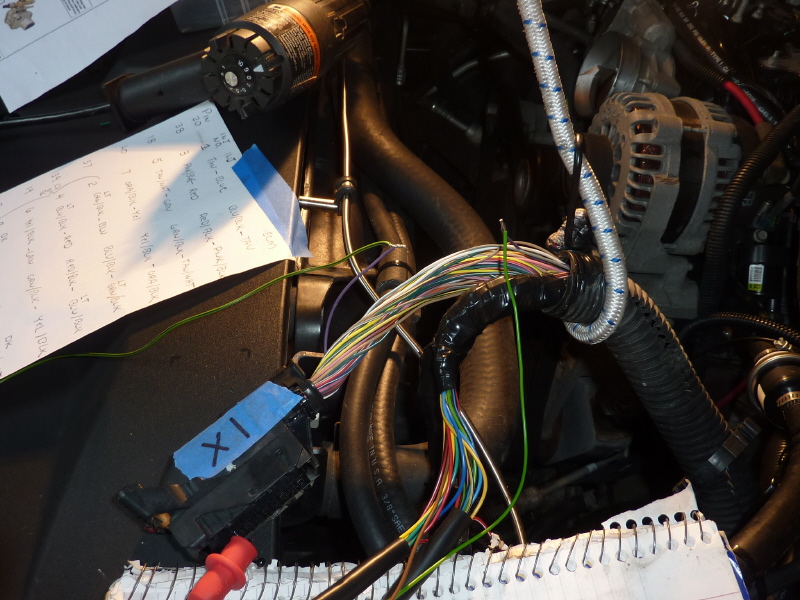
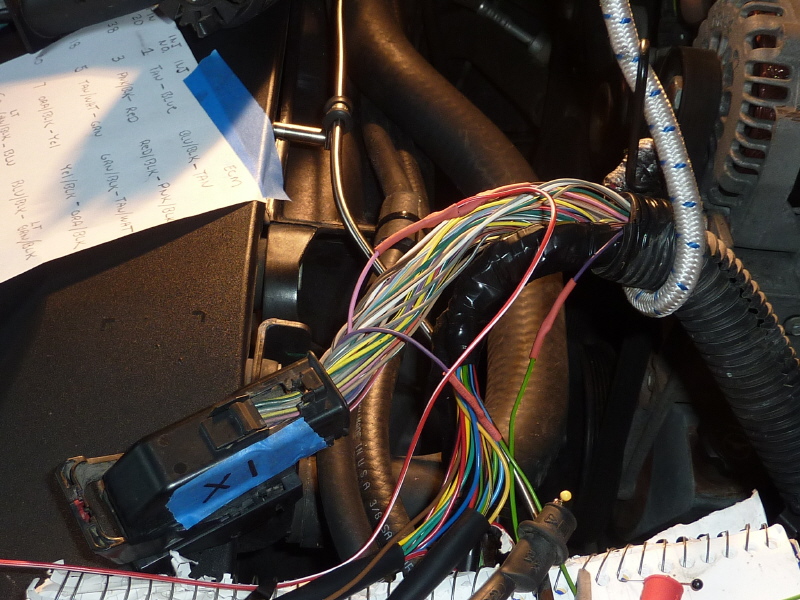
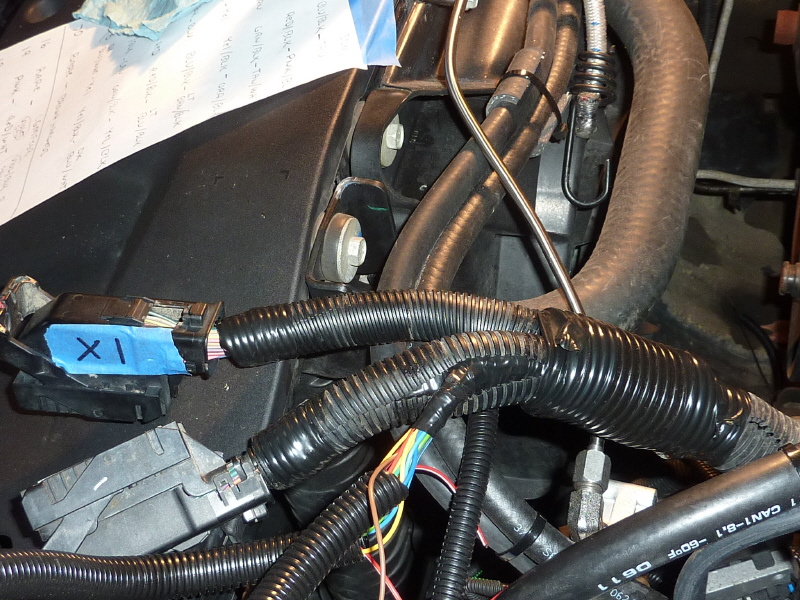
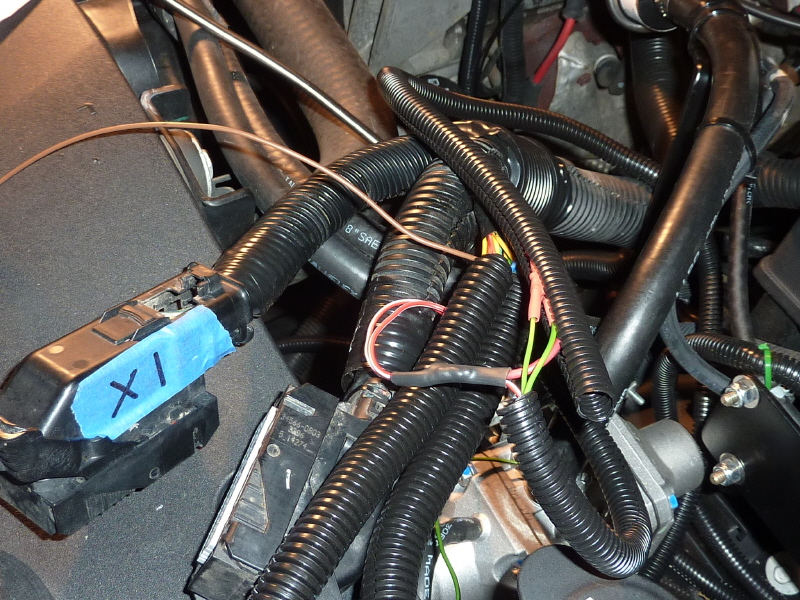
The first thing you need to do is locate and mark the "X1" and "X2" ECM connectors. This way you will always know which one you are working on. I have provided the pinouts for the "X1" Connector and the "X2" Connector. |
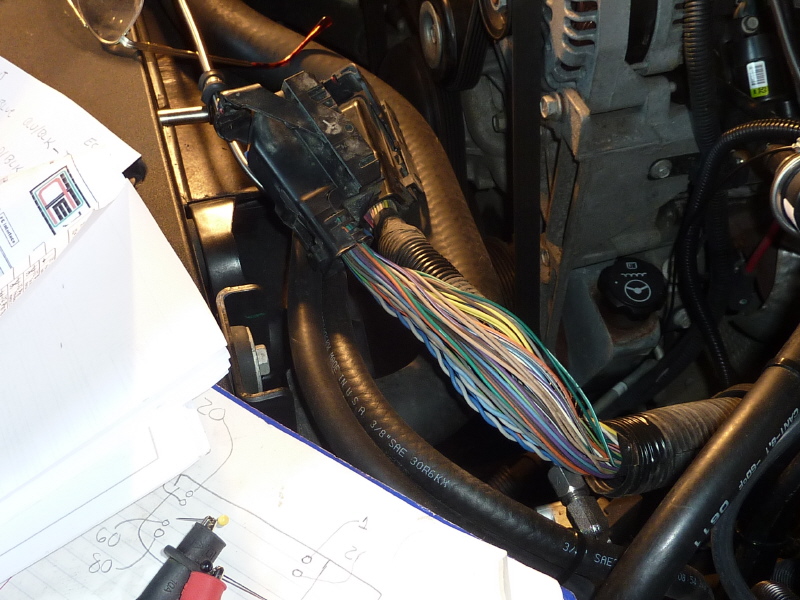
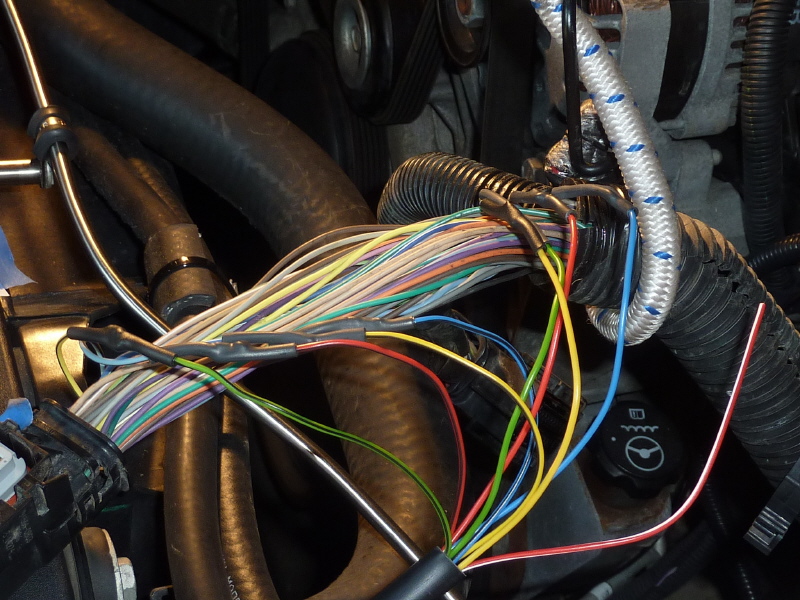
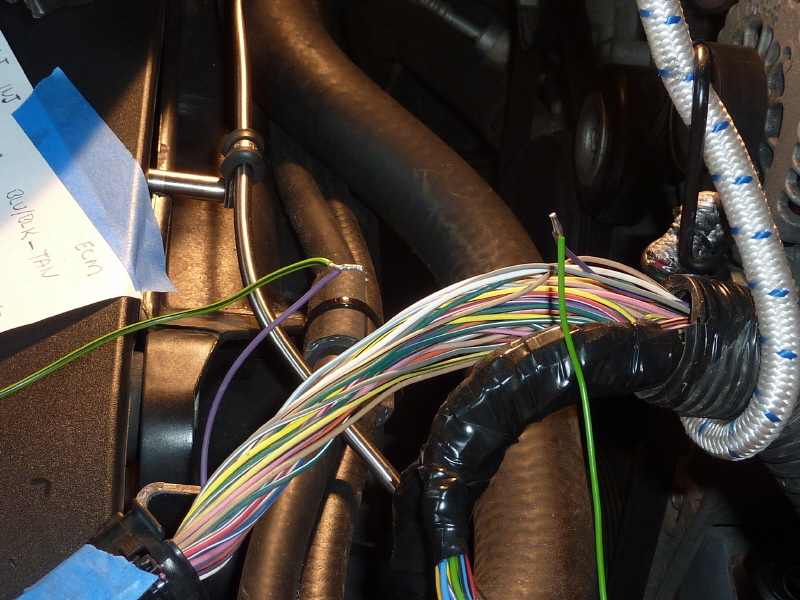
Here the "X2" connector harness is split open. Unfortunately there are doubles and triples of the same color wires. |
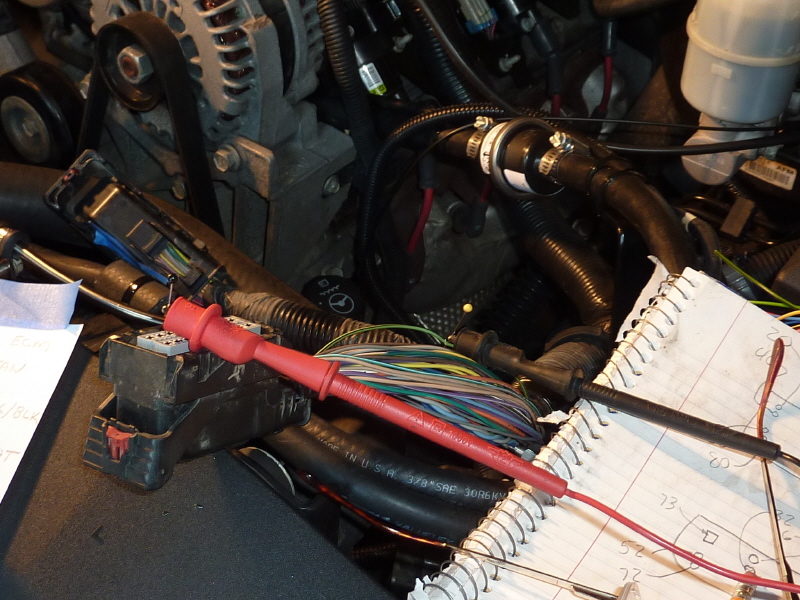
This is the trick to locating the correct wire to splice. Using a volt/ohm meter, set it buzz. Then clip a straight pin into the red & black meter leads. With the ECM connector pinouts in hand locate the pin hole on the connector and insert the red lead. Then find the corresponding pinout wire color for that connector pin. Using the black lead poke each matching wire color until the meter buzzes. You have located the wire. |
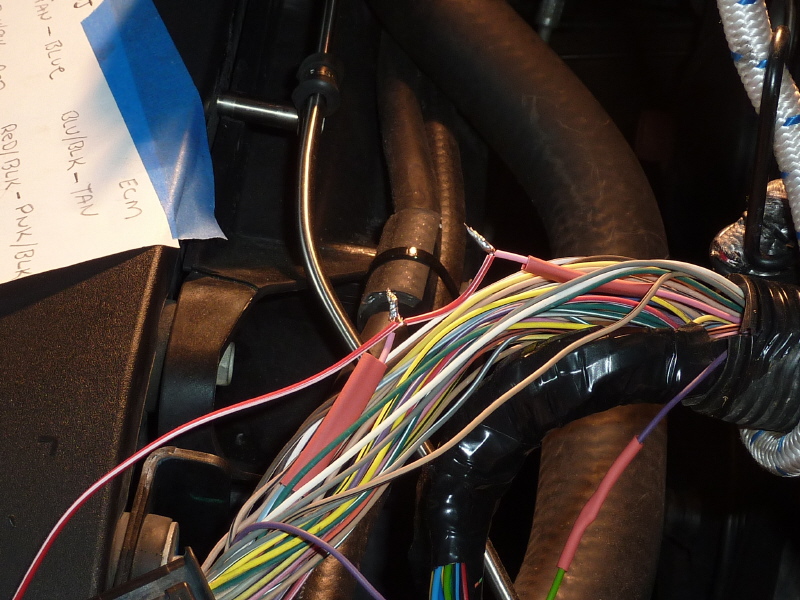
Here I have located the first gasoline injector wire. |
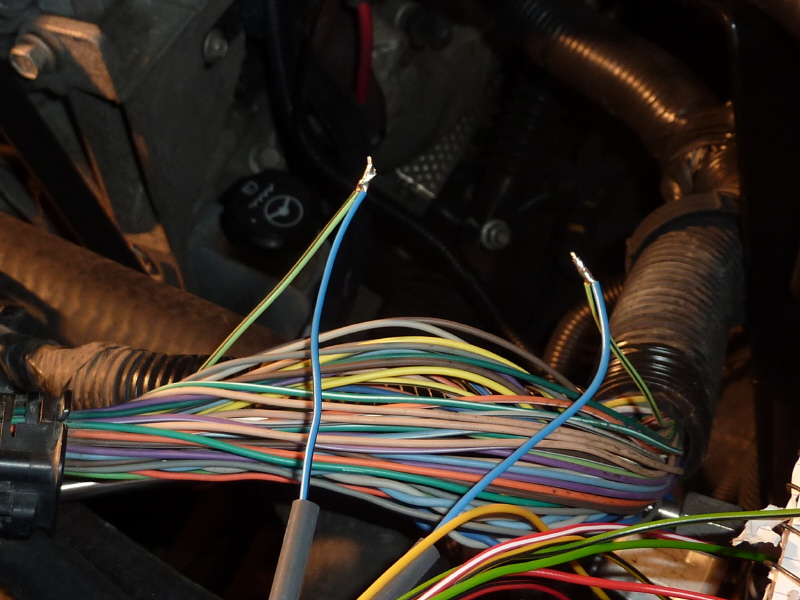
Once located,the wire is cut and shrink tubing added to each splice. Then the appropriate Technocarb wires are soldered in. |
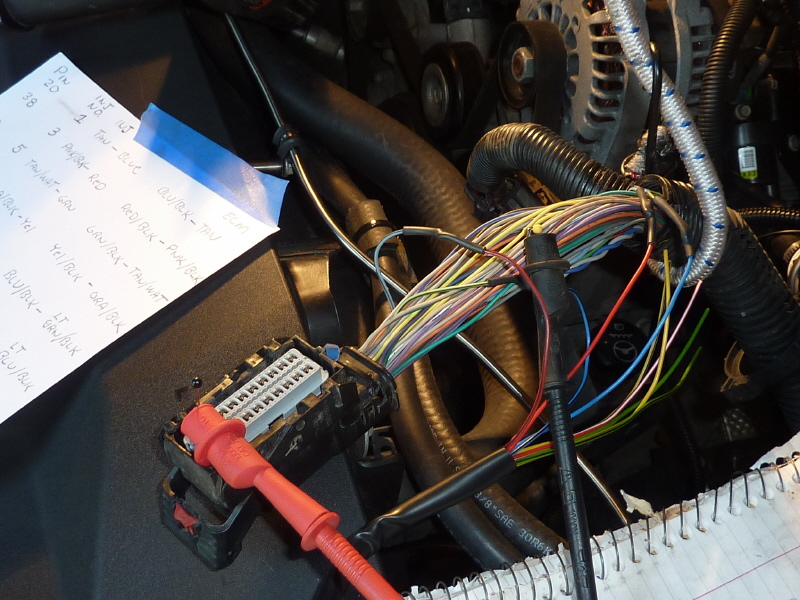
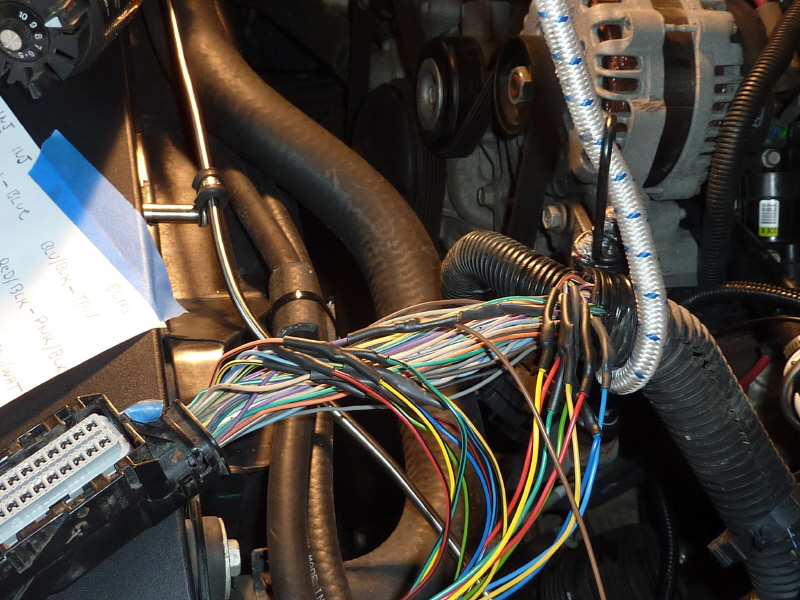
Here the next wire is located. To the left is my wiring call out sheet. It matches up all the different wire colors and serves as my second back check. |

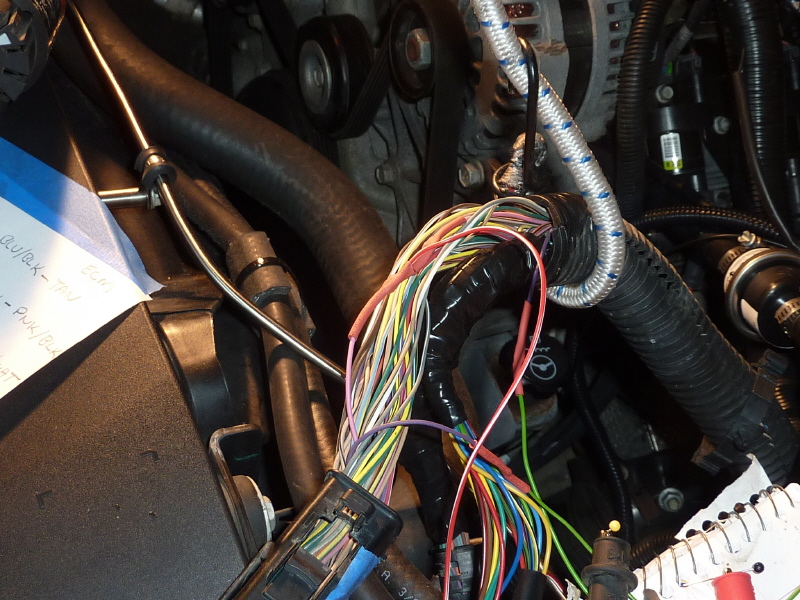
Again the wire is cut, spliced and shrink tube added. Notice the bungee cord which holds the "X2" harness up making it easier to work on. |
The process is repeated over and over until all the gasoline injector wires are spliced. |
Once complete, a final back check is performed. To insure everything is correct. |
With the injector wires spliced, it is time to work on some miscellaneous wire taps off the second ECM connector. |
There needs to be a tap for engine RPM. |

Also the OBD2 wire taps need to be made. This allows the Technocarb software to read fuel trims and any DTC that may occure. |
There is also a hot wire tap to read the fuel pump. |
More splicing. . . . . . |
. . . . and more splicing. |
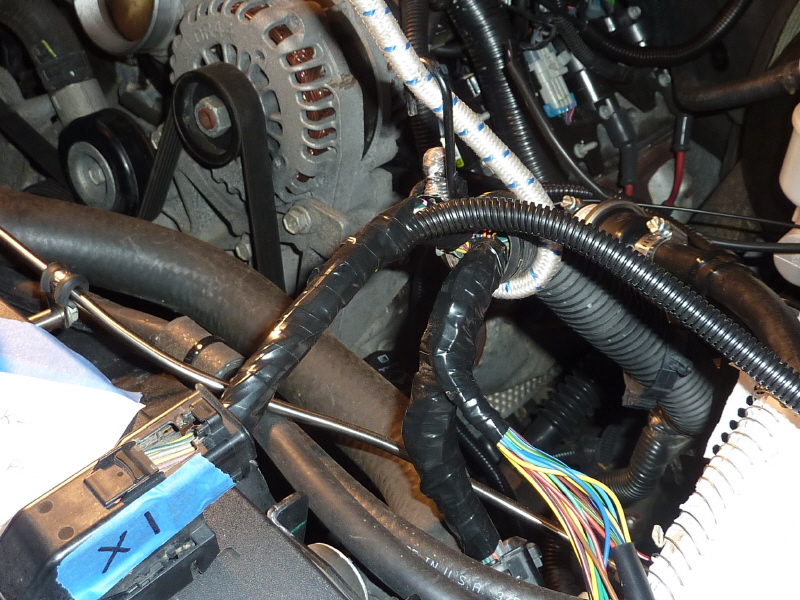
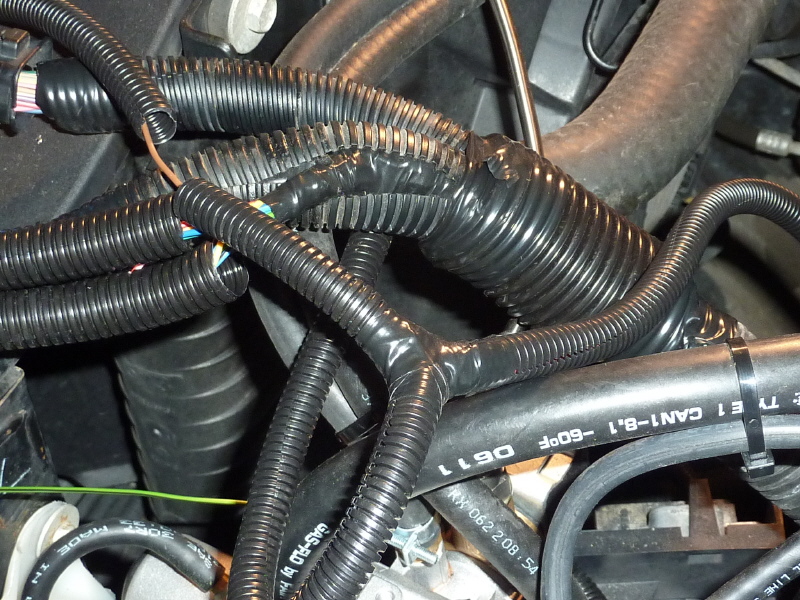
Many of the loose wires were grouped together for taping. |
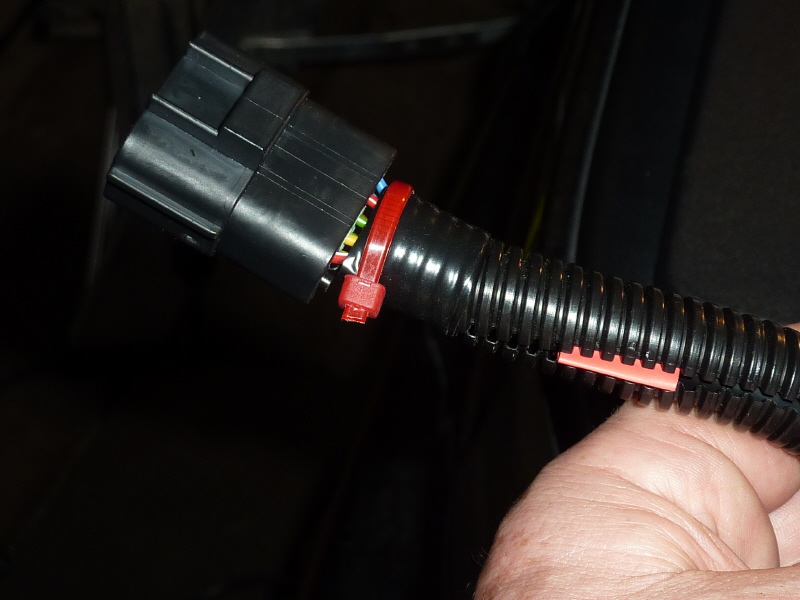
Once taped, wire some wire loom is added. |

One of the two injector rail harnesses has a red band. This signifies the left engine bank. Since I am enclosing the harnesses in wire loom. . . . . |
. . . . .a red zip tie is added to so I do not mix up the harnesses. |
More wire loom is added and ends tapped up. |
The job is nearly complete. At this point all that is needed is to position all the wire loom for final wrap. |
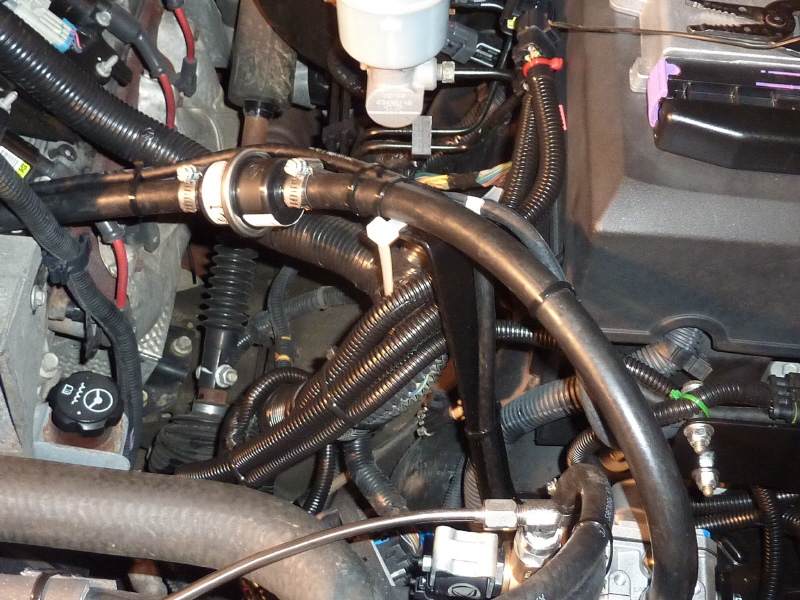
This is a pic looking from the top at the ECM wire route. |

Another pic looking right. |
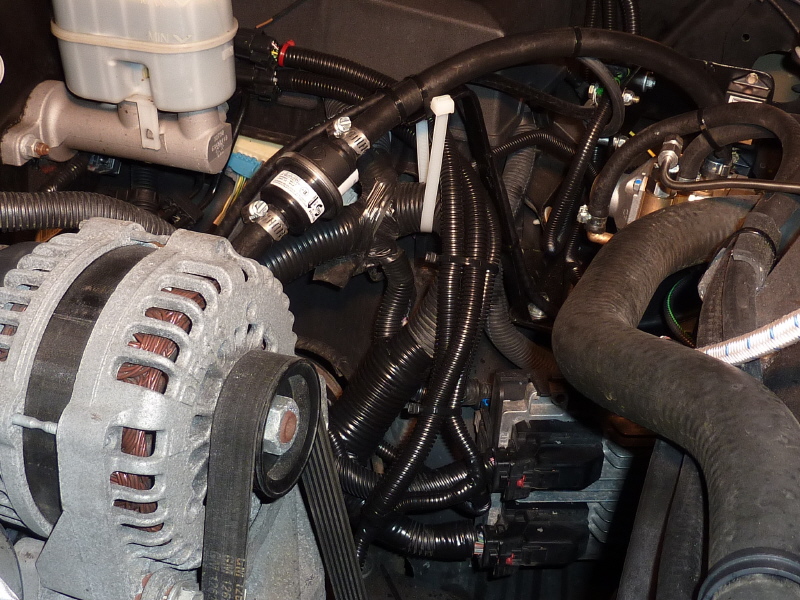
. . . . . and another. |
This is the second time I have done this type of splicing and it was much easier when you know what to expect. |