|
This was a fun and easy bracket to make. No clearance problems and an open mount area with existing bolt holes to screw into. |

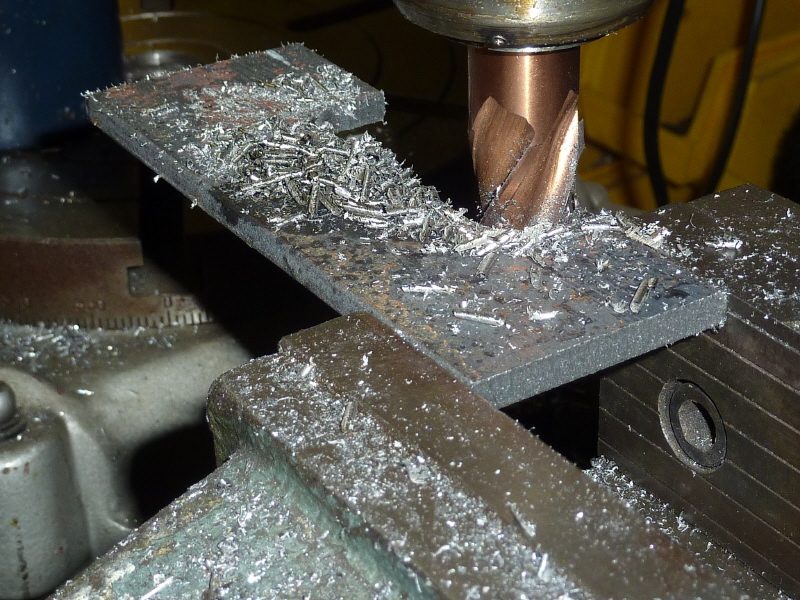
The first order of business is to saw metal. I used a piece of 3"x1/4" bar as the base for the bracket. |
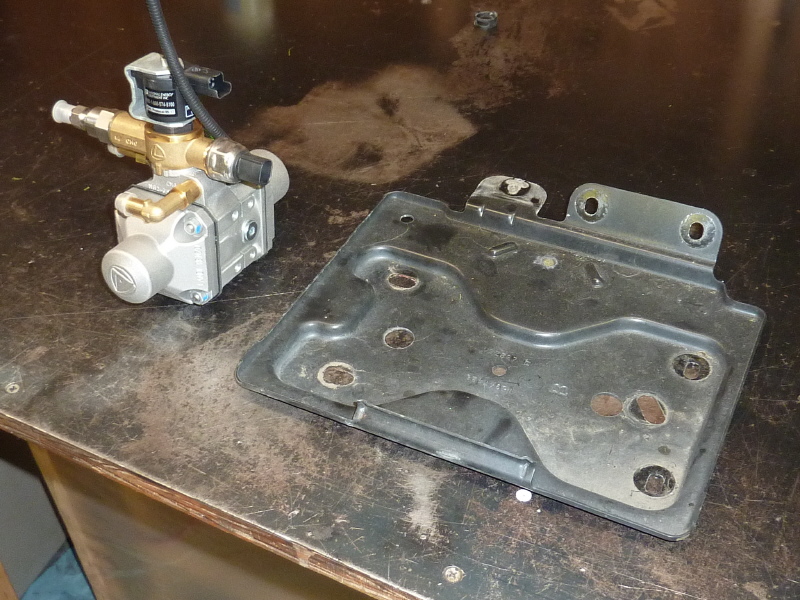
Behind the left headlight is an empty battery tray. This is a great location to mount the regulator. Here I removed the tray for easy bracket fit up. |

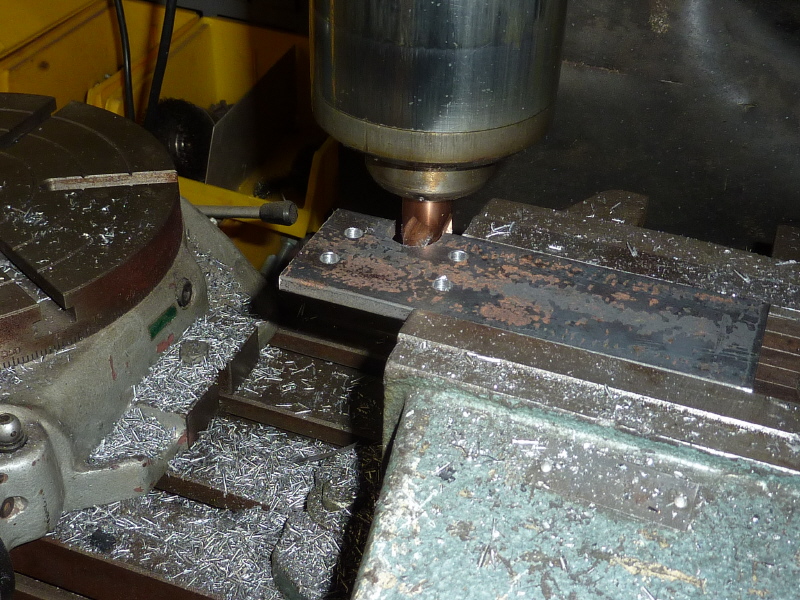
After laying out the tray contour, I chucked up the base in the Bridgeport and began cutting metal. |
This is another view of the slot nearly finished. |

Here the machined base is fitted in the pan. The mount holes are then scribed from the bottom. |
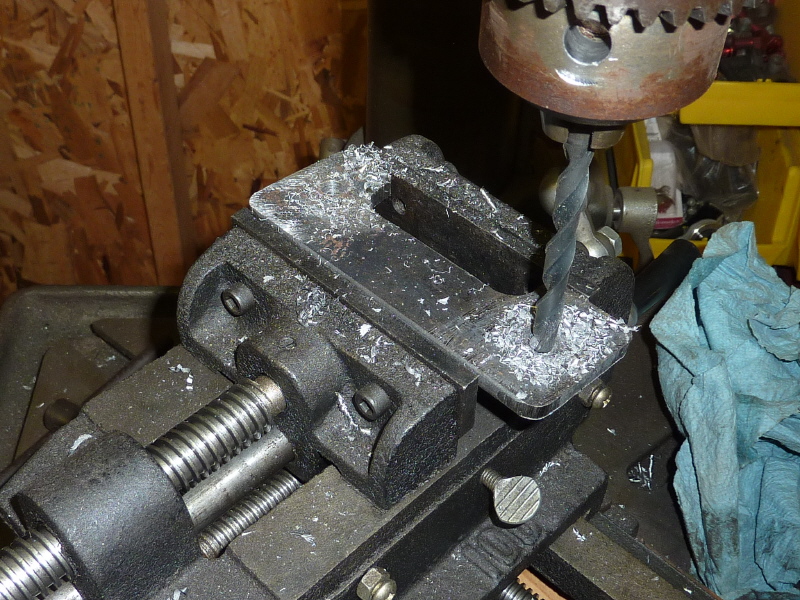
The holes are drilled and chamfered. |

This is a sanity check to make sure the base bolts up in the battery tray location. |
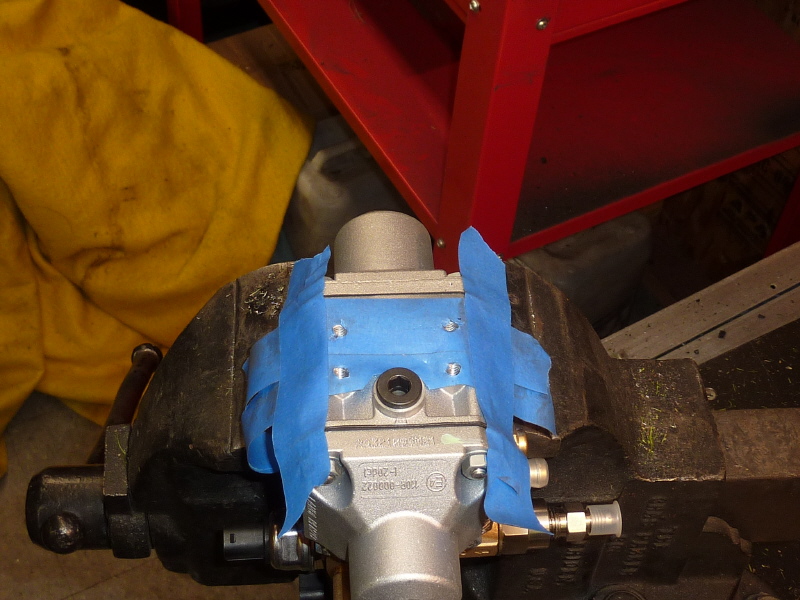
With the base complete, it is time to extend up to the regulator. Here I am making a tape template of the regulators bolt pattern. |
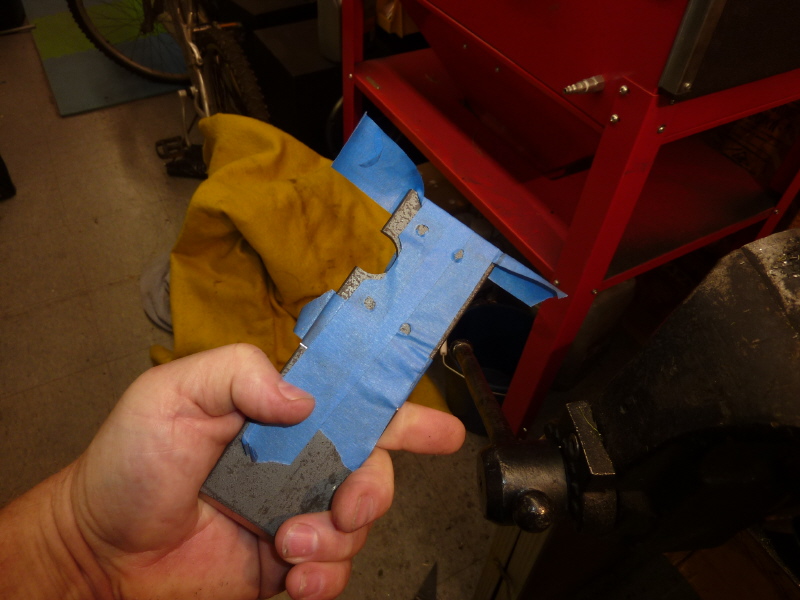
I took a piece of 2"x1/4" bar and milled out a slot to clear a boss on the regulator. then transferred the tape template to the bar. |

The holes are center punched and then drilled. |
When I bolted the bar to the regulator, I noticed the slot was just touching the boss. So back to the Bridgeport for some warranty work. |
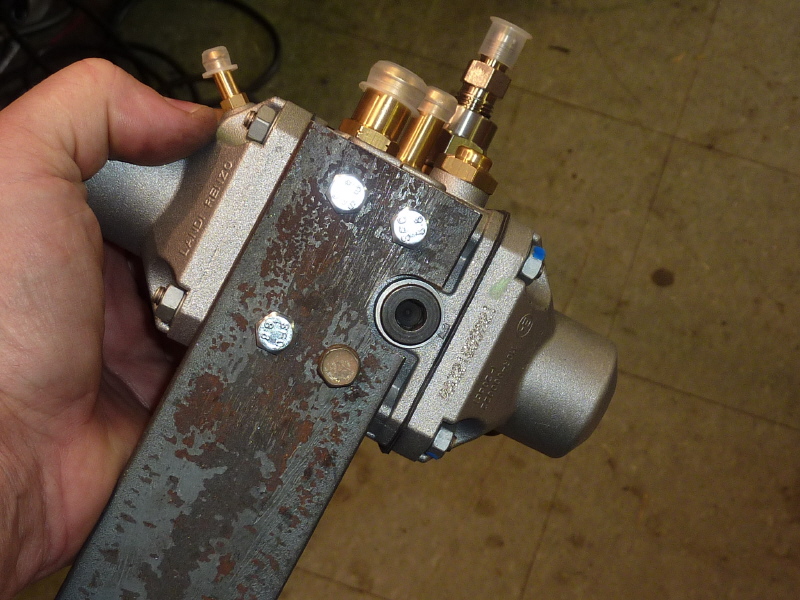
Now there is appropriate clearance around the boss. With a little fit up, the bar is cut to length. |
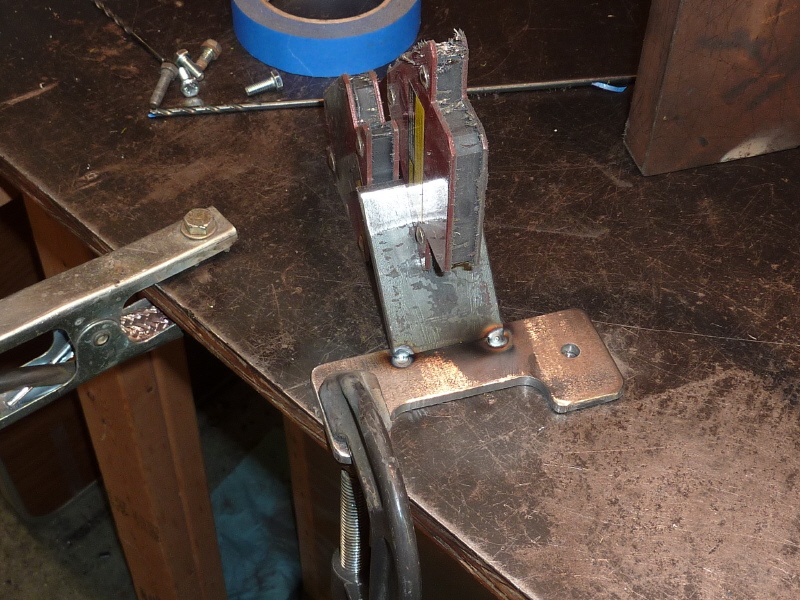
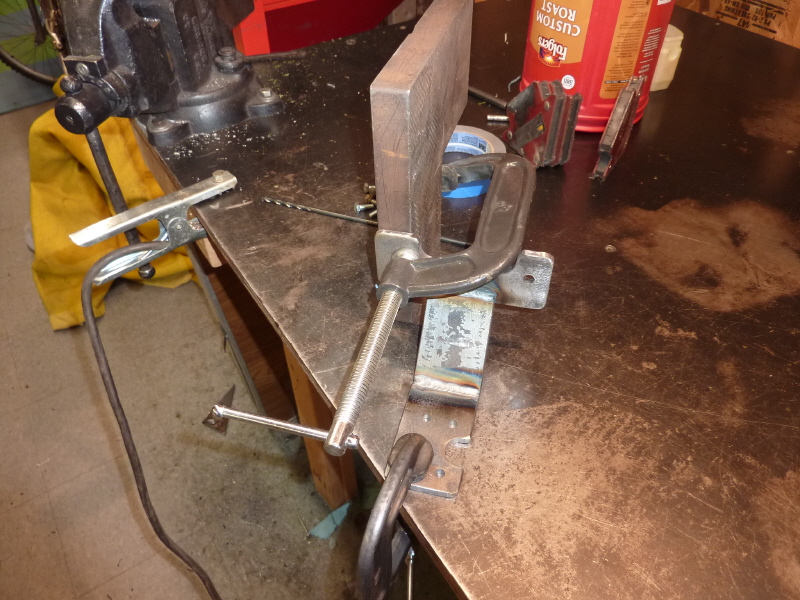
This is a transitional piece from the base to the regulator. I am using magnetic angels to hold the pieces of bar together while I tack weld them. |
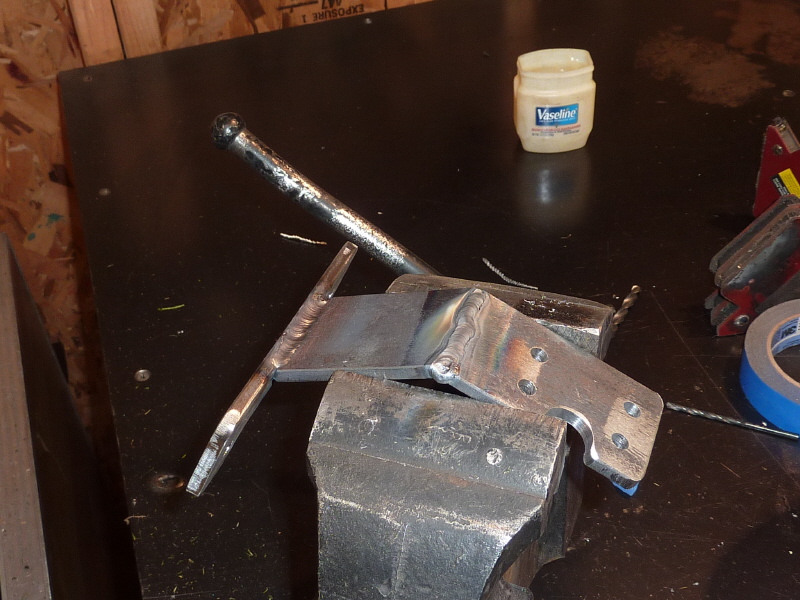
After tack welding the front, I flipped the assembly over and TIG welded the back. |

I then flipped it back over and TIG welded the front. |
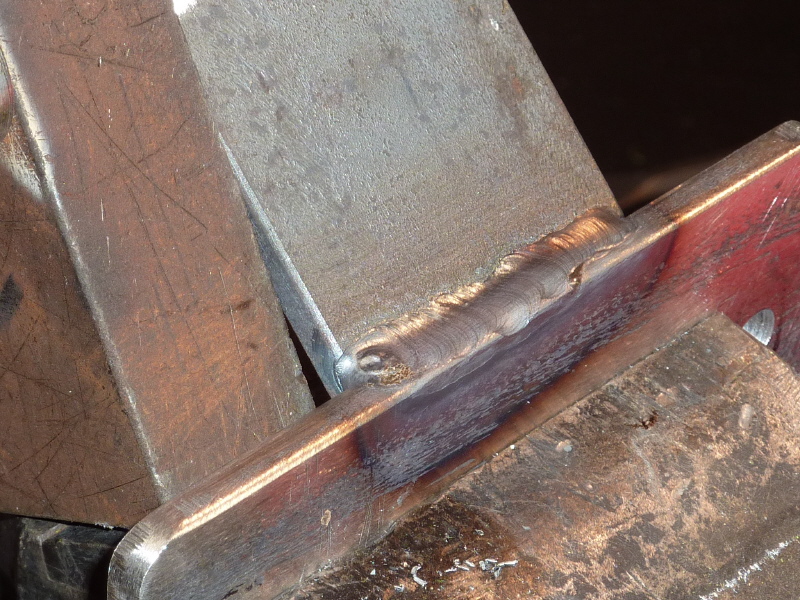
Here is the final clamp up and weld of the regulator face plate to the base. |
The assembly is flipped over and the back side TIG welded. |
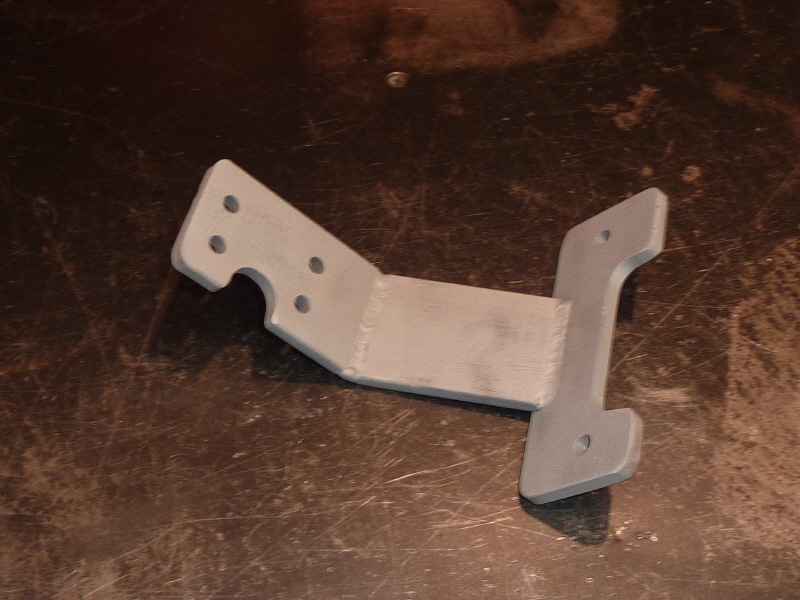
With a quick trip to the sand blasting booth, it is ready for painting. |
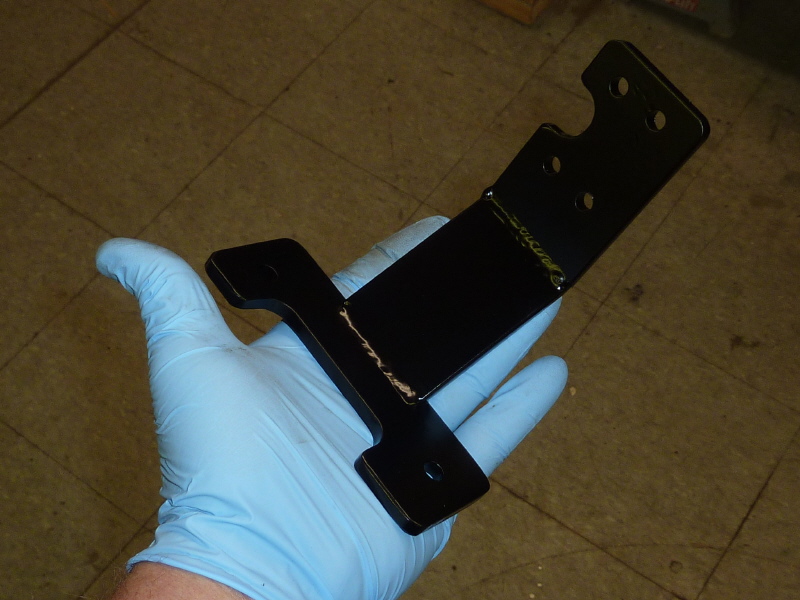
Well the bracket is finished and ready for installation. |
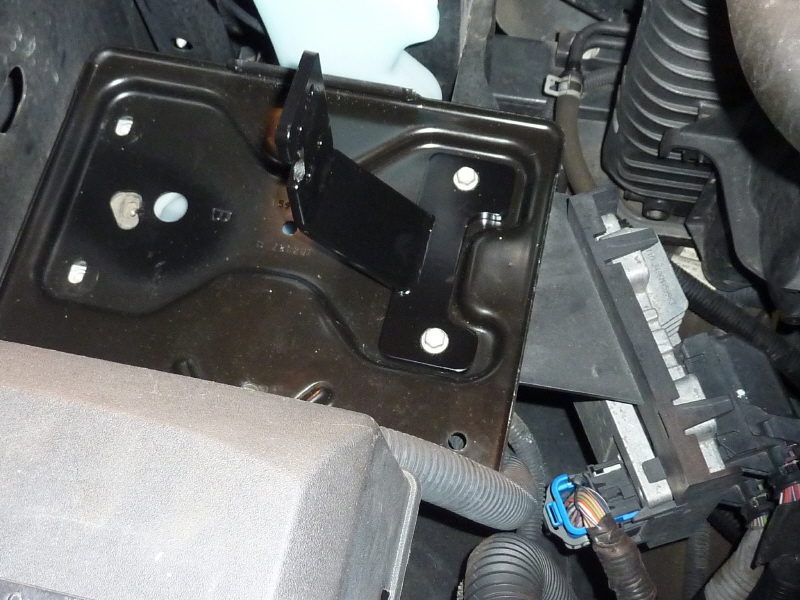
After installing the battery pan, the regulator bracket bolts in perfect. |
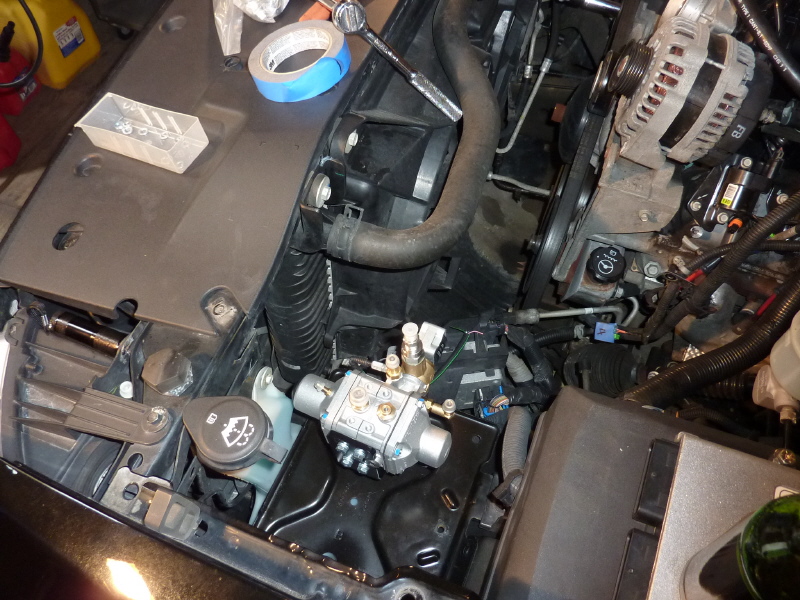
Next the regulator is mounted and clearance is checked. Well it off to the next task. |