|
I would like to start out by saying that compared to the Trailblazer, installing the injector nozzles in the Silverado was fun. The intake manifold came out without a hitch, injector installation was strait forward and reassembly was a snap. I almost hated to see this phase of the project end. |
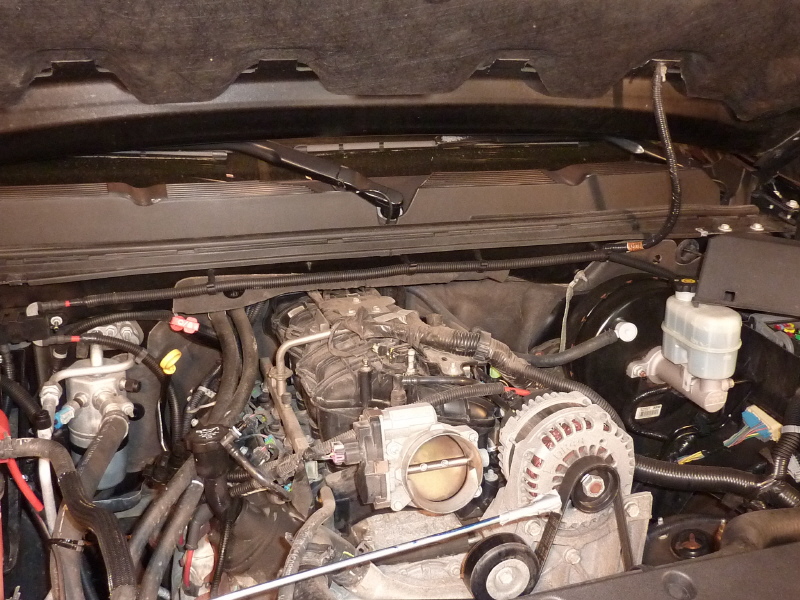
You can see by the pic that the engine compartment is wide open. There is even a funky bolt on the serpentine belt tensioner to crank spring pressure back to remove the belt. |
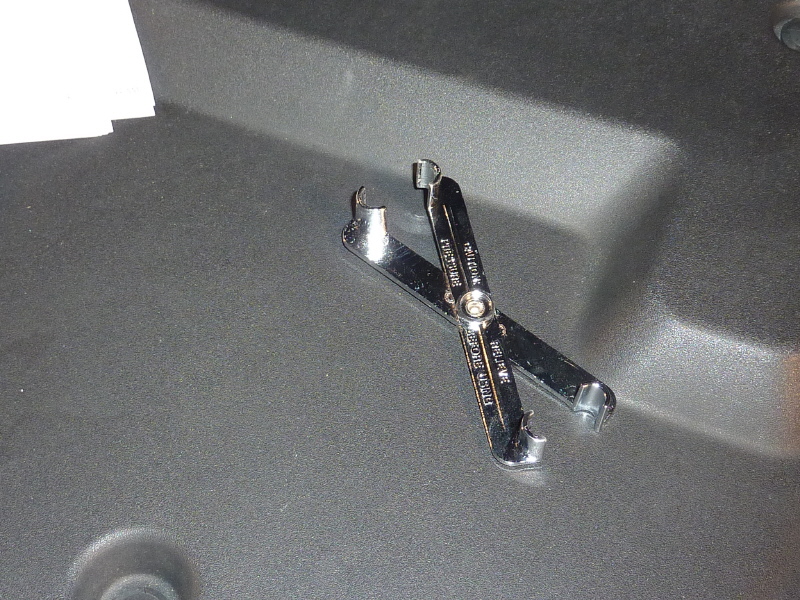
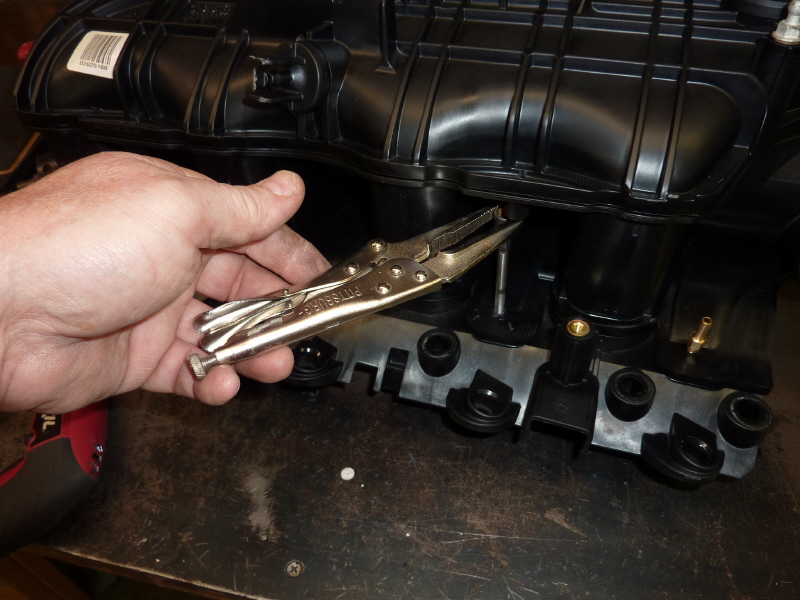
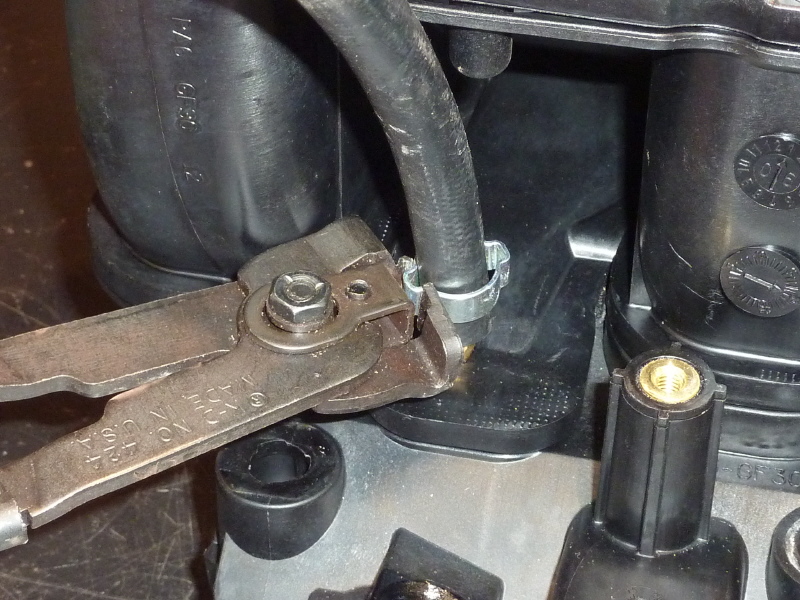
The first order of business is to remove the fuel line from the gasoline rail injectors. You will need a tool that looks like this to do the deed. |
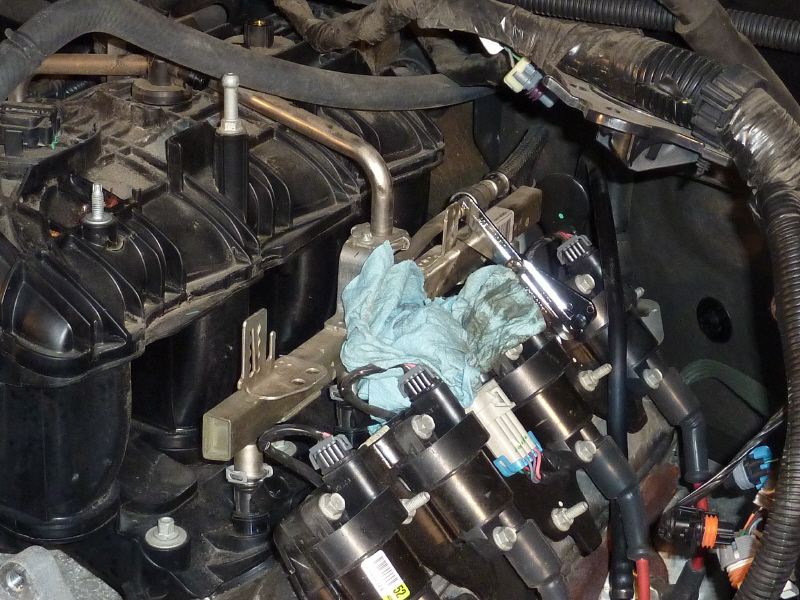
I have positioned rags in place for the gasoline spill that will occur when the gas line is disconnected. |
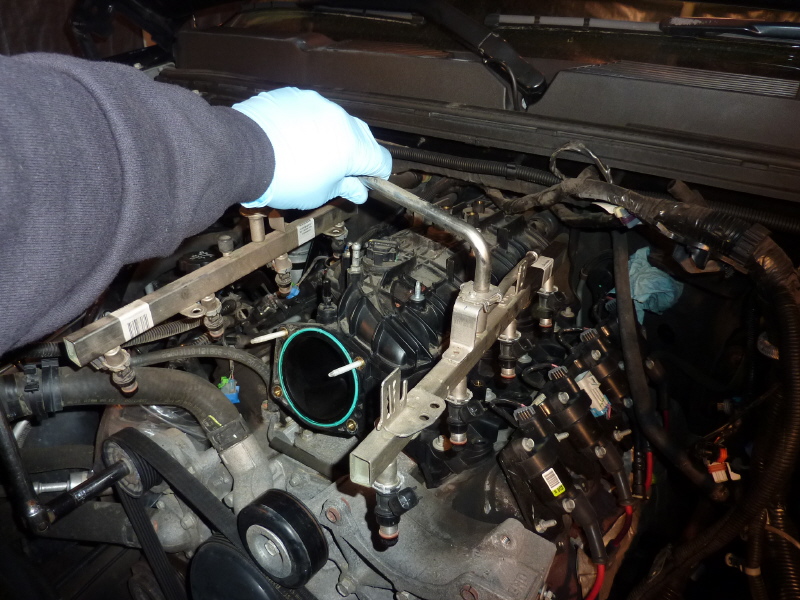
Once the fuel line is disconnected, there is only 4 bolts that hold the gasoline rail injectors on. The rail just lifts out, way too easy. |
Once you remove the manifold bolts, the intake just lifts out. The only hitch is a wiring harness at the rear of the manifold that needs moved. |
Once the harness is moved out of the way, the intake can be pulled. |
Doh! . . . don't forgot the vacuum hoses. |
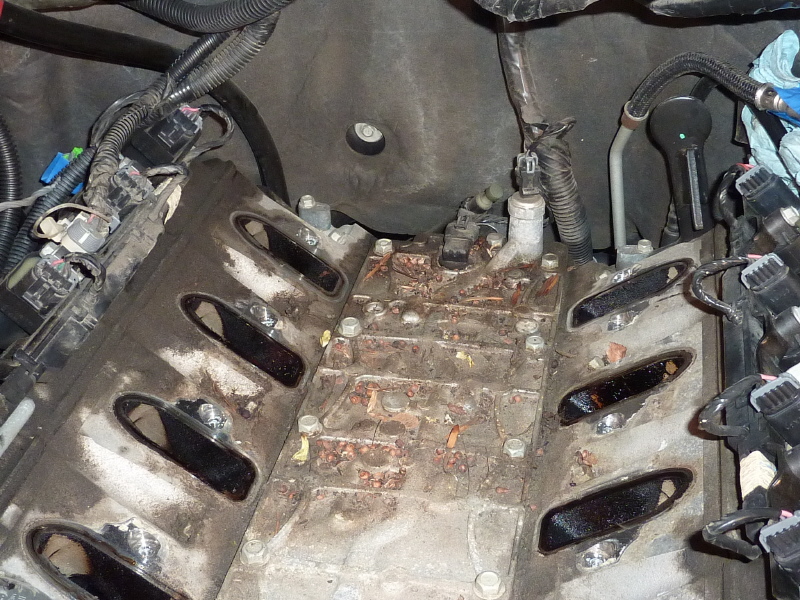
Once the intake manifold was out I found a little present. |
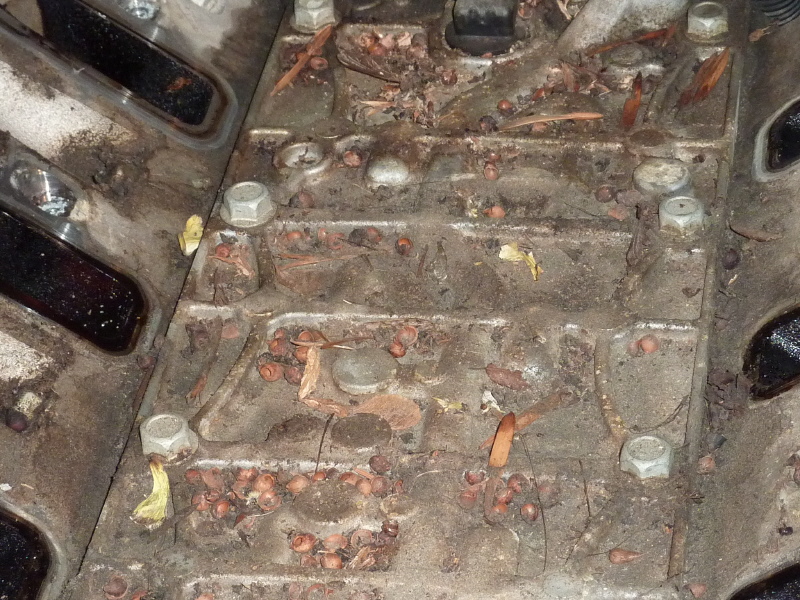
A critter was living under the manifold. |

So I plugged up the intake ports and shop vac'ed all the crud. I also scraped away crud around the intake ports. |
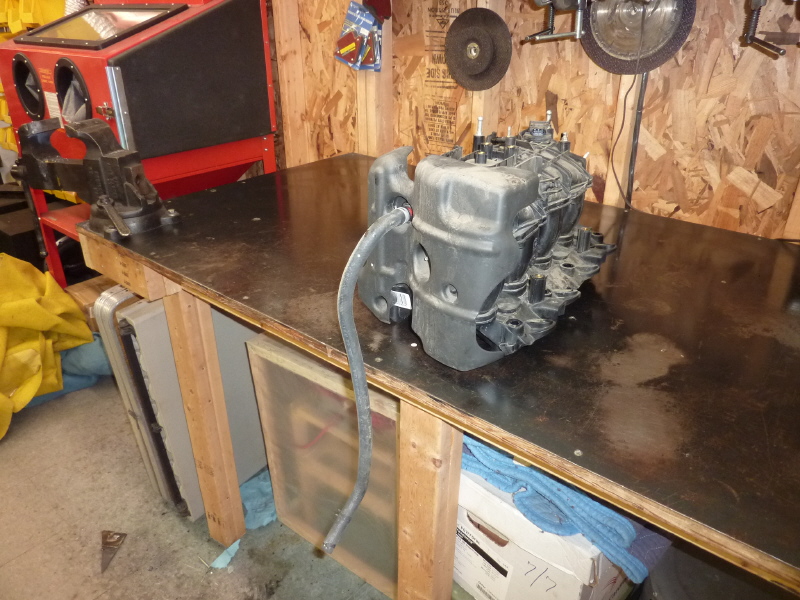
Here the intake needs to have hoses, shields and other peripherals removed in preparation for a serious cleaning. |
In a preemptive strike, I went out and purchased a new seal kit ahead of time, so I am not stuck when reassembly time arrives. In order to clean the intake manifold, I used Black Magic Engine Shine. Just put the manifold out in the sun and spray away. Let stand for 30 minutes. Use a pressure washer to clean and blow out all the holes and passages. |
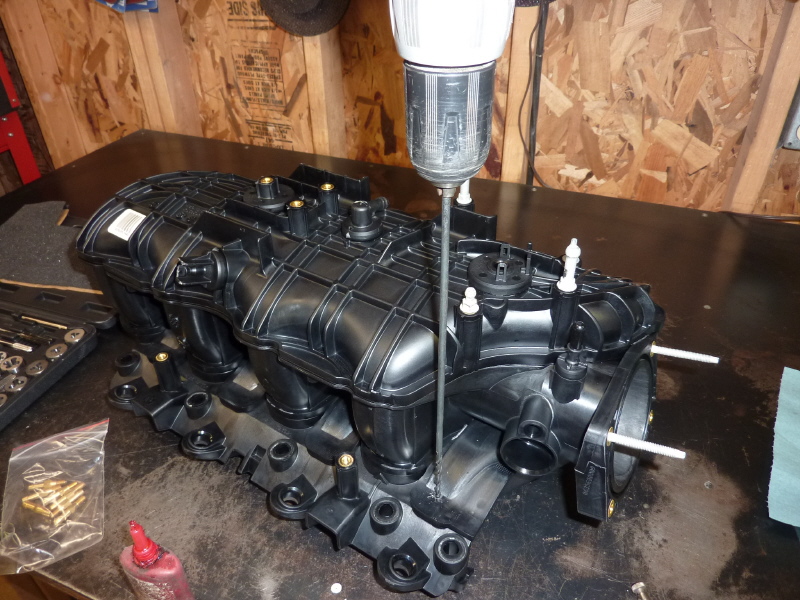
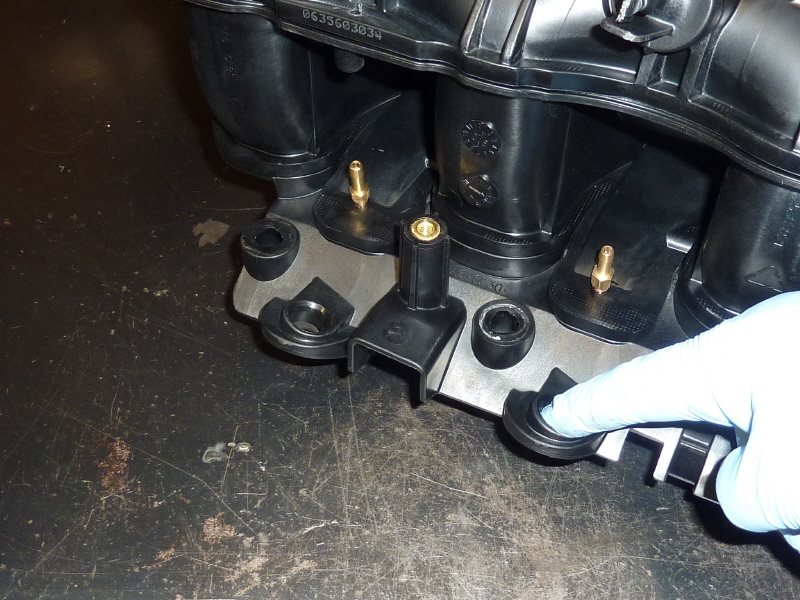
Since I am tapping plastic, the tap drill size is not as critical as with tapping metal. The tap drill size for M6x1.0 metric is 5mm or 15/64". Here I am using a .20" extended drill bit to drilled the first hole. There is not a lot of room in close for power tools so this is a way to get the job done. |
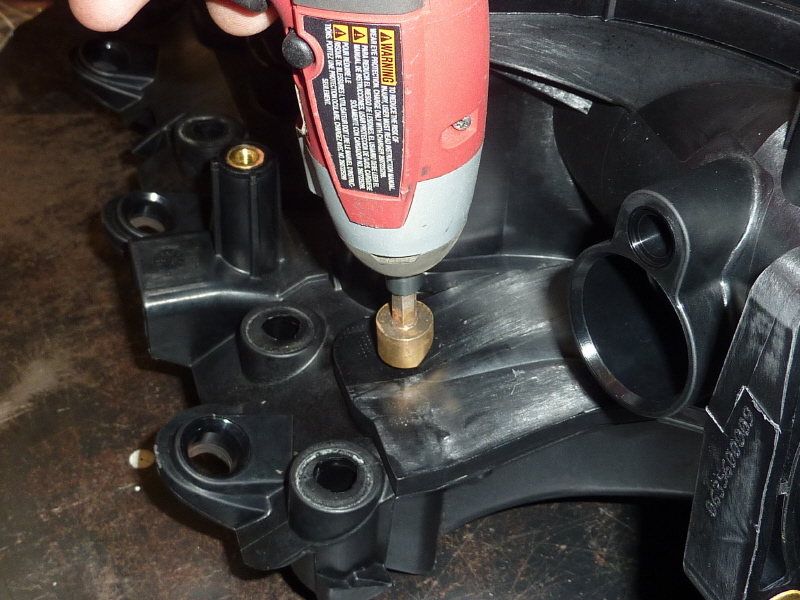
The injector nozzle is rounded at the bottom so I chamfered the hole to make the best fit. |
With the intake being plastic, tapping the hole is a breeze. You will need a M6x1.0 metric tap to do the deed. |
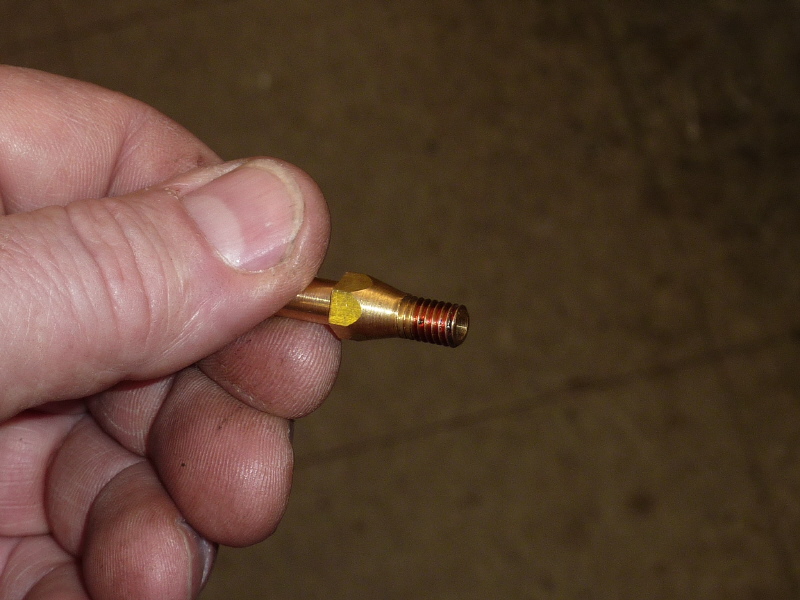
Here a little red Lock-tite is applied and in goes the nozzle. Pray you do not have to remove a nozzle after the Lock-tite cures. |
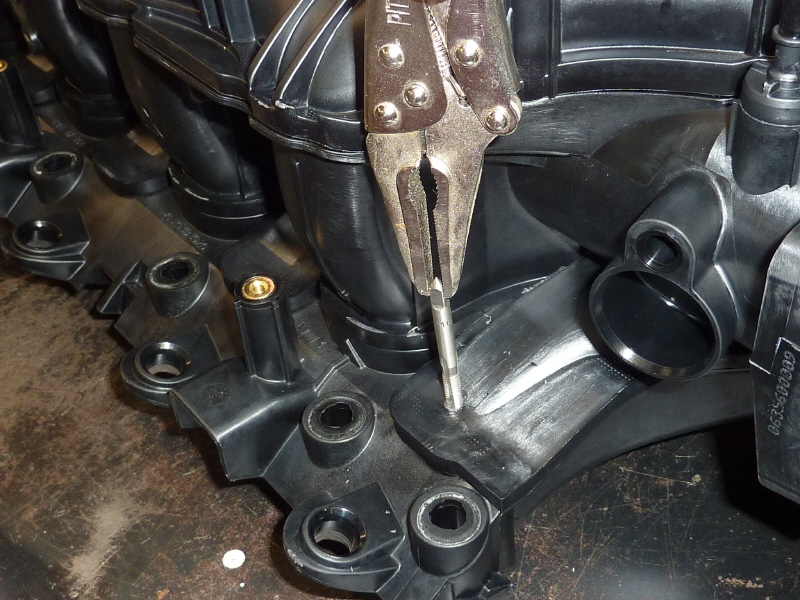
Unfortunately not all the nozzle locations were going to be as easy as the first. Here I am drilling down through a plastic boss in order to keep the hole from pointing backwards away from the intake port. |
I had to hand chamfer the hole and that sucked. With the boss above, vice grips were the tool of choice to tap the hole. |

In goes another injector nozzle. |

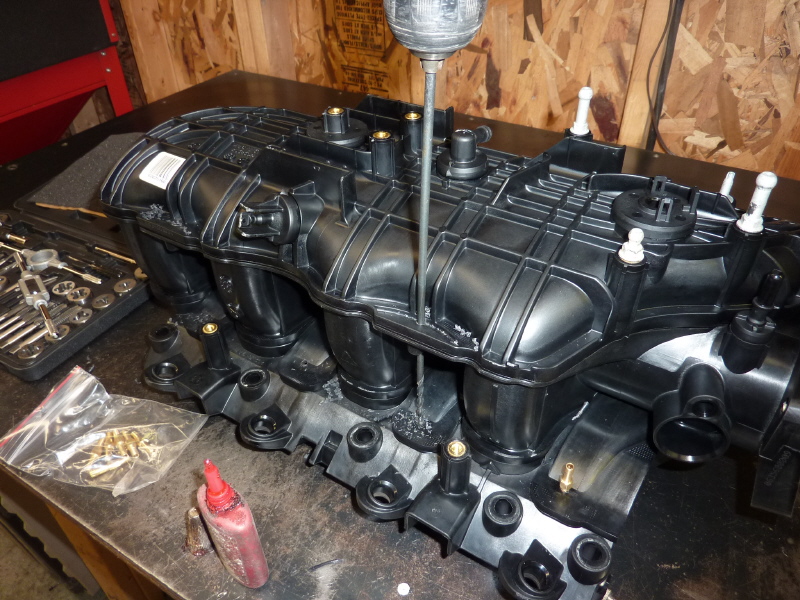
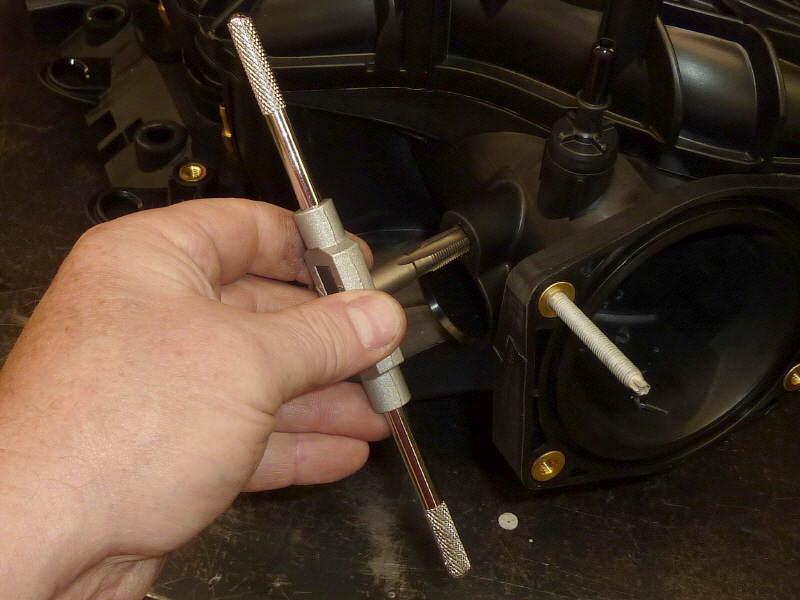
I finally rigged up this little beauty to tap the holes. |

It worked out great as it allowed me to apply easy down ward pressure to get the tap started. |

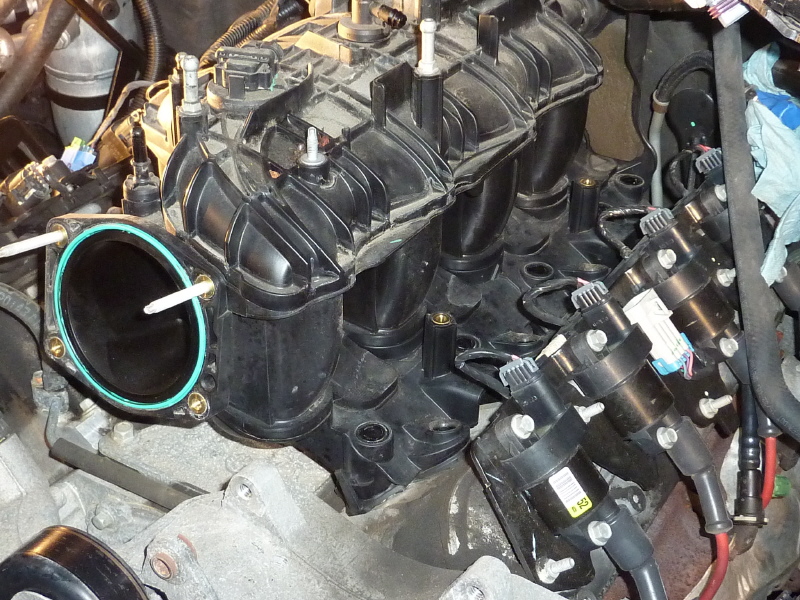
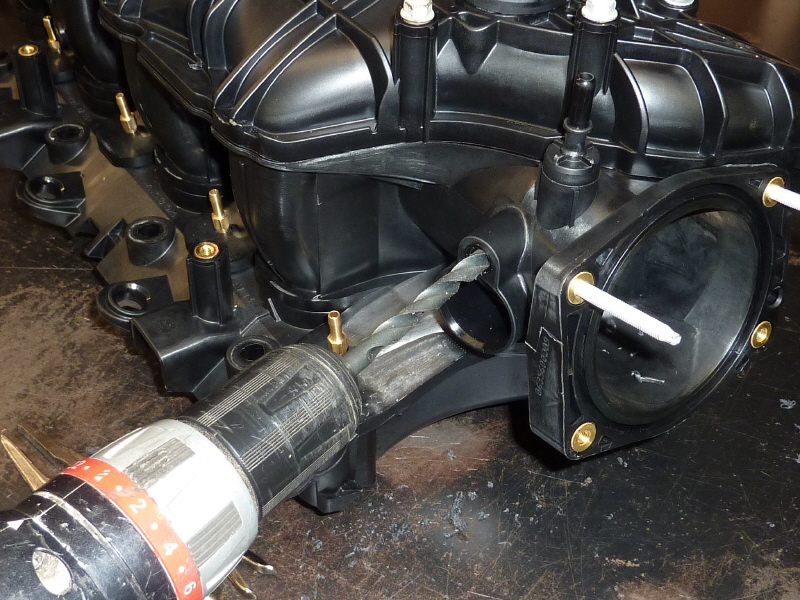
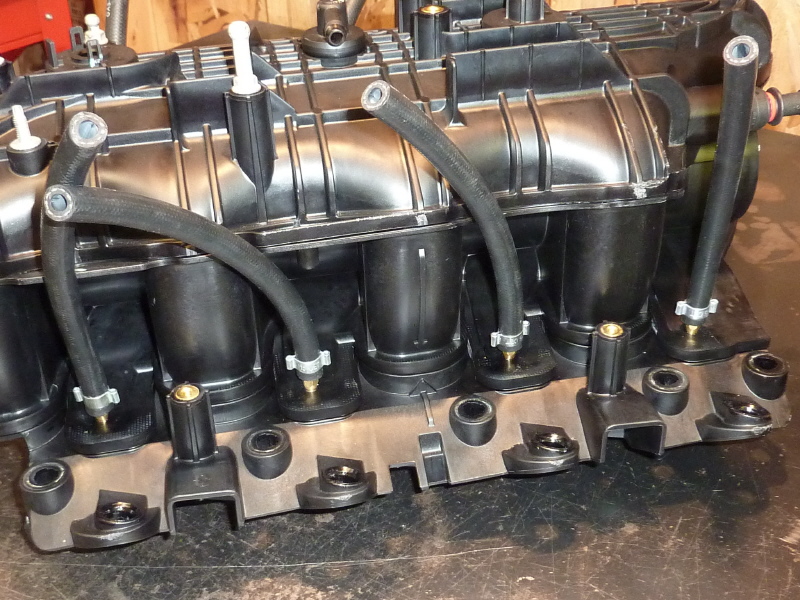
Here is a view of the left side nozzles. The other side is a mirror copy only spun 180°. |
The ABE025 MAP sensor requires a tap for manifold vacuum. Here is the perfect spot for the port. |
After drilling out the port, I am tapping it for a 1/4" pipe thread. |
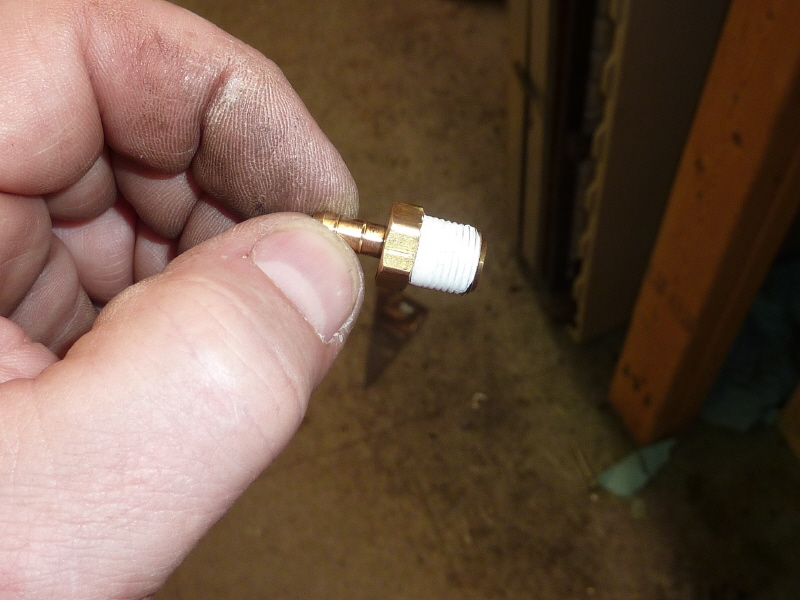
This is a nice little fitting I picked up at the hardware store. A little white teflon tape and it is ready for it's new home. |
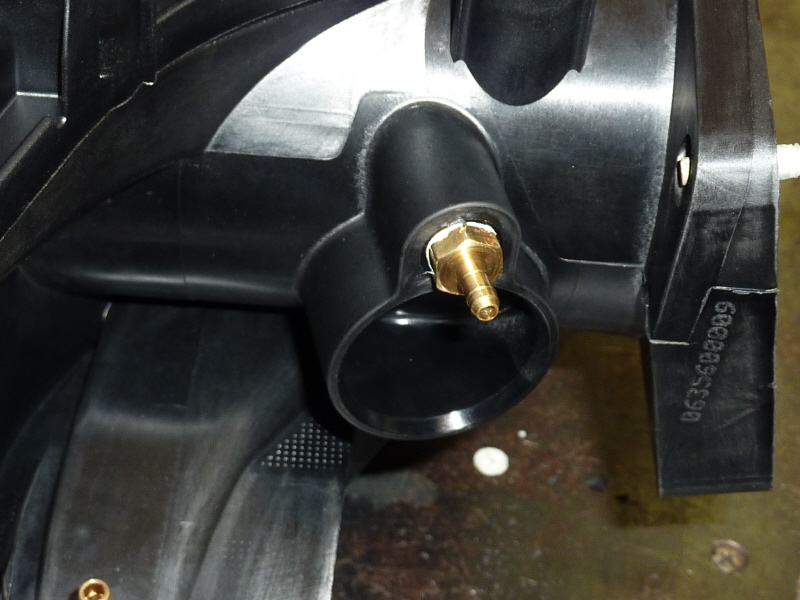
The location and fit was a real treat. Since most times you struggle to find a satisfactory location for something like this. |
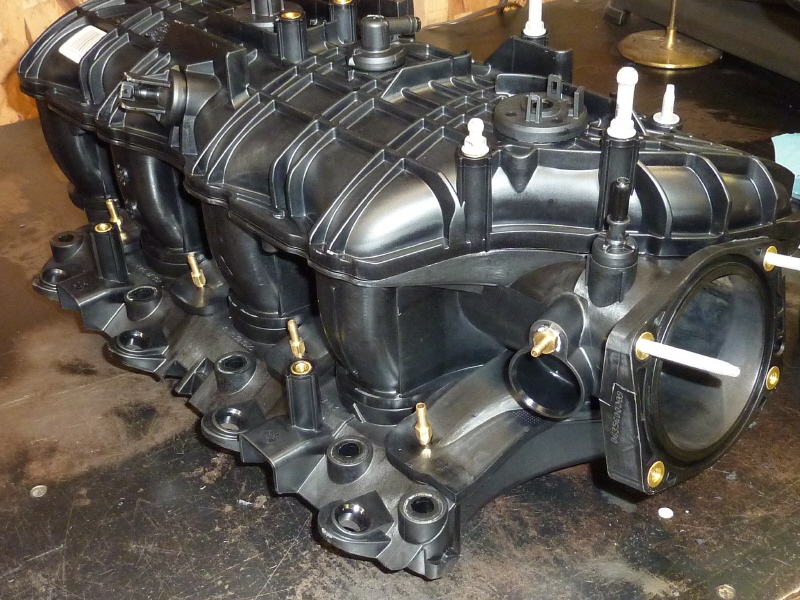
Here is another view of the injectors nozzles and vacuum port. |

In order to mount the CNG rail injectors, the gasoline injectors need to be set. Here I have hung the gasoline injectors so they can be cleaned. |
I am applying a little vasoline to the injector bosses. |
and a little vasoline to the injectors them selves. |
Here the gasoline injectors just drop in. |

With the injectors installed, I fitted up the rail injector bracket only to find that the mount holes do not line up. |

Here is a trick to fix the problem. Clamp the bracket in a vice above the bend as shown. Then using a hammer pound the bracket forward to perfect 90° bend. |
Now the bracket holes line up perfect. |

Even the stock bolts fit perfect now. |
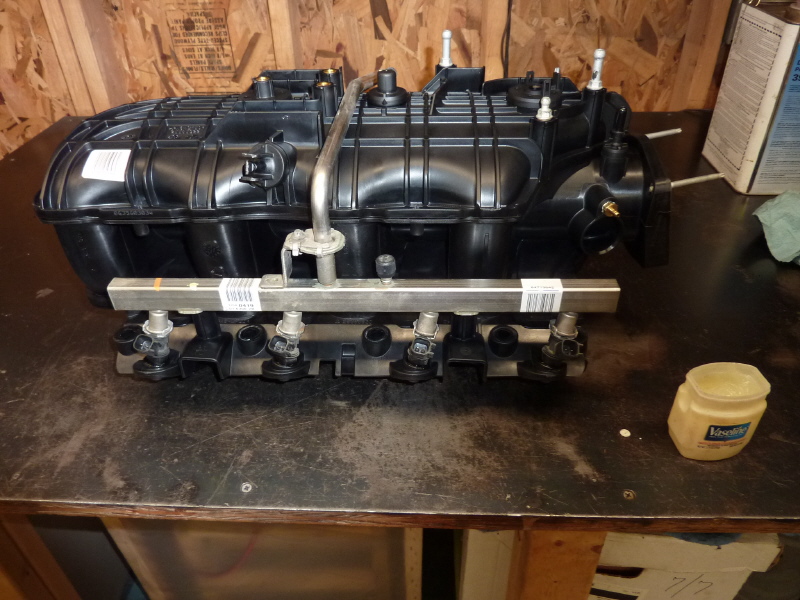
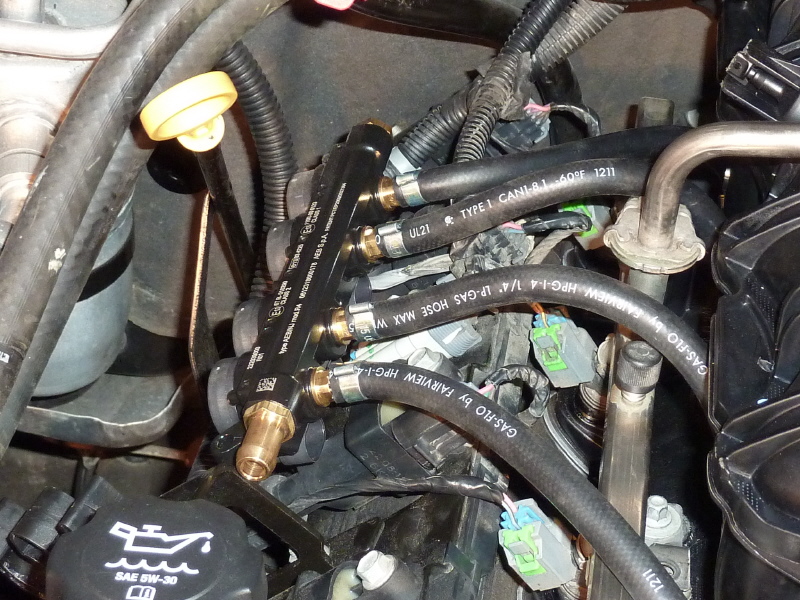
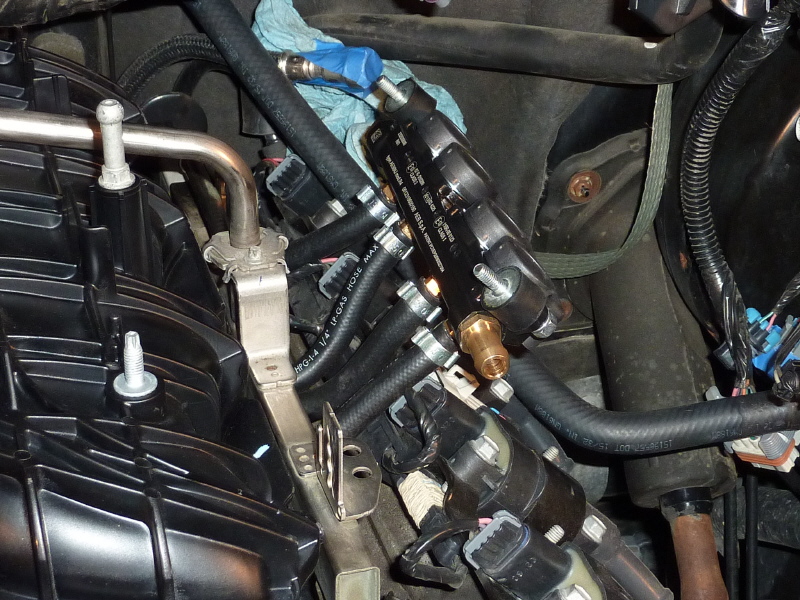
Here the bracket and rail injector are mounted to determine the route and length of the supply hoses. |
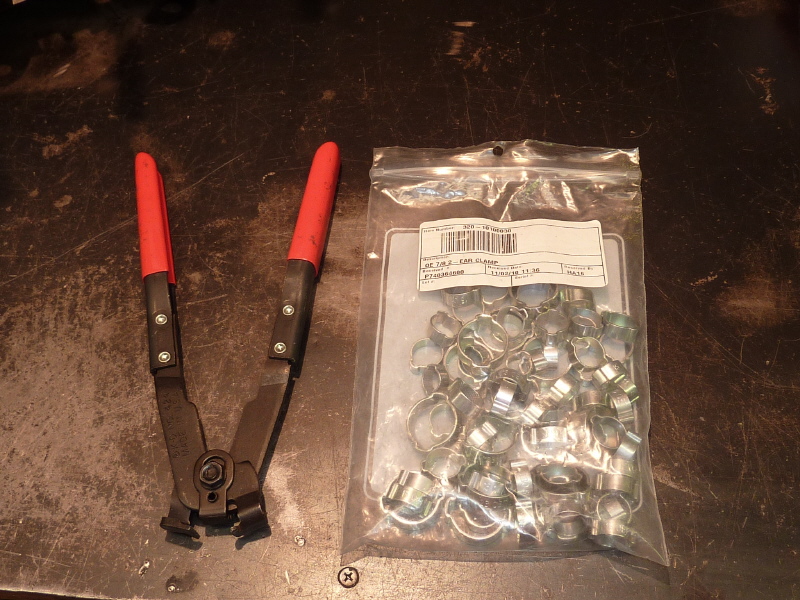
This is a bag of Oetiker 2 eared clamps and the tool to put them on. I got the tool off Ebay for $16.00. |
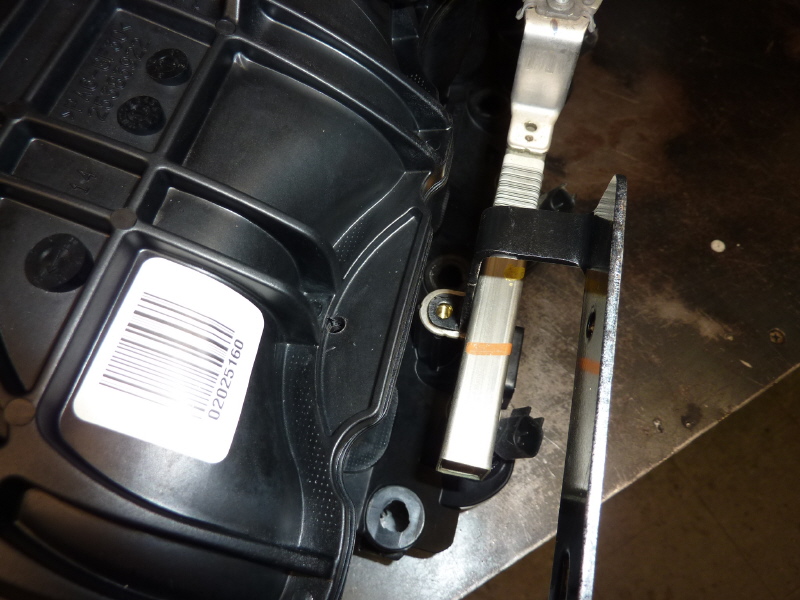
Applying the clamps is easy unless you are in tight quarters. Always check for tool clearance before clamping. |
Here are all the hoses clamped and ready to go. The hoses are angled toward it's corresponding injector to take advantage of their natural bend. |
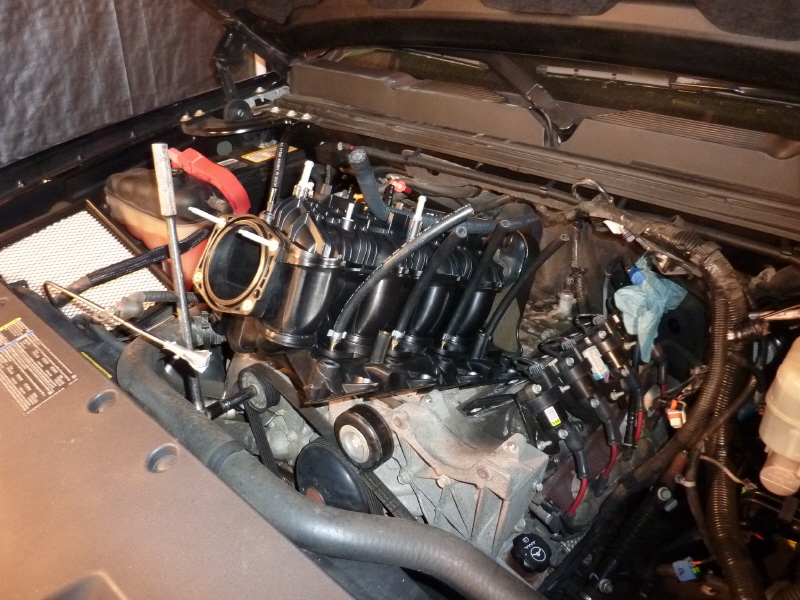
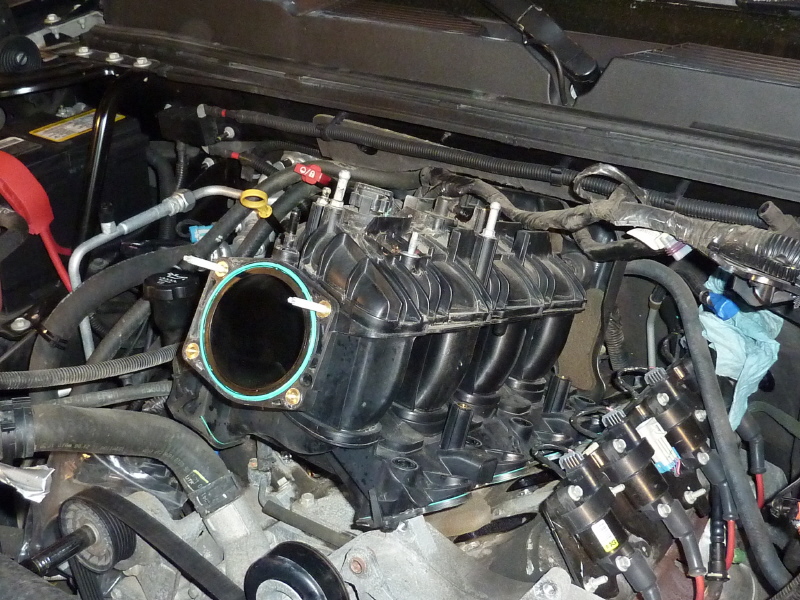
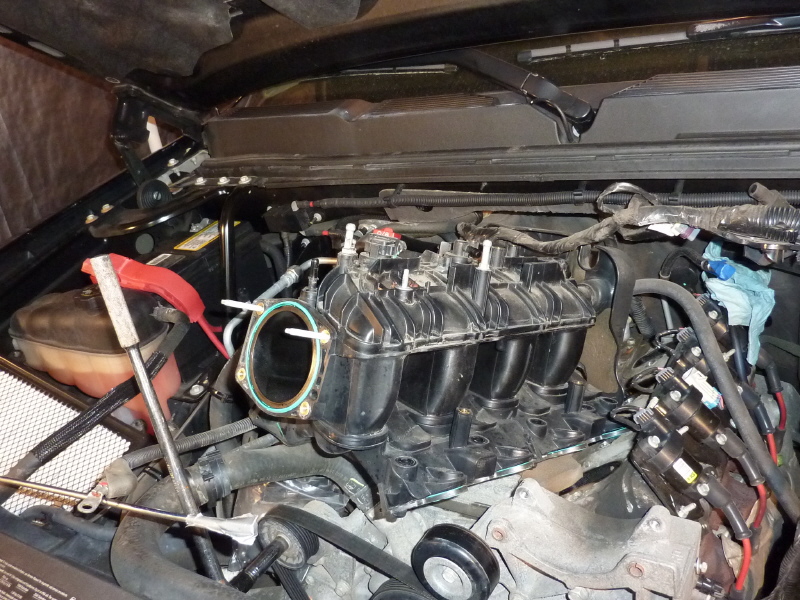
Well it is time to reinstall the intake. It went in without a hitch. |

The intake bolts are installed and in two passes, torqued to spec. |

The natural gas hoses will run into various wiring and the wire connectors on the end of the injectors. So the process of gently moving wires and rotating gasoline injectors begins. |

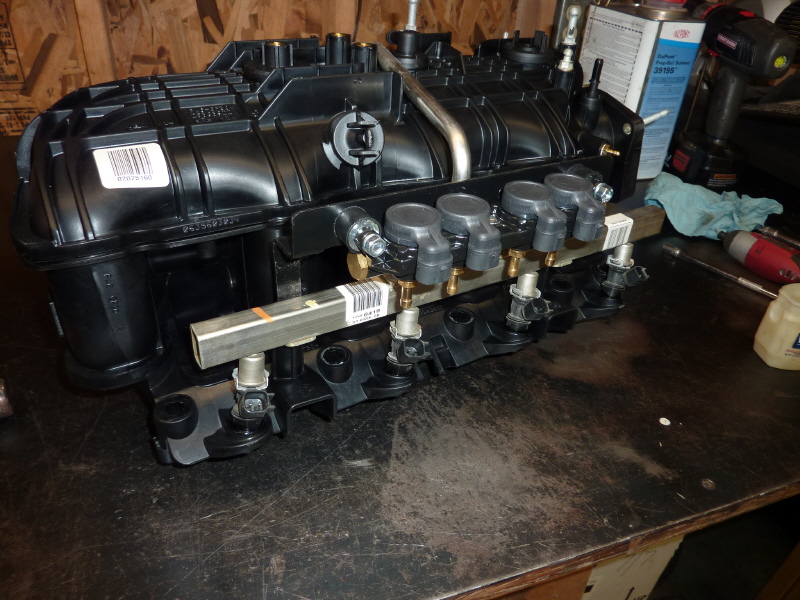
Here the injector rail is ready to be installed. |
You will need a lot of open space to get the Oetiker crimping tool in position to crimp both ears of each clamp. |

Here the right side injector rail is bolted down. You will need to move and reposition all hosed and wires for maximum clearance. |
This is the left side crimped and ready to go. A nice trick is to twist the hose 180°, then crimp one side, then twist the hose back and crimp the other side. |
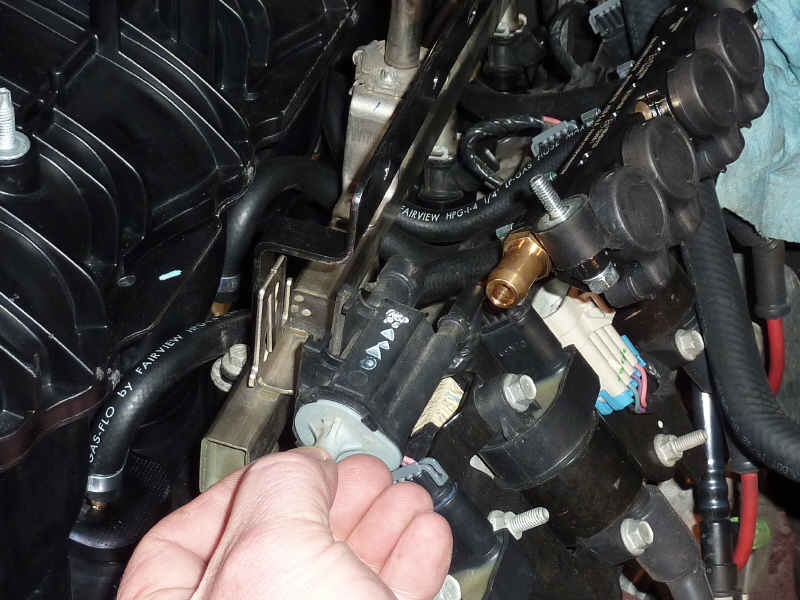
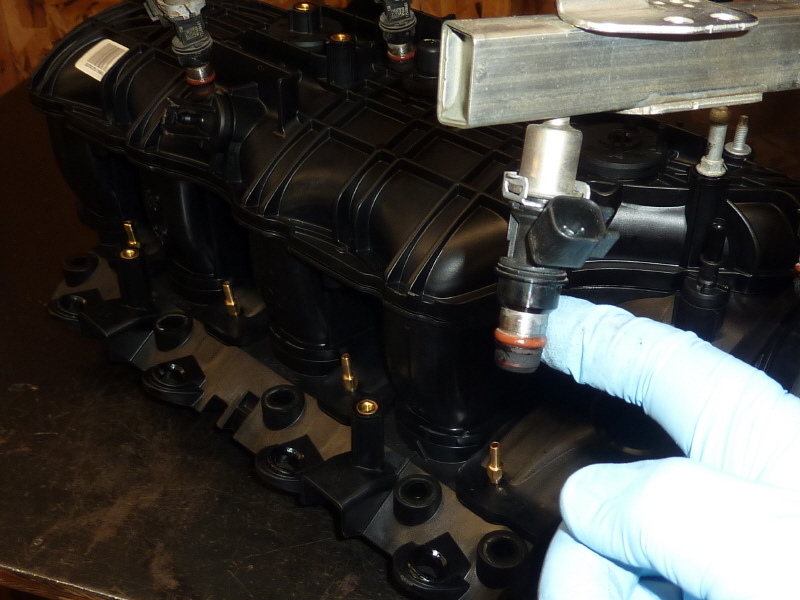
This is the EVAP canister purge solenoid. You will need to install and connect it up first before bolting on the rail injector. |

Here the rail injector is installed and some final wire rearrangement. |
At this point I reach a milestone in finishing the injector install. |