|
As hard as I tried, I could not locate a place for the fueling nozzle that keep it above the rear fender. So a hanging bracket was going to need to be fabricated. In luck, I found a nice place off the rear bumper bracket. |
The first order of business is cutting metal. A pair of 1/4"x2" drop down bars were cut. |
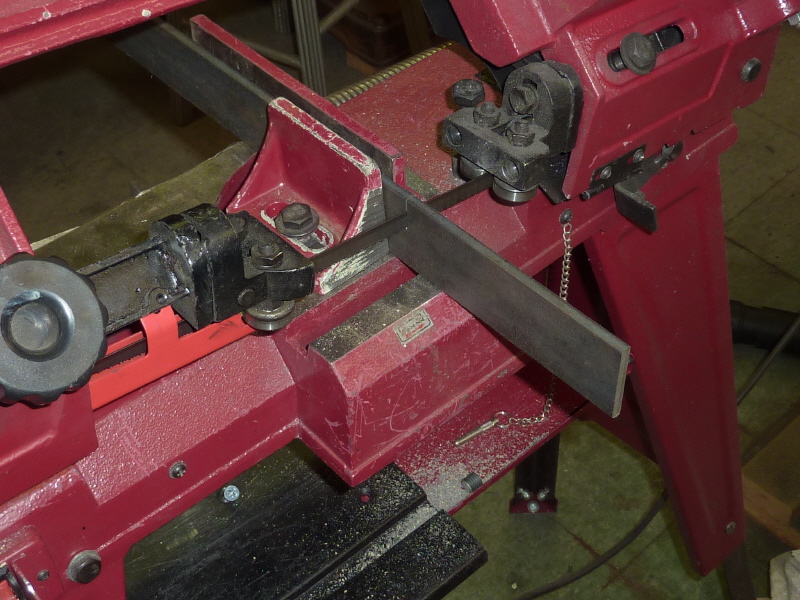
The two bars were clamped in place to setup measurements for the rest of the bracket. |

Here I am measuring for the face plate. I will also need to cut 2 pieces of bar to reach the back of the bumper. |
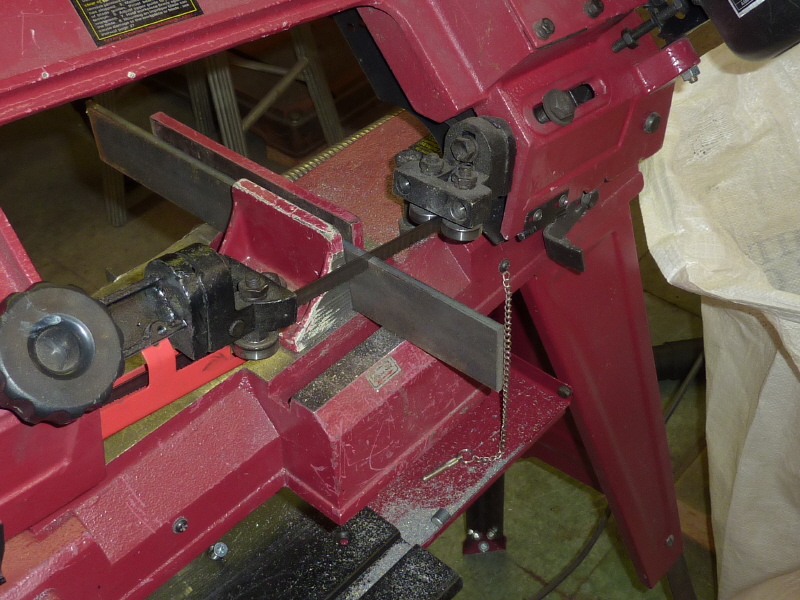
The rest of the metal pieces are being cut and readied for assembly. |
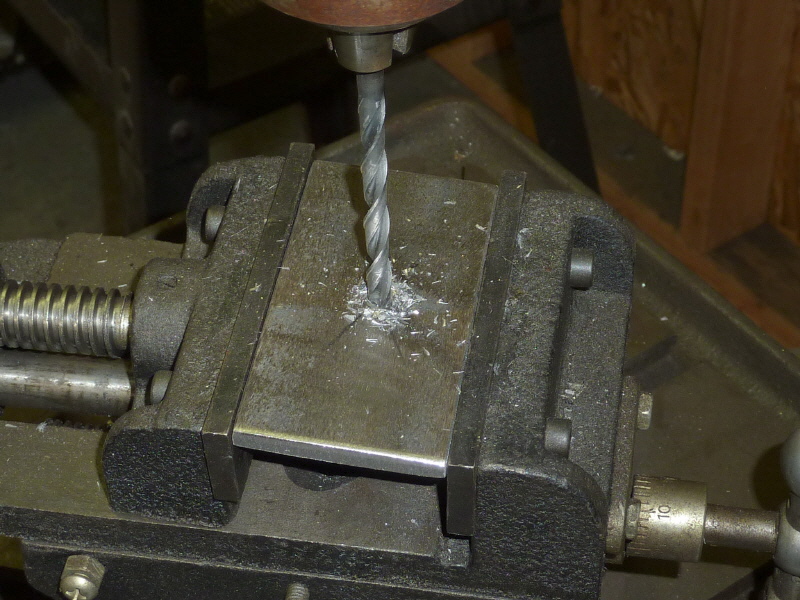
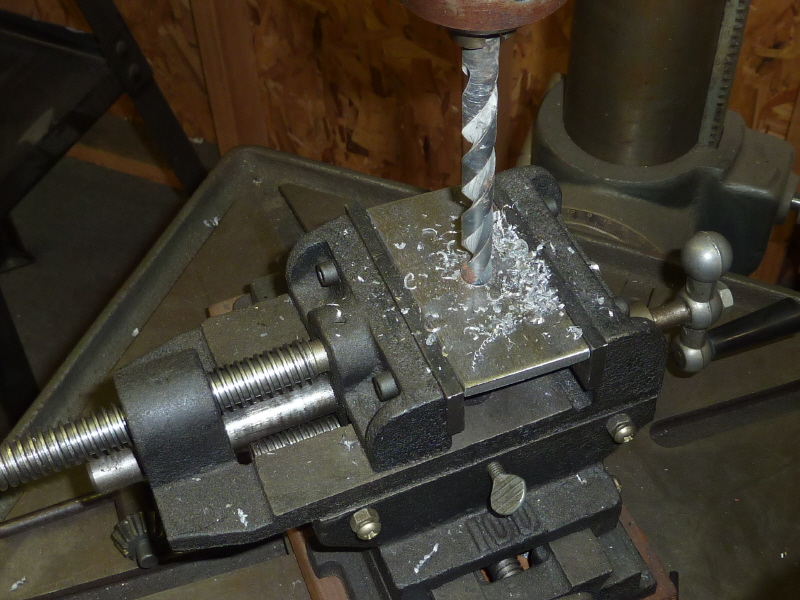
This is the face plate. It needs a 1" hole for the refueling nozzle to pass through. This is the starter hole being drilled. |
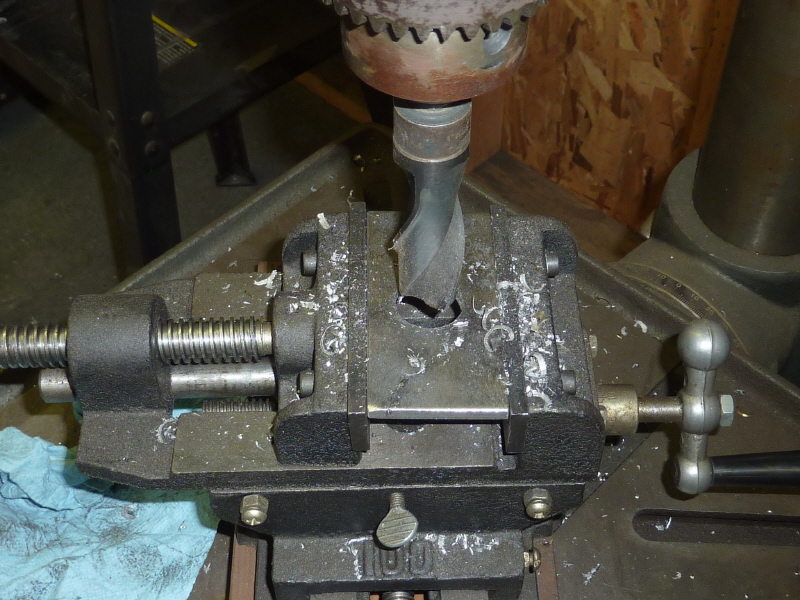
I am chasing the pilot hole with a larger hole. This is needed to make the large 1" drill bit drill smoothly. |
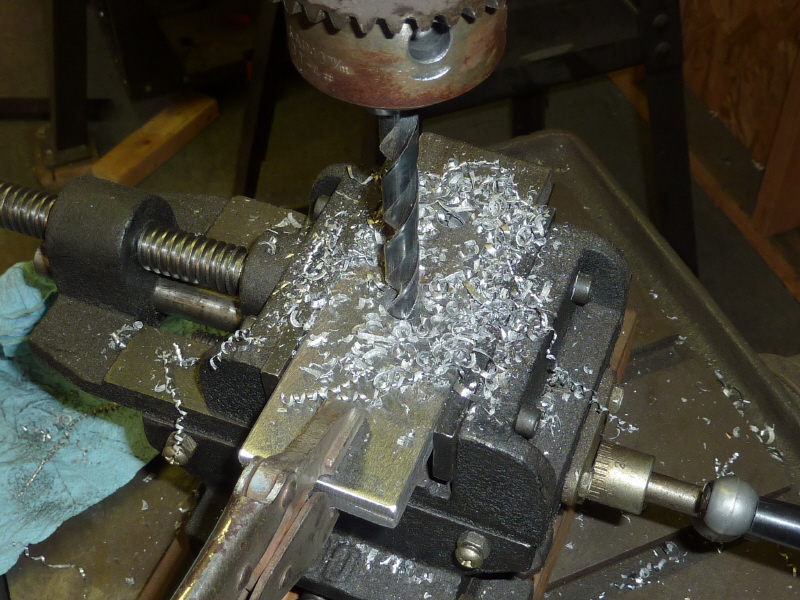
This is the finish pass with the 1" drill. |
The drop down bars also need holes drilled into them to attach the bracket to the bumper mount. |
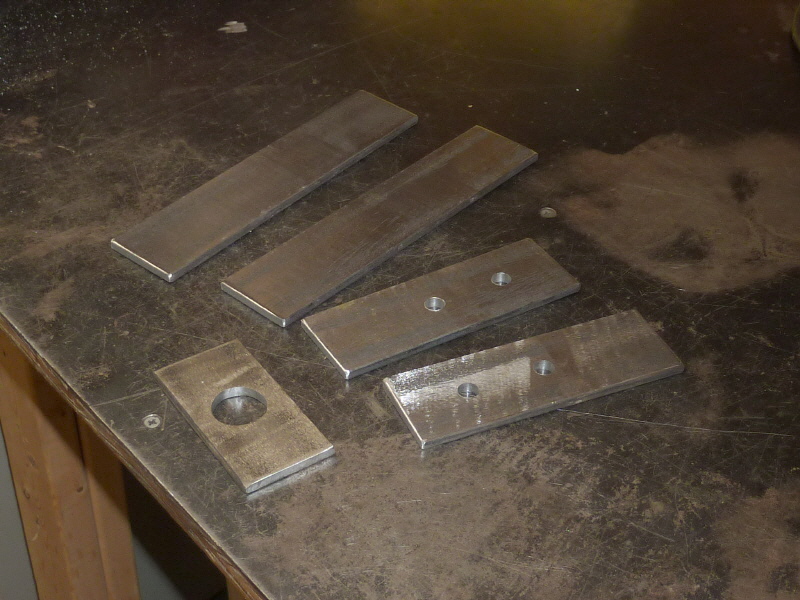
Here are all the bracket pieces prepped and ready for welding. |
The first welding pass will connect the drop down bars with the horizontals. |
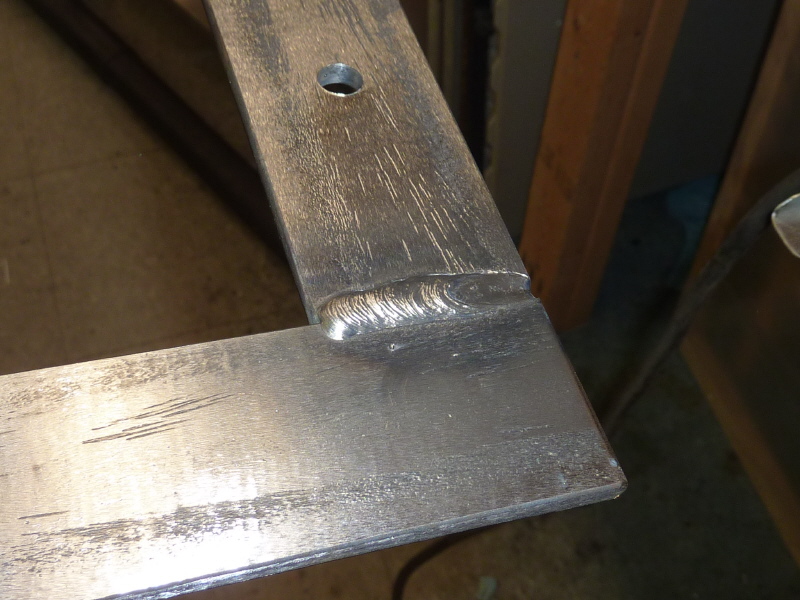
A little clean up makes something ugly looking pretty dam nice. |

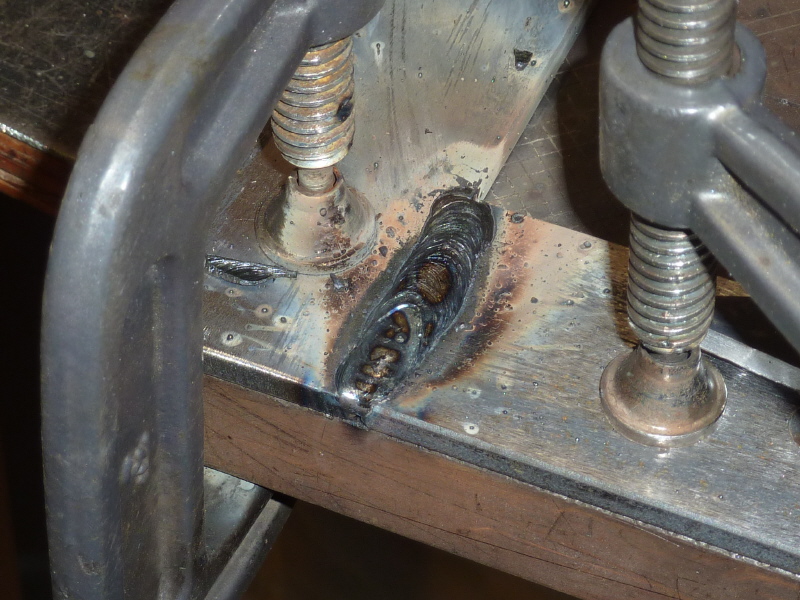
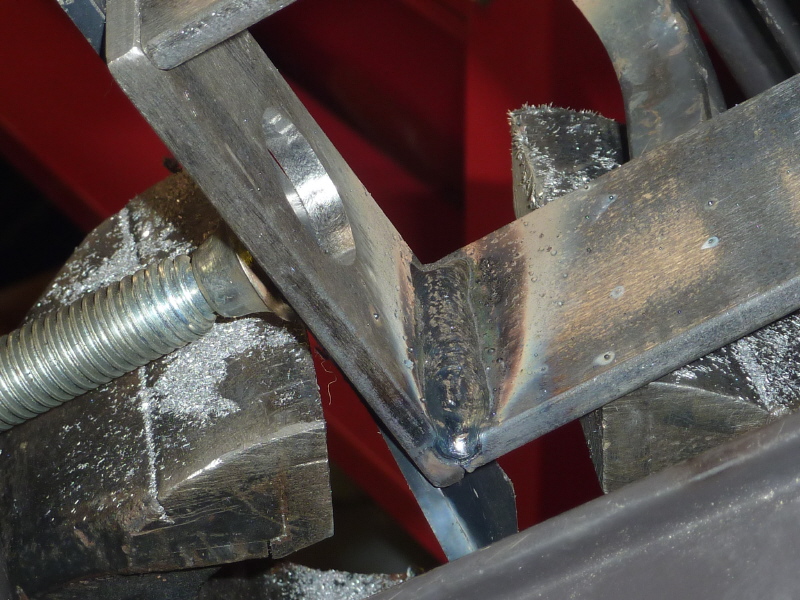
Speaking of ugly, this is the entire bracket clamped together and ready for welding. It took a while to get it right, however there are no do overs if it is not clamped correctly. |
The insides are DC stick welded. |
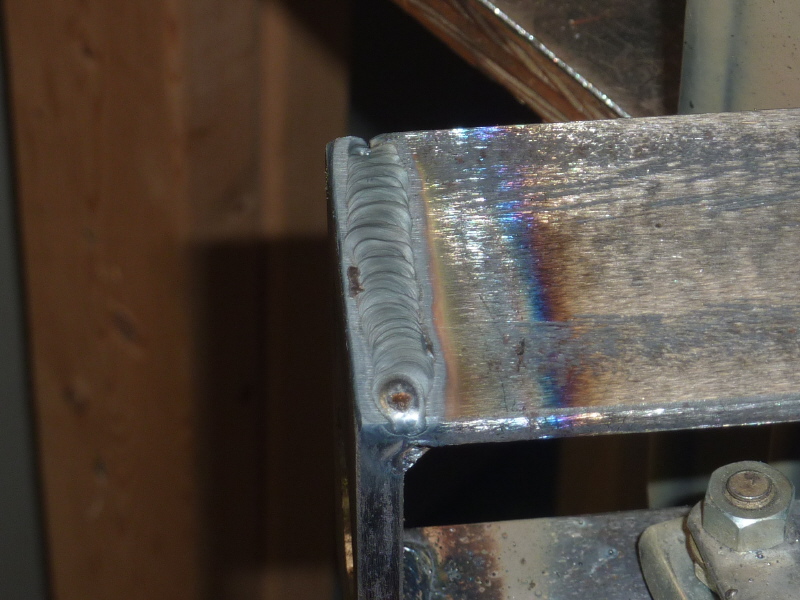
The outsides are TIG welded. Once the welding was finished it is off to the sand blasting boot and then 4 coats of satin black Rustoleum |
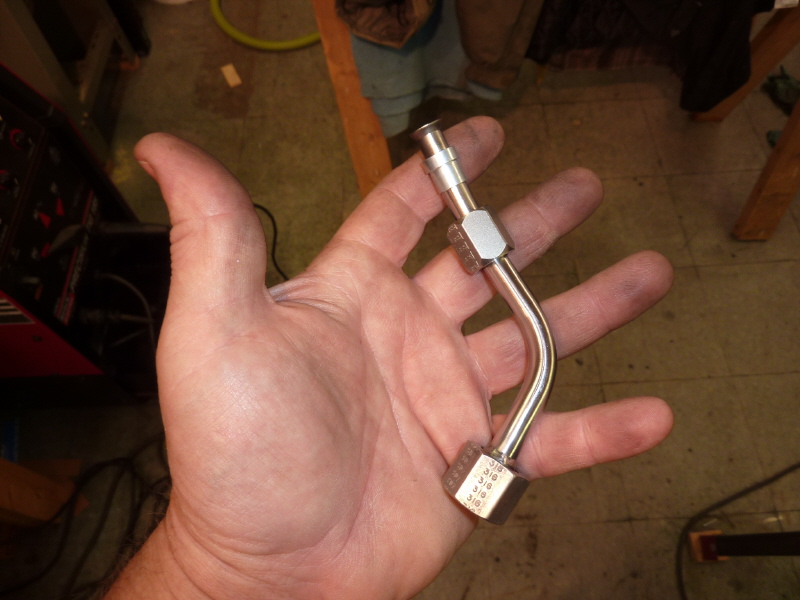
Now it is time for the fuel nozzle assembly. This is a piece of salvaged 3/8" stainless steel CNG fuel line. The ORFS (O-Ring Face Seal) was already there. I added the 3/8" flare nut to the other end |
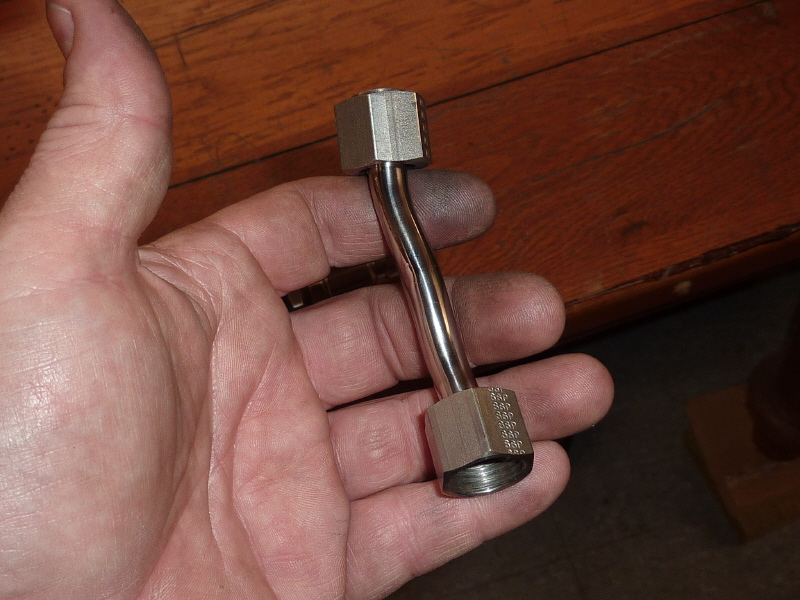
This piece was also salvaged and only needed bent a little to fit what I needed it for. |
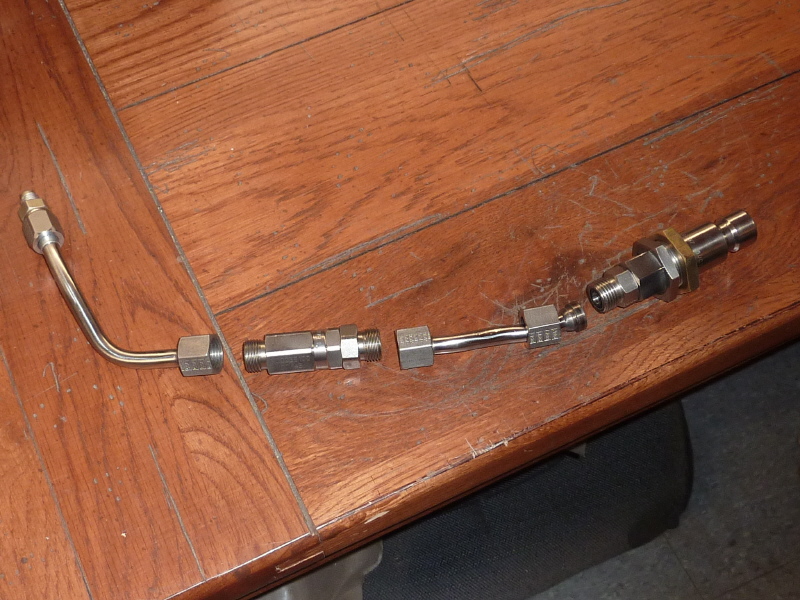
Here are all the pieces laid out in an exploded view. The fueling nozzle and CNG check valve are both salvaged. Not much expense here. |
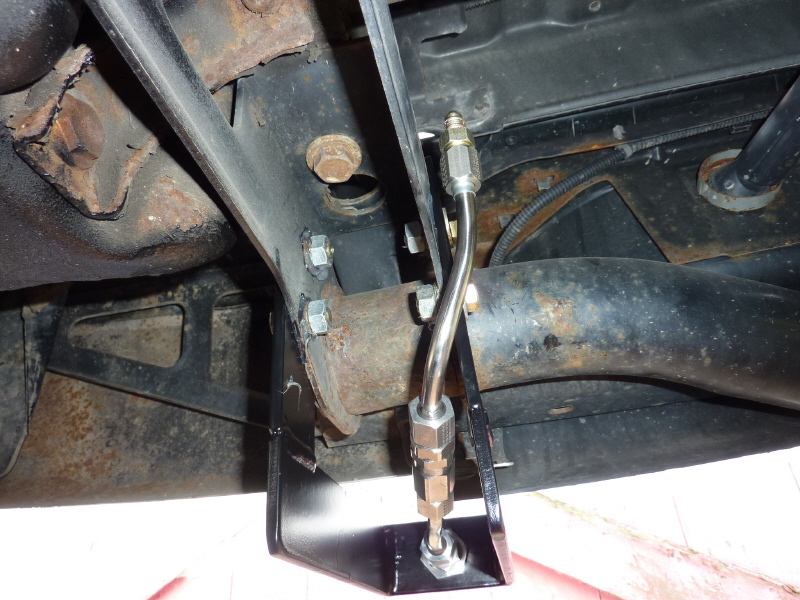
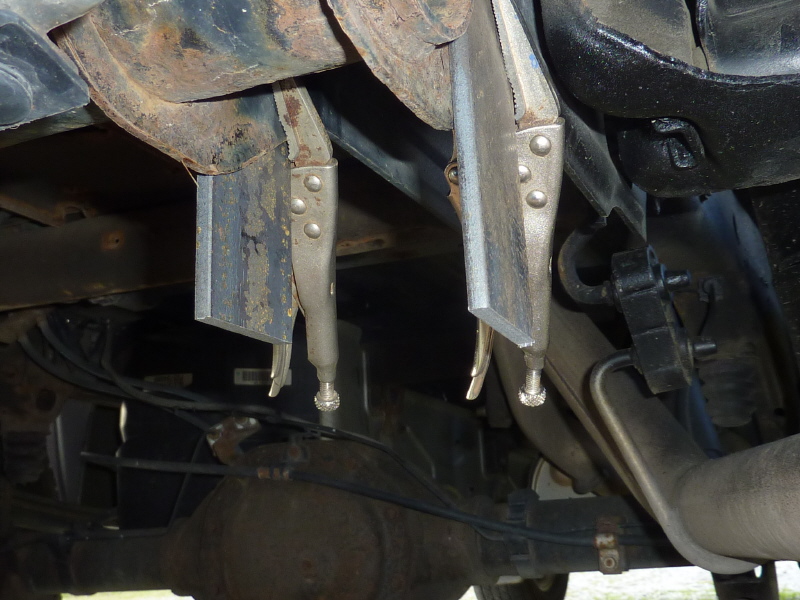
With the bracket installed, the filling assembly is bolted up. |
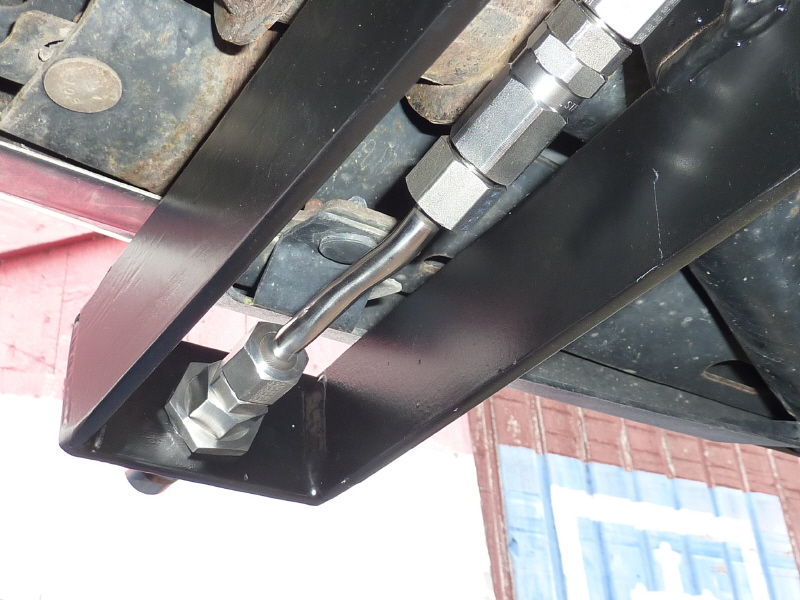
This is another view from the bottom. |

All that is left is to bend and install a transitional tube from a bulkhead fitting to the filling assembly. I noticed that the 3/8" tubing came close to the edge of the bracket bar. |
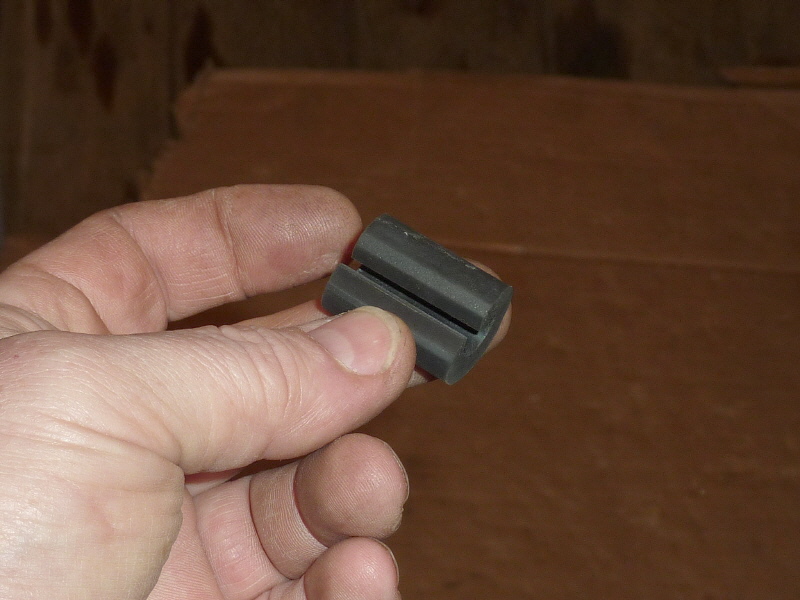
I salvaged a bunch of these rubber isolation bushings and another one comes in handy. |
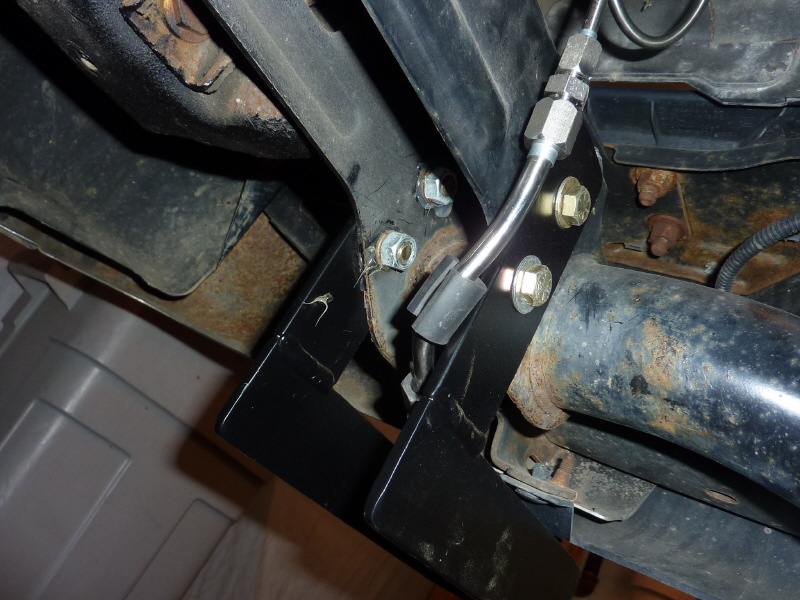
I added the rubber bushing to the tube. It was a tight squeeze to get it in there, however it is a great fix for a small problem. |

Another view showing everything connected up. |