|
To get started I picked up a 50' roll of .250x.035 316L stainless steel tube in a ,"you guessed it", Ebay auction. The price was $45.00, a major steal. The seller, Mbglick has a wide selection of various rolled tubing. If you are interested in the technical specifications of this type of tubing you can go here. |
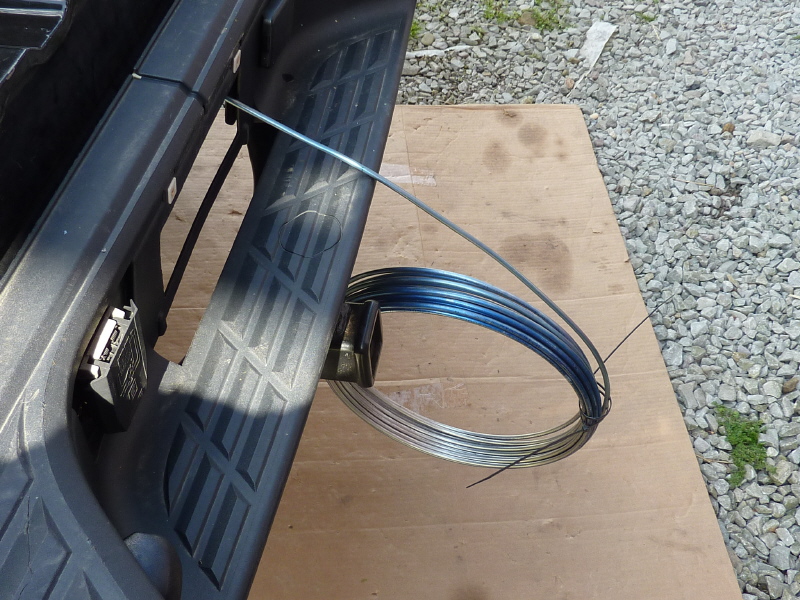
Routing the 1/4" tubing was relatively easy. Once the licenses plate was removed, there was an access hole to pass the tubing through. I just uncoiled 10" and pulled it along the route I selected. |
When I got to the end it required fishing the tubing around a lot of obstacles. If I did not get the route right, then I would have to cut, splice and re-route. |
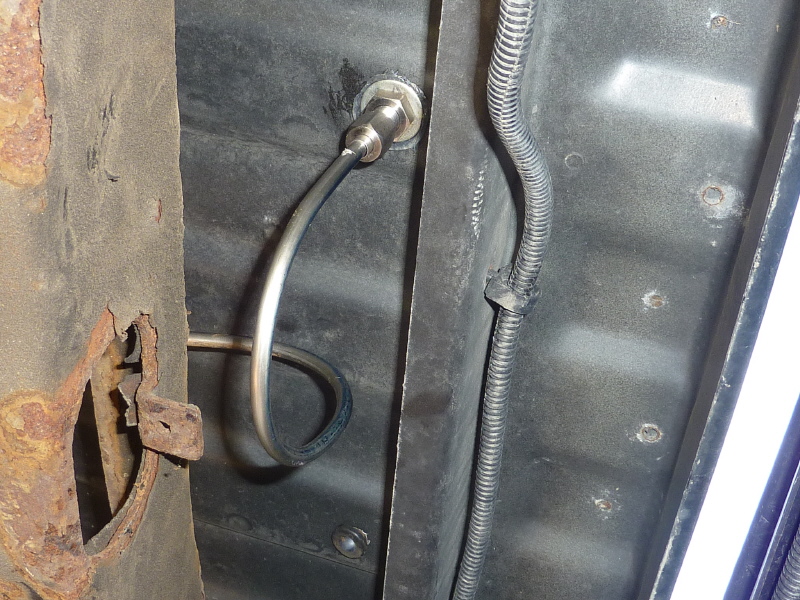
Once I got the tubing pulled from back to front, I cut, bent and applied a flare nut to the end. Everything went well and the flare nut screwed right onto the bulkhead fitting. |

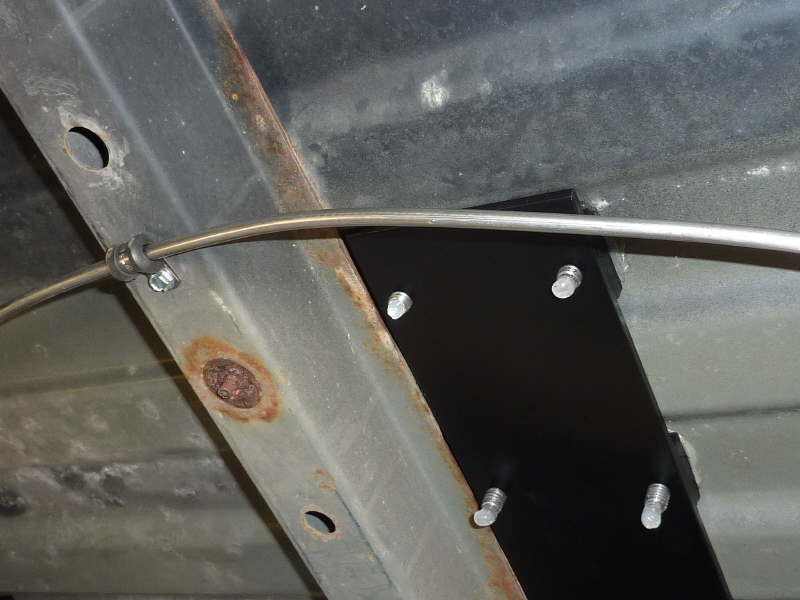
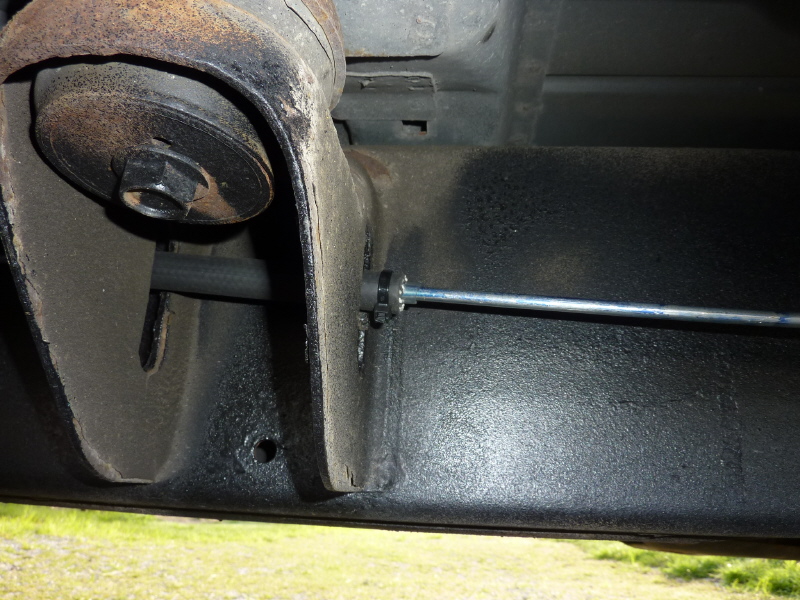
With the end of the tubing anchored on the bulkhead fitting I began attaching the tubing using 1/4" stainless steel cushion line clamps. |
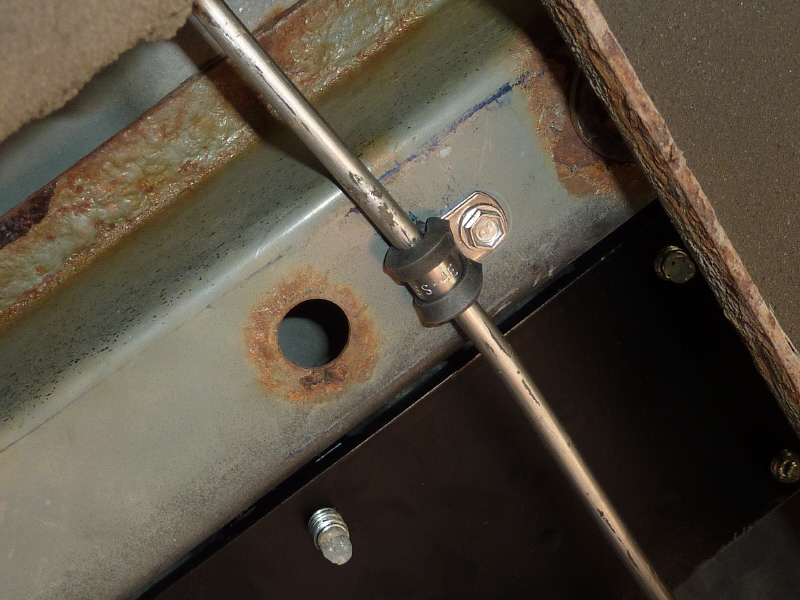
This is the first attach point. I used stainless steel self tapping screws to attach the clamps. These screws make the job easy. |
Moving forward to the next support channel, another clamp is applied. |

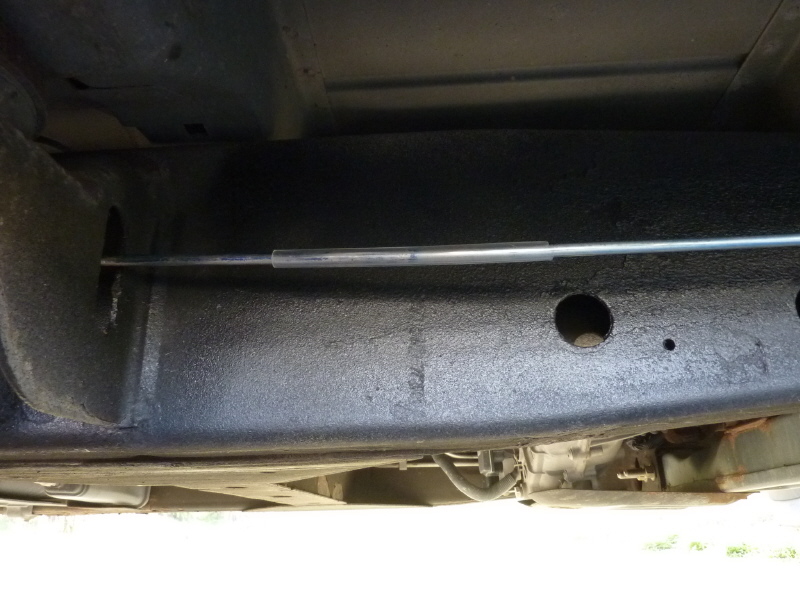
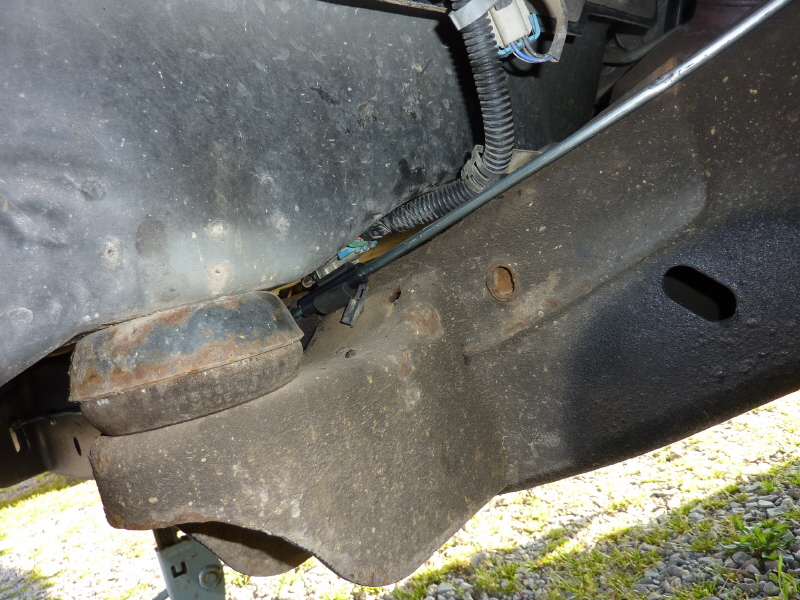
When I got to the front of the bed, I needed to make a right hand turn and go over the top of the frame. Where the tubing touched the frame I used a piece of 1/4" high pressure fuel line to protect it from rubbing. |

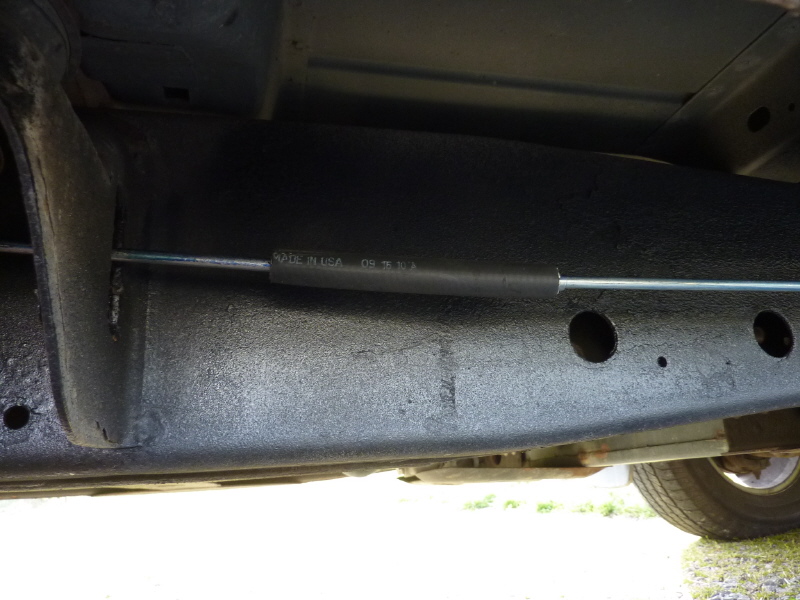
I created this little gem for use coming down the other side of the frame. |
Here is a view of it in place. |

It sure is sweet sailing along the frame rail. |
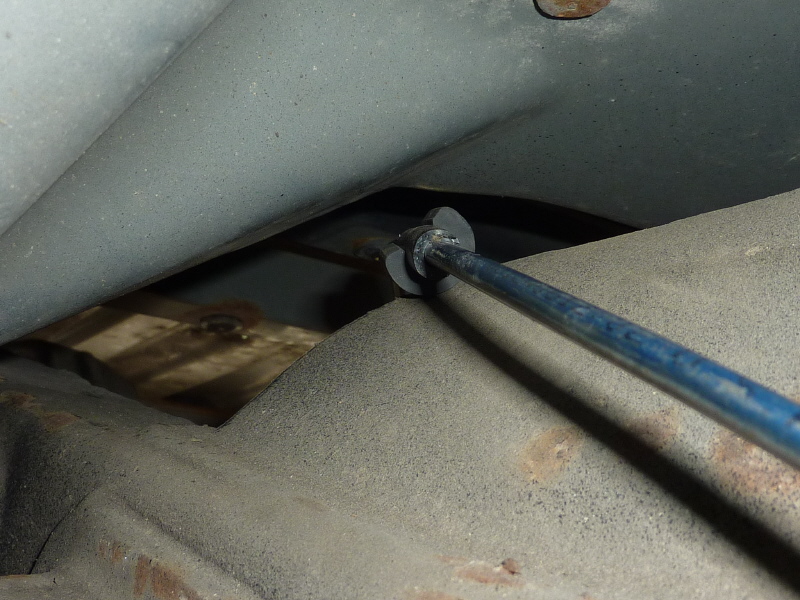
At the first cab support I needed to run the tubing through an access slot. Here I am wrapping the tubing in a piece of vinyl plastic hose. |
A larger piece of fuel line is applied over the plastic hose. |
Then it is slid into the access slot and zipped tied in place. |
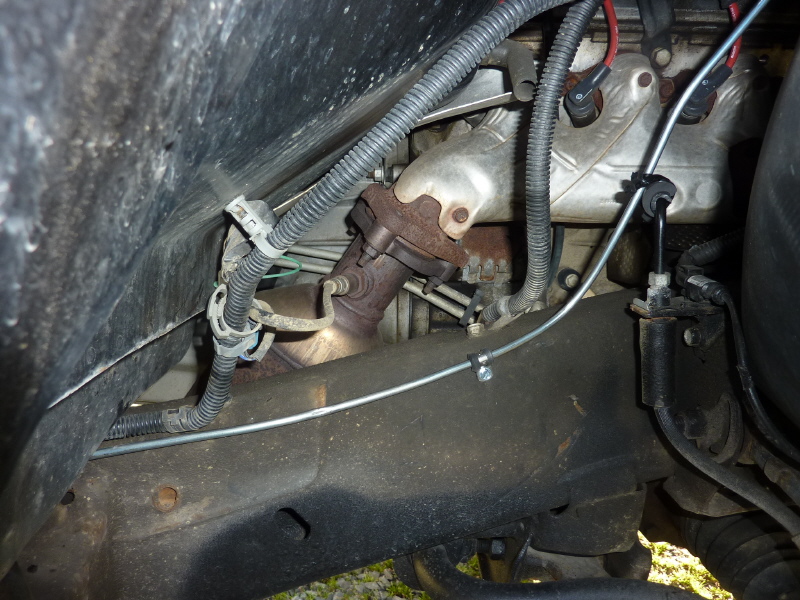
Here is the transition from the frame into the engine compartment. I had to remove the tire and inner fender well to get good access. |
Looking back is the front cab support. Another rubber isolation tube needed installed there. |
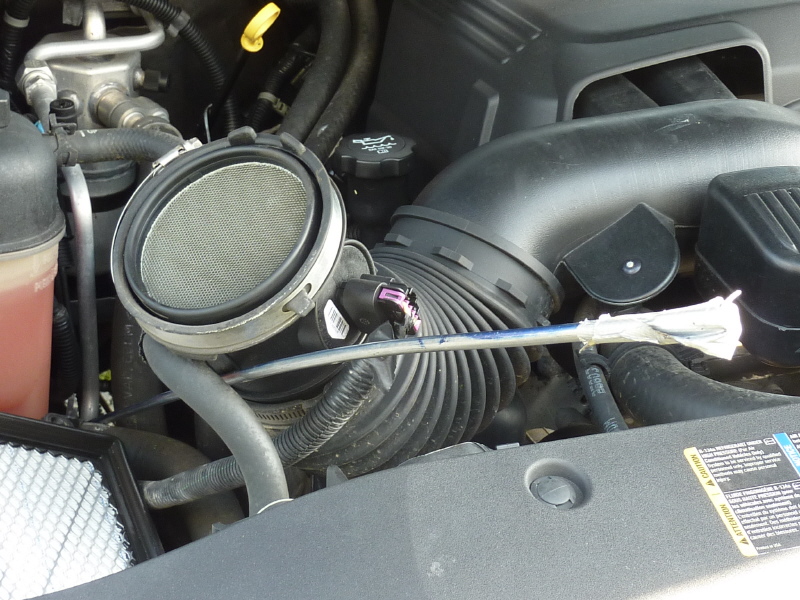
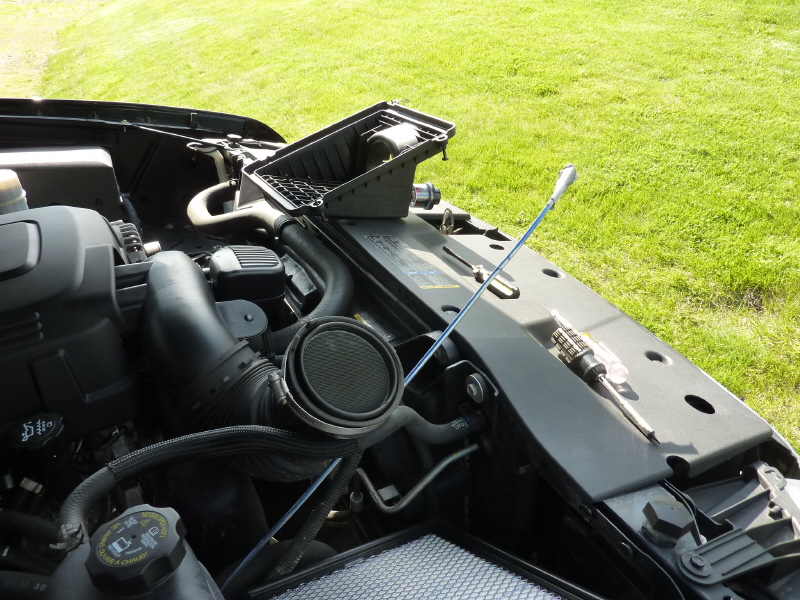
Well here we are at the engine compartment. I had to move around a few hoses to get the tubing where I wanted it. |
I thought of running the tubing all the way to the other side of the engine compartment, however thought different when I realize I had not looked at where the regulator would be mounted. With that, I decided I would union together the last leg of tubing after I mounted the regulator. |